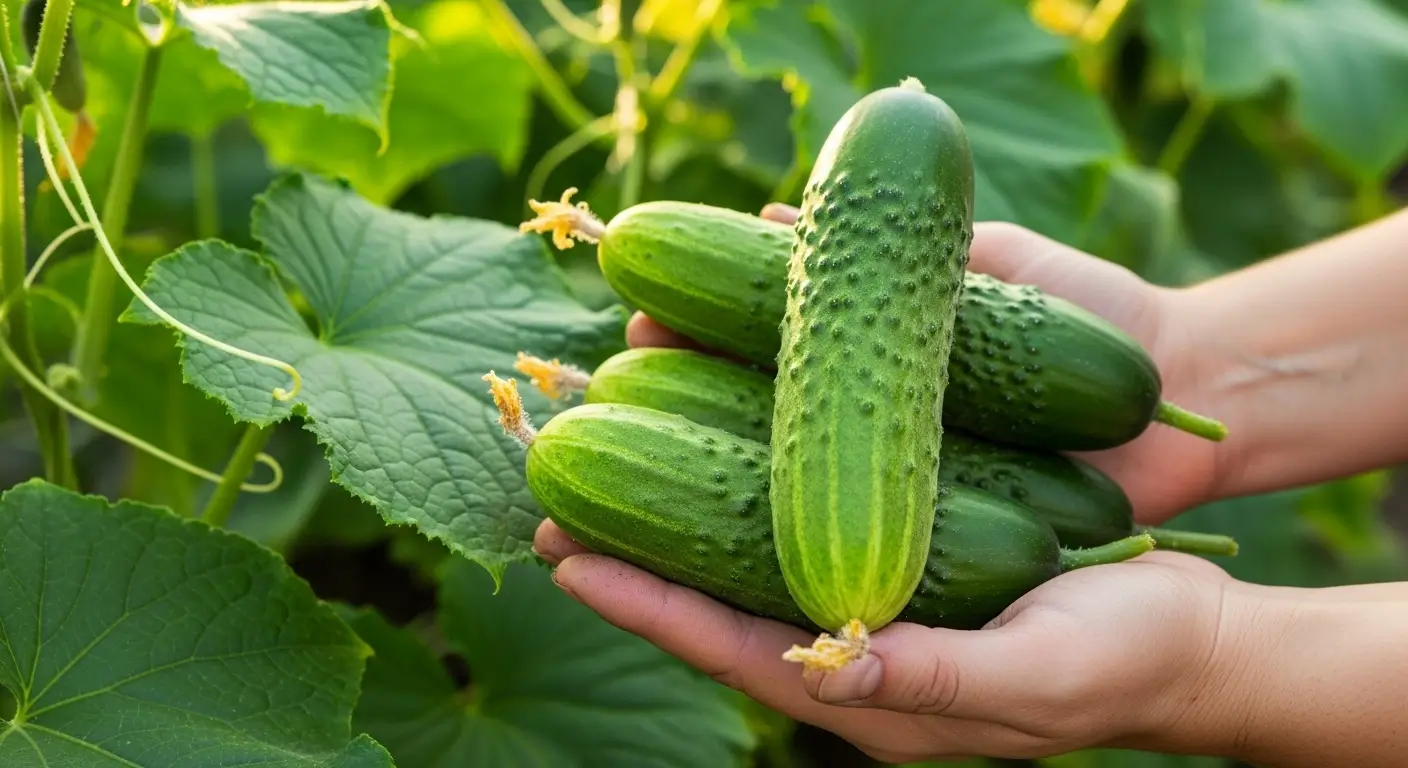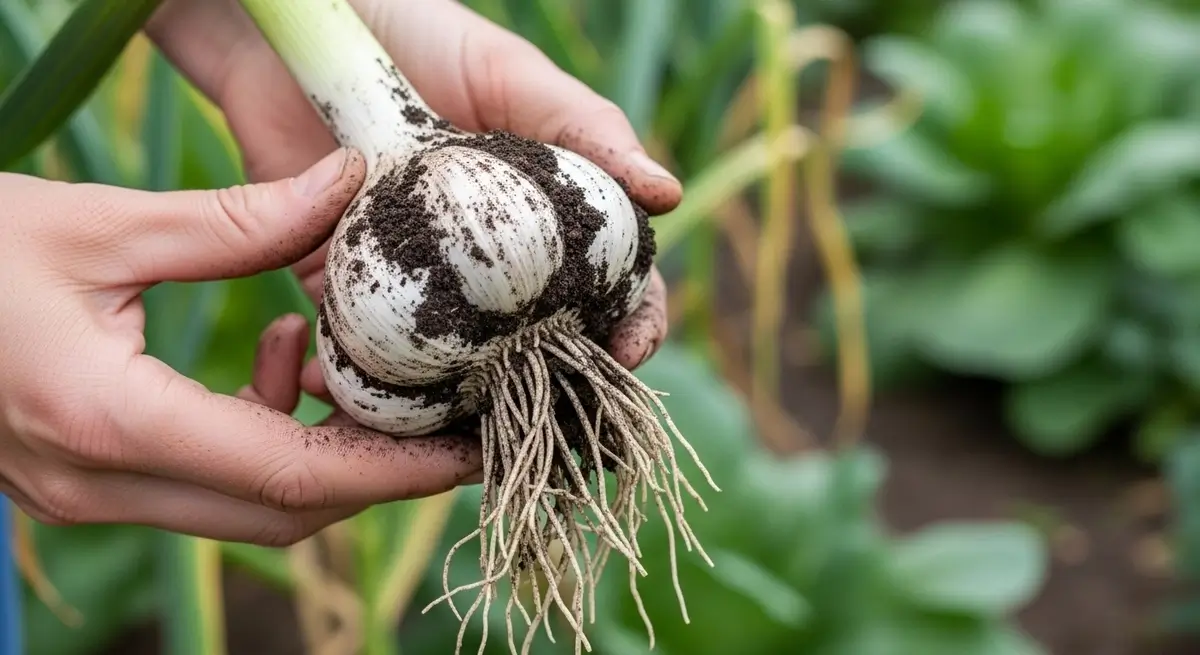
There’s something deeply satisfying about pulling a perfect bulb of garlic from the soil – those papery white layers wrapped around plump, flavorful cloves that you nurtured from a single planted clove months earlier. But here’s what I’ve learned after years of growing garlic in my Illinois garden: the secret to those impressive bulbs isn’t just good soil or proper Timing (though those matter too). It’s understanding exactly how and when to feed your garlic plants throughout their long growing season.
When I first started growing garlic, I treated it like any other vegetable – plant it, water it occasionally, and hope for the best. My harvests were… let’s say disappointing. Small bulbs, weak flavor, and half the cloves barely worth peeling. It wasn’t until I started paying attention to fertilizing garlic properly that everything changed. Now, I consistently harvest bulbs that make my neighbors ask for growing tips!
If you’re ready to transform your garlic game from mediocre to magnificent, let’s dive into everything you need to know about feeding these flavorful bulbs.
Table of Contents
Understanding Garlic’s Nutritional Needs
Garlic might seem like a simple plant, but it’s actually quite the hungry little thing. Unlike quick-growing summer vegetables, garlic has a uniquely long growing season – we’re talking 8-10 months from planting to harvest. That extended timeline means your garlic plants need sustained nutrition to develop those fat, flavorful bulbs we’re all after.
Here’s what I’ve observed in my own garden: garlic’s nutritional needs change dramatically throughout its growth cycle. In the fall, when you first plant those cloves, the focus is on root development. Come spring, it’s all about leaf growth – and trust me, those leaves are directly connected to bulb size. The more robust leaves you can encourage, the bigger your final bulbs will be.
Garlic craves nitrogen early in the season for leaf development, but here’s the tricky part – too much nitrogen late in the season can actually prevent proper bulb formation. I learned this the hard way when I overfed my garlic one spring and ended up with gorgeous green tops but disappointingly small bulbs underneath.
Garlic plants also crave phosphorus to develop strong, healthy roots, and they need potassium to stay robust and fight off diseases. Don’t overlook sulfur either – it’s actually what gives garlic that sharp, pungent bite we all know and love. The University of Minnesota Extension points out that getting the soil nutrition right is really important since garlic takes 8-10 months to fully grow
When to Fertilize Garlic: Timing is Everything
Getting the Timing right for fertilizing garlic has been one of my biggest learning curves. Since garlic has such a long growing season, there are several key feeding windows you don’t want to miss.
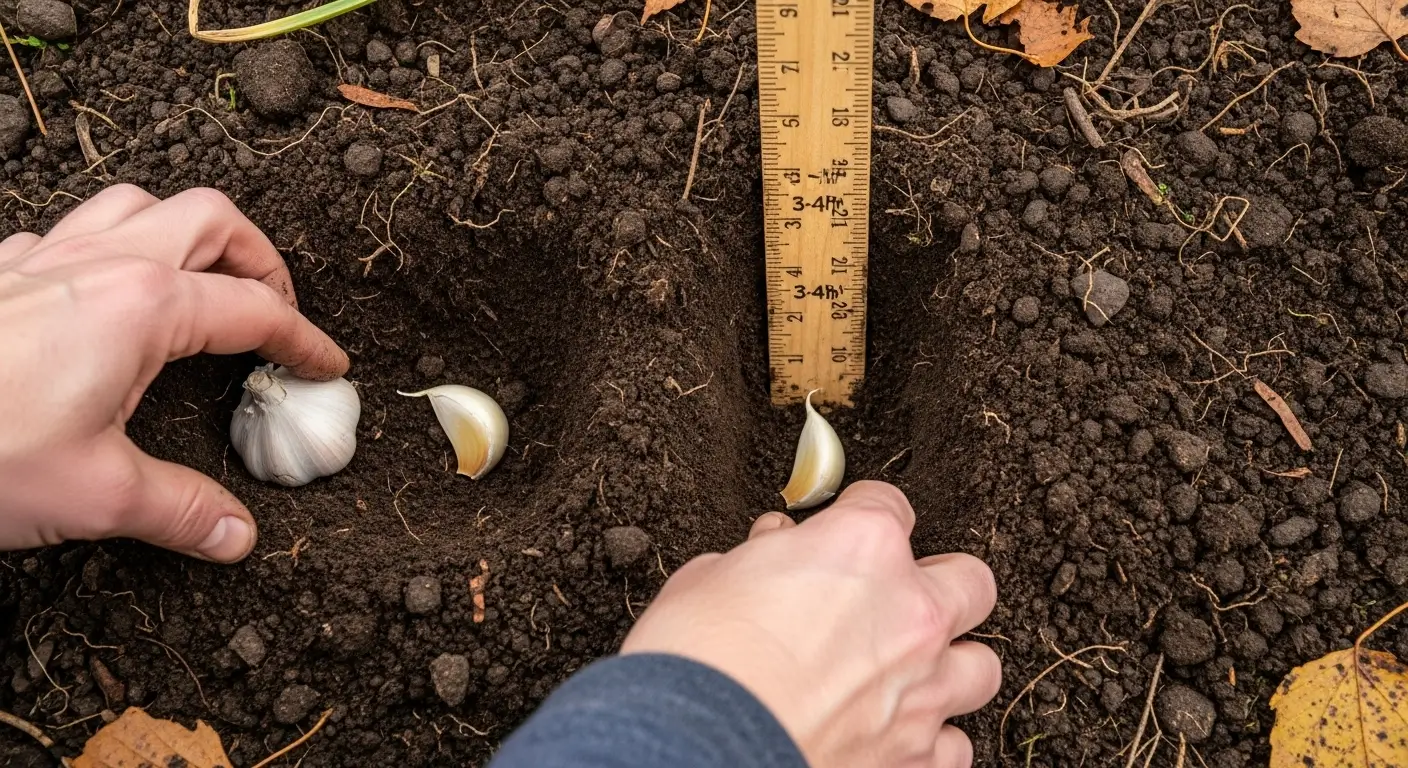
Fall Planting Time: When I get my garlic cloves in the ground each October (I’m in zone 5b), I always mix some balanced, slow-release fertilizer right into the soil first. This way, those little roots have plenty to munch on while they’re getting settled before the cold hits. I usually go with a basic 10-10-10 fertilizer and work it into the bed about a week before I actually plant. Timing really matters here though – getting both your planting schedule and feeding routine right goes hand in hand. If you want to nail the timing part, our detailed guide on when to plant garlic will help you set up that perfect foundation for healthy, well-fed garlic.
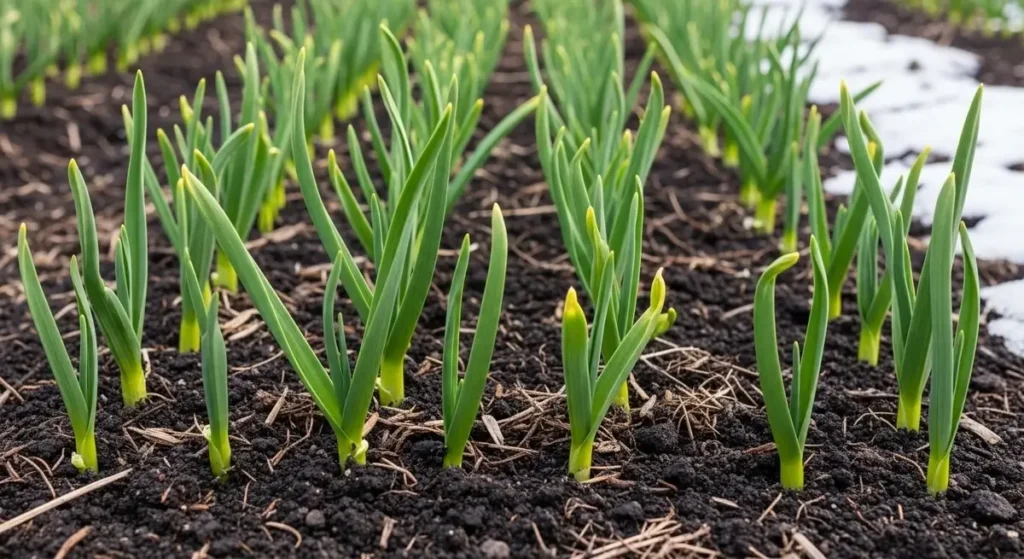
Early Spring Emergence: This is when things get exciting! As soon as I see those first green shoots poking through the soil – usually late March or early April in my garden – it’s time for the first major feeding. The plants are waking up from winter dormancy and are ready to put on serious growth.
Mid-Spring Growth: About 4-6 weeks after that first spring feeding, I give my garlic another boost. This is typically when the plants are developing their 4th or 5th leaf, and they’re really starting to take off.
Stop Feeding Point: Here’s the critical part that took me a few seasons to master – you need to stop fertilizing about 4-6 weeks before harvest. For me, that means no feeding after early May. This allows the plants to redirect their energy from leaf production to bulb development.
I made the mistake once of continuing to feed my garlic into June, thinking more nutrition was always better. What I got were plants with huge, lush tops but tiny, underdeveloped bulbs. It was a painful lesson in garlic timing!
Best Fertilizer for Garlic: What Really Works
After experimenting with everything from fish emulsion to synthetic blends, I’ve settled on a few reliable approaches that consistently give me great results.
Organic Options: My go-to organic fertilizer for garlic is actually a homemade compost blend. I mix well-aged compost with a handful of bone meal and kelp meal. The compost provides slow-release nutrients, bone meal adds phosphorus for root development, and kelp meal brings in potassium and trace minerals. I’ve been using this combination for three years now, and my bulb sizes have increased noticeably.
Fish emulsion is another organic favorite, especially for those spring feedings. I dilute it according to package directions and apply it every 3-4 weeks during the active growing season. Fair warning, though – it smells absolutely terrible for about 24 hours after application. My husband still gives me grief about the time I applied it right before a backyard barbecue!
Synthetic Fertilizers: When I need something with more precise nutrient ratios, I reach for a balanced 10-10-10 or 12-12-12 fertilizer. These work especially well for that initial fall soil preparation and early spring feeding. I prefer granular forms because they release nutrients more slowly than liquid fertilizers.
Specialized Garlic Fertilizers: Some garden centers now carry fertilizers specifically formulated for garlic and onions. While they’re not necessary, I’ve had good luck with them. They typically have the right nitrogen-to-phosphorus ratio and often include sulfur, which enhances flavor development.
Application Methods That Actually Work
How you apply fertilizer can be just as important as what type you choose. I’ve tried every method imaginable, and here’s what I’ve learned works best in real-world conditions.
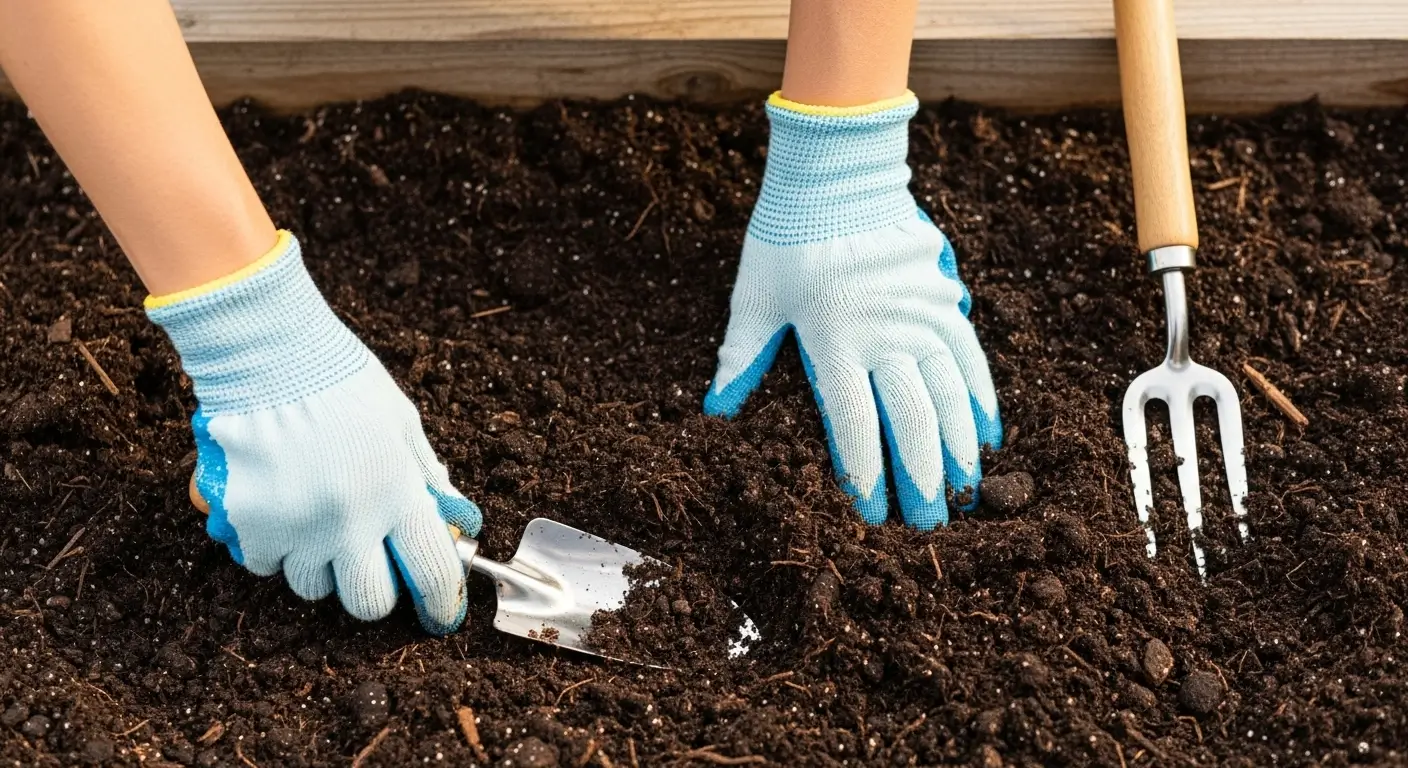
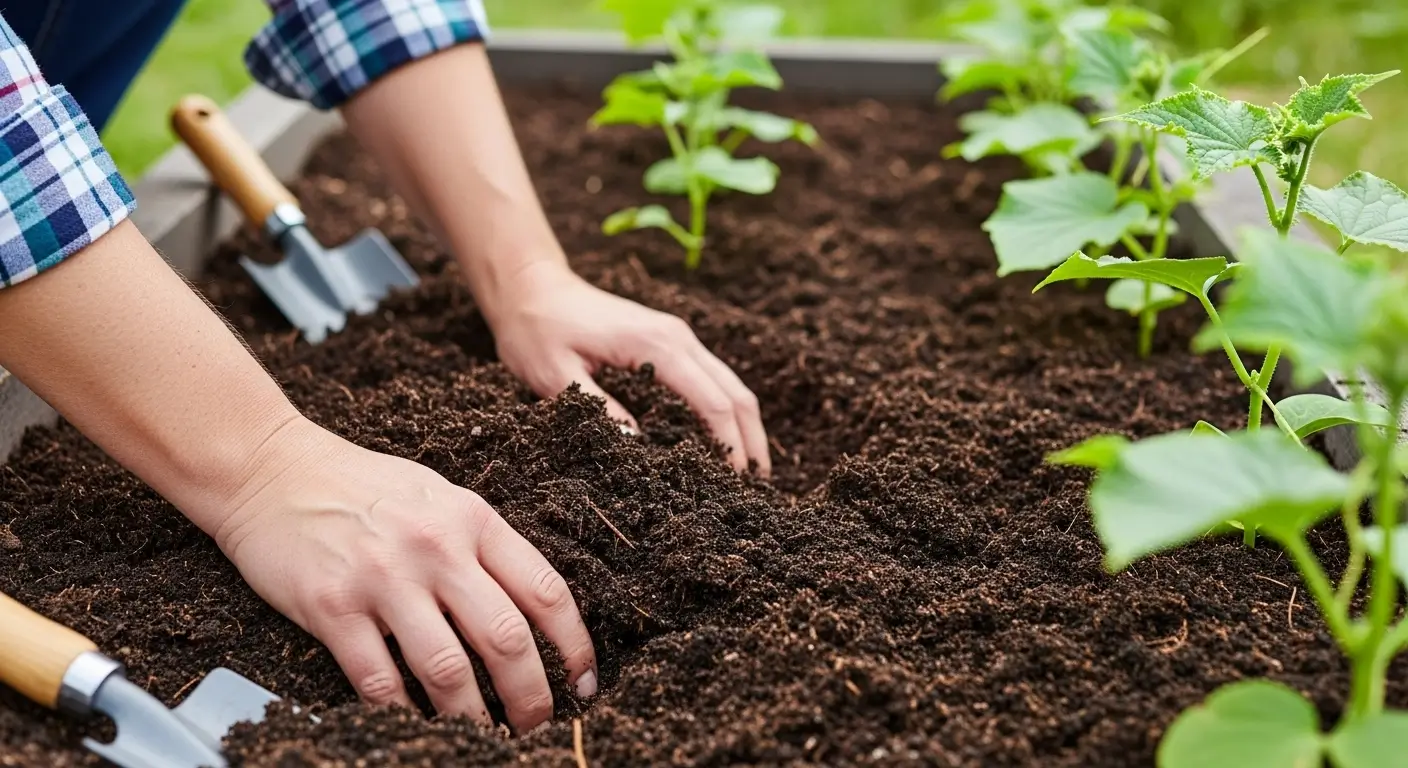
Soil Incorporation: For fall planting, I always work fertilizer directly into the planting bed. I spread granular fertilizer over the area and worked it in with a garden fork to about 6 inches deep. This ensures the nutrients are available where the roots will be developing.
Side-Dressing: During the growing season, I prefer side-dressing my garlic rows. I sprinkle granular fertilizer in a band about 4 inches away from the plants and work it lightly into the soil surface. Then I water thoroughly to help activate the nutrients.
Liquid Feeding: For quick nutrient boosts, especially with fish emulsion or liquid fertilizers, I use a watering can to apply the diluted solution directly to the soil around each plant. I avoid getting liquid fertilizer on the leaves, as this can sometimes cause burning in hot weather.
One method I don’t recommend is broadcasting fertilizer over the entire garden area if you’re only growing garlic in specific rows or beds. I learned this lesson when I over-fertilized the pathways between my garlic rows and ended up with a weed explosion that took weeks to manage!
Organic vs. Synthetic: My Real-World Experience
This debate kept me up at night during my early gardening years, so let me share what I’ve actually observed in my own garlic patches.
Organic Advantages: Organic fertilizers have given me more consistent results over the years. The slow-release nature means I’m less likely to burn plants or create nutrient imbalances. Plus, organic amendments improve soil structure over time. My soil is noticeably better after five years of organic garlic growing – more friable, better water retention, and teeming with earthworms.
The flavor difference is subtle but real. My organically fed garlic tends to have more complex, nuanced flavors compared to synthetically fed bulbs. It’s not dramatic, but side-by-side taste tests with my garden club confirmed my suspicions.
Synthetic Benefits: When I need to correct a specific deficiency quickly, synthetic fertilizers are my choice. They act fast and give predictable results. They’re also more convenient when you’re growing large quantities of garlic.
My Current Approach: I use both. I rely primarily on organic methods for soil building and base nutrition. Still, I’ll reach for synthetic fertilizers if I notice deficiency symptoms or need to give plants a quick boost.
Common Fertilizing Mistakes (I’ve Made Them All!)
Let me save you some heartache by sharing the mistakes I’ve made so you don’t have to repeat them.
Over-Fertilizing: My biggest mistake was thinking more fertilizer always meant bigger bulbs. I once applied fish emulsion every week during spring growth, convinced I was being thorough. The result? Lush, tropical-looking garlic plants with bulbs the size of cherry tomatoes. Less is often more with garlic.
Wrong Timing: I mentioned this earlier, but it bears repeating – continuing to fertilize too late in the season will sabotage your harvest. Please mark your calendar and stick to it.
Ignoring Soil pH: Garlic prefers slightly alkaline soil (pH 6.0-7.0). I spent two seasons wondering why my fertilizer wasn’t working before I tested my soil pH and discovered it was 5.2. No amount of fertilizer helps if your soil chemistry is off.
Skipping Fall Preparation: Some gardeners think they can plant garlic cloves and start feeding in spring. While this can work, preparing the soil with organic matter and fertilizer in the fall gives much better results.
Signs Your Garlic Needs Fertilizer
You know what? Learning to “speak garlic” has honestly been one of my favorite parts of this whole gardening adventure. I used to walk through my garden rows totally clueless, wondering if my plants were happy or silently screaming for help. Now I’m having actual conversations with them!
Here’s the thing – garlic plants are surprisingly chatty if you know what to look for:
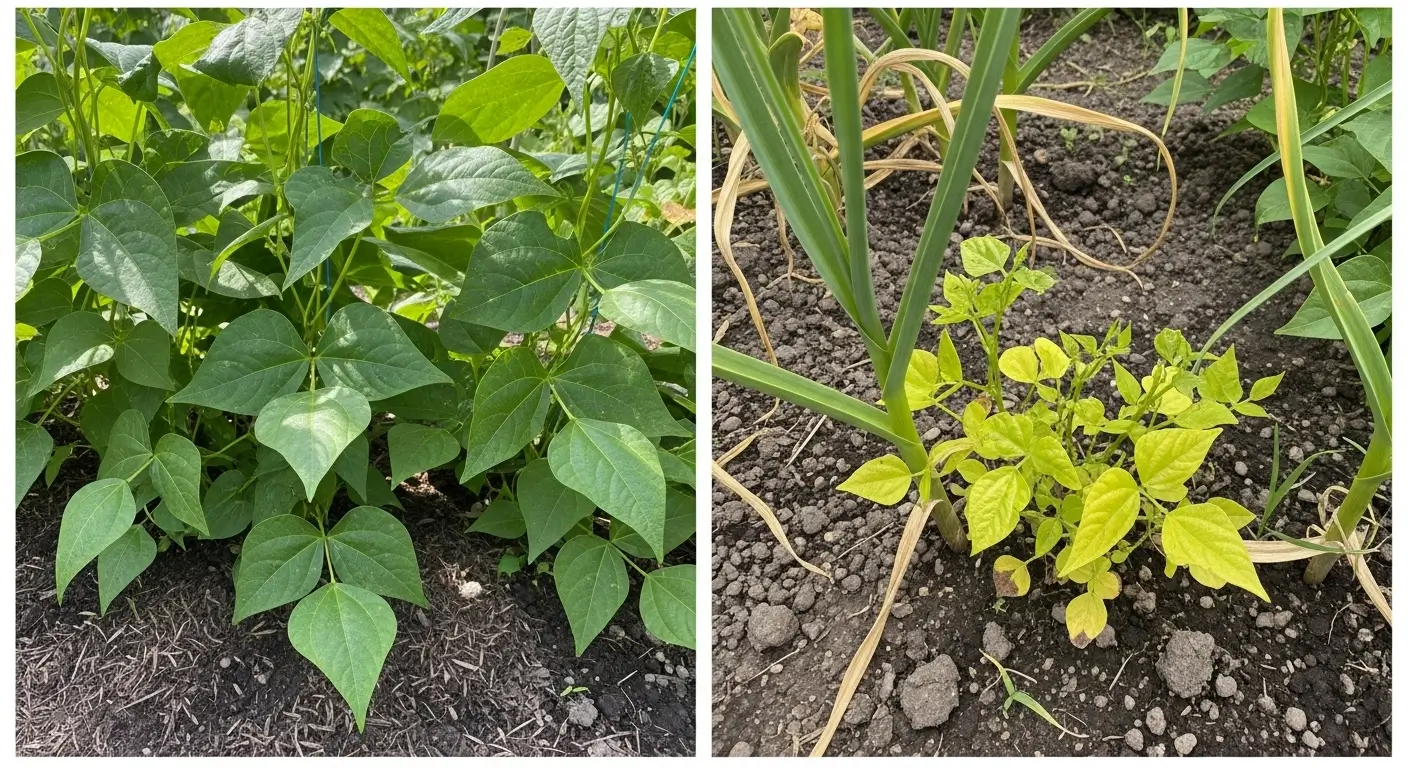
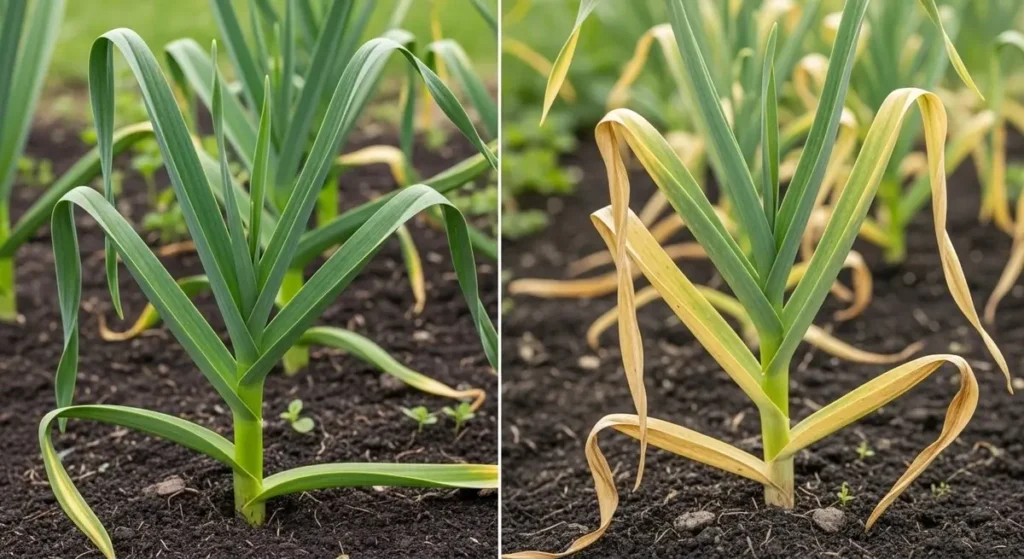
Those Yellowing Lower Leaves: Okay, so this one had me panicking for months when I first started. I’d see yellow creeping up from the bottom and think, “Oh no, my garlic is dying!” Here’s what I’ve figured out: a little yellowing toward harvest time. Totally normal. But when I’m seeing it in April or early May – especially if it’s happening fast – my plants are basically waving little yellow flags saying “FEED ME!”
I remember one spring when I was being all “natural” and decided to skip the early feeding. By mid-April, my poor garlic looked like it was wearing yellow socks. A good dose of fish emulsion (despite the smell, ugh) had them greening up within a week.
Slow Growth That’s Driving You Crazy: This one’s subtle, but once you start paying attention, it’s like watching paint dry. Healthy garlic should be putting on new growth every single week during spring – I’m talking noticeable differences when you check on them. When my plants start looking exactly the same week after week, I know something’s up.
Last year, I had this one section that just… sat there. Same height, same everything for three weeks straight, while the rest of my garlic was shooting up like crazy. Turns out that corner of the bed had terrible drainage, and the nutrients were sitting in waterlogged soil. A little side-dressing and some drainage work, and boom – they caught up with their neighbors.
Wimpy, Bendy Stems: Oh man, this one breaks my heart every time. You want your garlic stems to stand up proud and strong – thick enough that you can’t easily bend them with your fingers. When I see those sad, floppy stems that look like they’re apologizing for existing, I know I’ve been slacking on the feeding schedule.
I had a whole row like this two seasons ago. They looked so pathetic compared to my neighbor’s robust garlic that I was embarrassed. It turns out I’ve been so focused on not over-fertilizing that I’ve swung too far in the other direction.
That Sickly Pale Color: Healthy garlic leaves should be this gorgeous, deep forest green that makes you happy to look at. When they start looking washed out or yellowish – kind of like when you’re feeling under the weather – they’re telling you they need some TLC.
The funny thing is, pale green was just a different variety characteristic. Nope! It was just hungry garlic trying to make do with whatever scraps of nutrition it could find in my neglected soil.
For everything else you need to know about growing amazing garlic – from choosing the right varieties for your area to knowing exactly when to harvest – definitely check out our complete how-to-grow-garlic guide. It’s got all the details I wish I’d known when I planted my first sad little cloves!
Final Thoughts: Feed Your Garlic Right (And Don’t Beat Yourself Up!)
Look, I’m going to be real with you here. After all these years of growing garlic, making mistakes, celebrating successes, and occasionally wanting to throw in the towel when my harvest looked more like sad pearl onions than impressive bulbs – here’s the most important thing I’ve learned: consistency beats perfection every single time.
I used to stress myself out trying to create the perfect feeding schedule, measuring fertilizer to the gram, and panicking if I was a day late with an application. You know what that got me? Stressed out, and the gardens weren’t any better than when I was just winging it.
What actually works? Showing up regularly. Not perfectly, just consistently. Feed them in the fall when you plant. Please give them a good meal when they wake up in spring. Keep an eye on them, and if they look hungry, feed them again. Stop feeding when it’s time to let them focus on bulb development. That’s it. Really.
And here’s something nobody tells you when you’re starting out – your first year (or even second or third) probably won’t be Instagram-worthy. Mine sure wasn’t! I remember my first harvest… let’s say I was glad I hadn’t told anyone how excited I was about growing my own garlic. Those tiny, sad bulbs were humbling, to say the least.
But you know what? Each season gets better. Each year, you learn something new – maybe it’s that your soil drains poorly in that back corner, or that your garlic responds better to organic feeding, or that you need to start earlier in your climate zone. Take notes (seriously, write stuff down because you’ll forget), pay attention to what your specific garden is telling you, and don’t try to follow someone else’s exact recipe if it’s not working for you.
I keep a little notebook where I jot down when I planted, when I fed them, what the weather was like, and how everything turned out. It’s nothing fancy – just scribbled notes and dates – but it’s been invaluable for figuring out what works in my particular patch of Illinois dirt.
And here’s the thing that makes all the trial and error worth it – that moment when you pull up your first really successful bulb. The one with perfect papery layers and fat, juicy cloves that you know will make your cooking sing. The satisfaction is incredible because you know you grew that. You fed those plants, watched them grow, learned their language, and guided them to that beautiful harvest.
Trust me on this one – with proper fertilizing and a little patience with yourself, you’re absolutely going to get there. Some seasons will be better than others (that’s just gardening!), but each year you’ll get a little better at reading your plants and giving them what they need.
So go easy on yourself, feed your garlic consistently, and enjoy watching them grow. Before you know it, you’ll be the one giving advice to nervous new garlic growers! Happy growing, and here’s to your biggest, most flavorful harvest yet!