Hey there, fellow gardeners! I’m Grace Miller, and after 15+ years of growing garlic in my Naperville garden, I can tell you there’s something absolutely magical about watching those little cloves transform into full-sized bulbs. Understanding the garlic growth stages has completely changed how I approach growing this incredible crop – and I’m excited to share everything I’ve learned with you.
When I first started growing garlic back in 2010, I honestly had no clue what I was doing. I planted some cloves in spring (big mistake!), watered them like crazy, and wondered why they never developed properly. It wasn’t until I understood the garlic plant life cycle that everything clicked into place.
Whether you’re a complete beginner or you’ve grown garlic before but want to understand what’s happening beneath the soil, this guide will walk you through every single stage of garlic development. We’ll cover everything from that first tiny root emerging from your clove to harvesting those beautiful, papery bulbs next summer.
Table of Contents
Why Understanding Garlic Growth Stages Matters
Look, I get it – you might be thinking, “Grace, can’t I just plant garlic and let it do its thing?” Well, you could, but here’s why understanding these stages is a total game-changer:
First off, knowing what’s happening at each stage helps you time your care perfectly. When I see those first green shoots pushing through the soil in early spring, I know it’s time to start thinking about fertilizing. When I notice the scapes forming, I know harvest is just around the corner.
But more importantly, understanding the garlic sprouting timeline helps you troubleshoot problems before they become disasters. I’ve saved countless garlic crops by recognizing when something wasn’t quite right at a specific growth stage.
The 7 Essential Garlic Growth Stages
Through years of observation in my own garden and working with other Master Gardeners, I’ve identified seven distinct garlic development stages:
- Planting and Root Development (Fall – 2-4 weeks after planting)
- Dormancy Period (Winter – 3-4 months)
- Spring Emergence (Early spring – 2-3 weeks)
- Vegetative Growth (Spring – 4-6 weeks)
- Bulb Formation (Late spring/early summer – 3-4 weeks)
- Scape Development (Early summer – 1-2 weeks for hardnecks)
- Maturation and Harvest (Mid to late summer – 2-3 weeks)
Each stage has its own timeline, care requirements, and visual cues that tell you exactly what’s happening with your garlic. And honestly? Once you start recognizing these stages, you’ll feel like a garlic-growing expert.
🧄 Interactive Garlic Growth Timeline
Click each stage to explore your garlic’s development journey
Stage 1: Planting & Root Development
The foundation of your garlic journey! Plant cloves 2-3 inches deep in well-draining soil. Within weeks, roots begin developing underground while you wait patiently above ground.
🌿 Grace’s Care Tips:
- Apply 4-6 inches of straw mulch
- Ensure excellent drainage
- Protect from curious squirrels
- No watering needed unless drought conditions
Stage 2: Winter Dormancy
The quiet stage where magic happens! Your garlic needs 12-16 weeks below 50°F for vernalization – the cold treatment that triggers bulb formation in spring.
❄️ Grace’s Care Tips:
- Check mulch hasn’t blown away
- Watch for rodent damage
- Resist urge to dig up and check
- Plan next season’s varieties
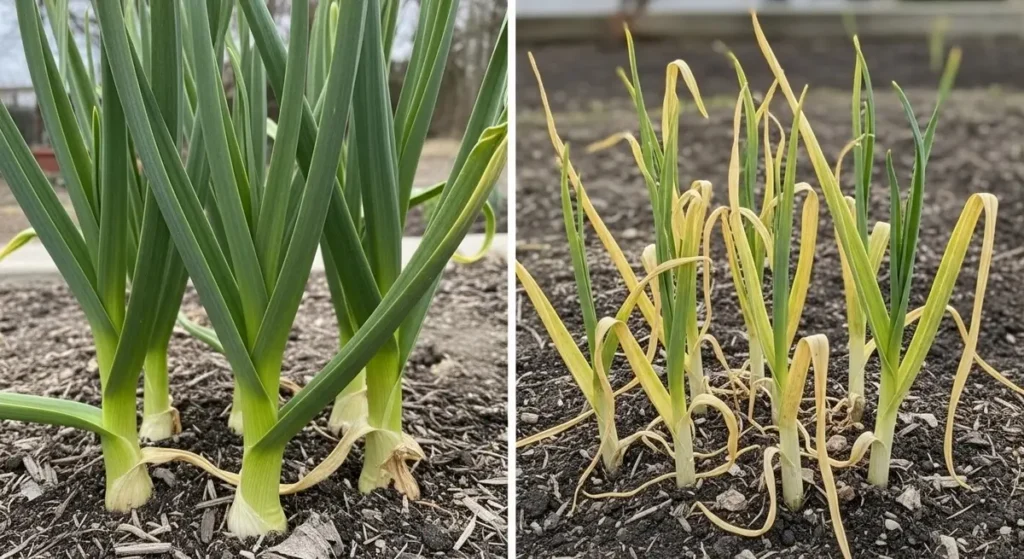
Stage 3: Spring Emergence
The most exciting stage! First green shoots push through soil when temperatures reach 40-45°F. Those flat, blade-like leaves are unmistakably garlic.
🌱 Grace’s Care Tips:
- Pull back some mulch for room to grow
- First feeding when shoots are 3-4 inches
- Begin careful weeding
- Don’t worry if emergence is uneven
Stage 4: Vegetative Growth
Building the powerhouse! Plants develop 8-12 leaves, each corresponding to a bulb wrapper layer. This leaf development directly impacts final bulb size.
🌿 Grace’s Care Tips:
- Regular nitrogen feeding for leaf growth
- Consistent watering (not soggy)
- Side-dress with compost mid-stage
- Stop nitrogen by early May
Stage 5: Bulb Formation
The main event! As days reach 14-15 hours, plants redirect energy into bulb development. You can literally feel individual cloves forming at the base.
🧄 Grace’s Care Tips:
- Stop all nitrogen fertilization
- Maintain consistent soil moisture
- Feel weekly for clove development
- Provide shade during heat waves
Stage 6: Scape Development
Hardneck varieties produce curly flower stalks called scapes. Remove them to redirect energy into bulb development – plus they’re delicious!
🌸 Grace’s Care Tips:
- Cut scapes when they make one full curl
- Use clean shears above uppermost leaf
- Enjoy scapes in stir-fries and pesto
- Removing scapes increases bulb size 20-30%
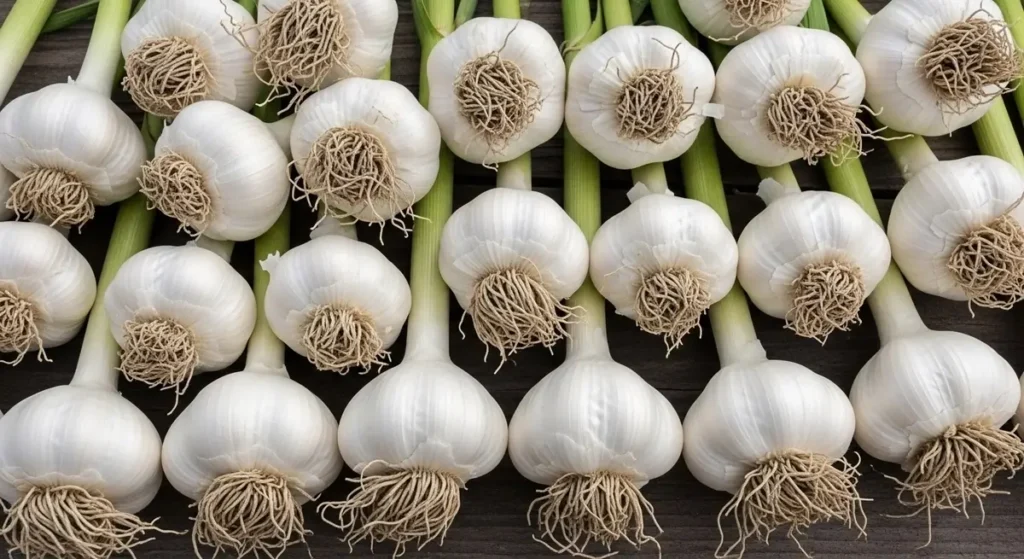
Stage 7: Maturation & Harvest
The grand finale! When bottom 3-4 leaves turn brown but top leaves stay green, it’s harvest time. Perfect timing ensures great storage life.
🎉 Grace’s Care Tips:
- Harvest during dry weather
- Use garden fork to loosen soil first
- Keep leaves attached for curing
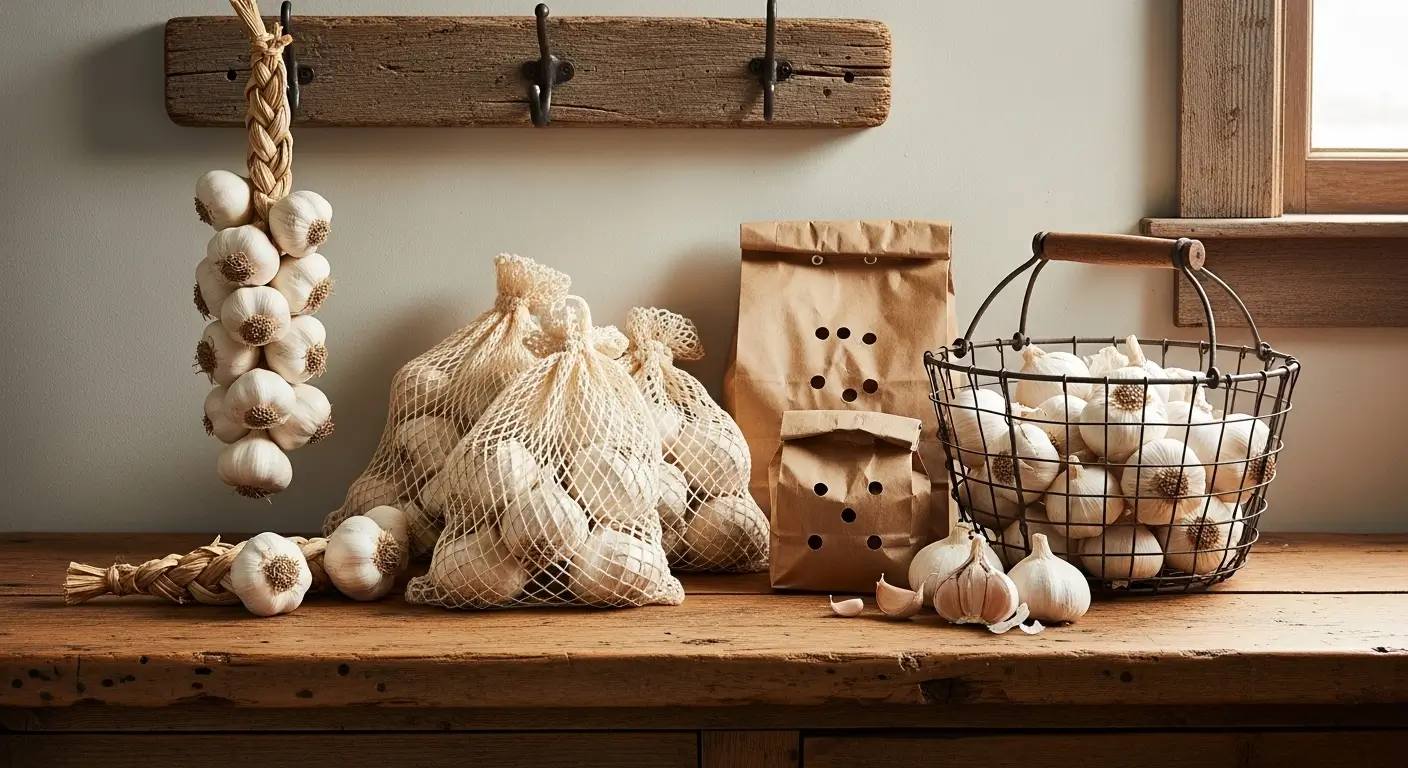
- Cure 2-4 weeks in ventilated, shaded area
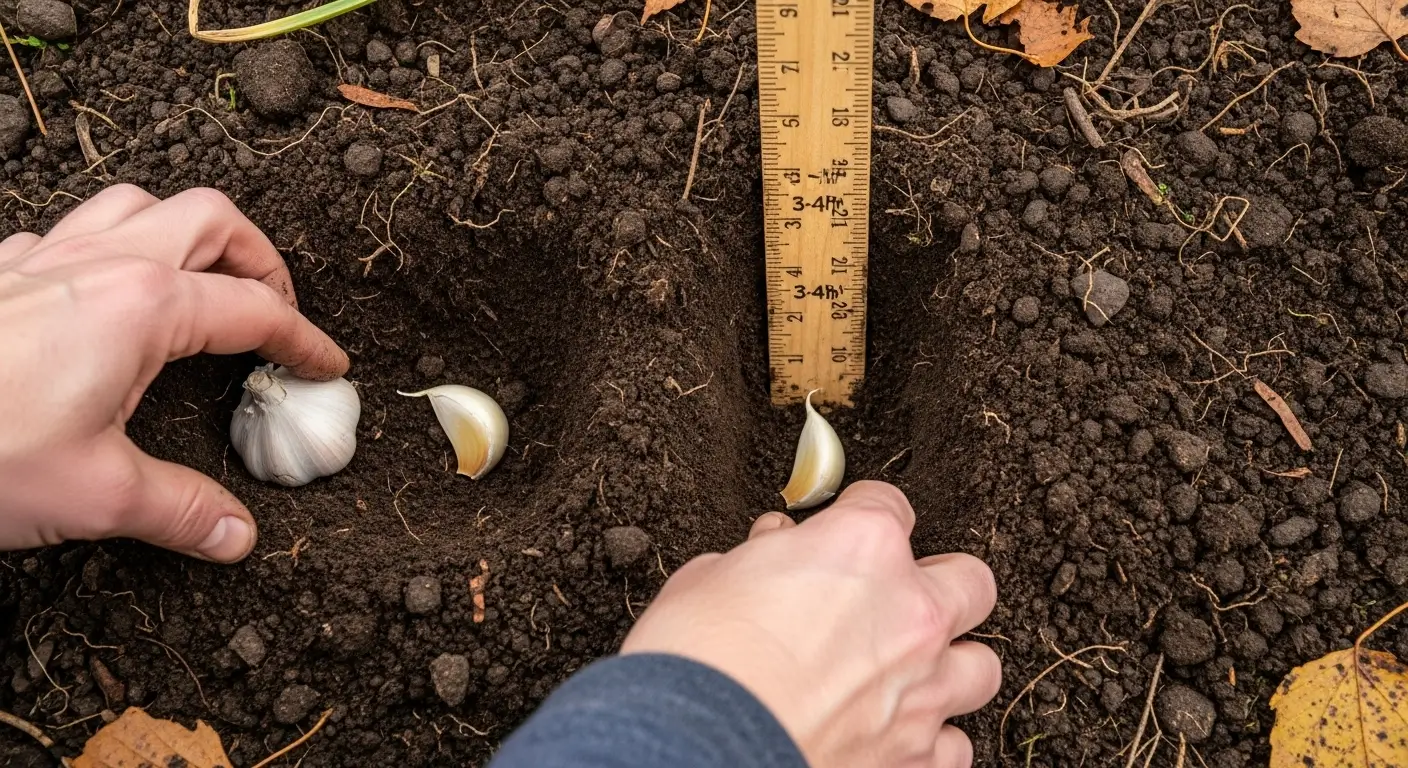
Stage 1: Planting and Root Development (Fall)
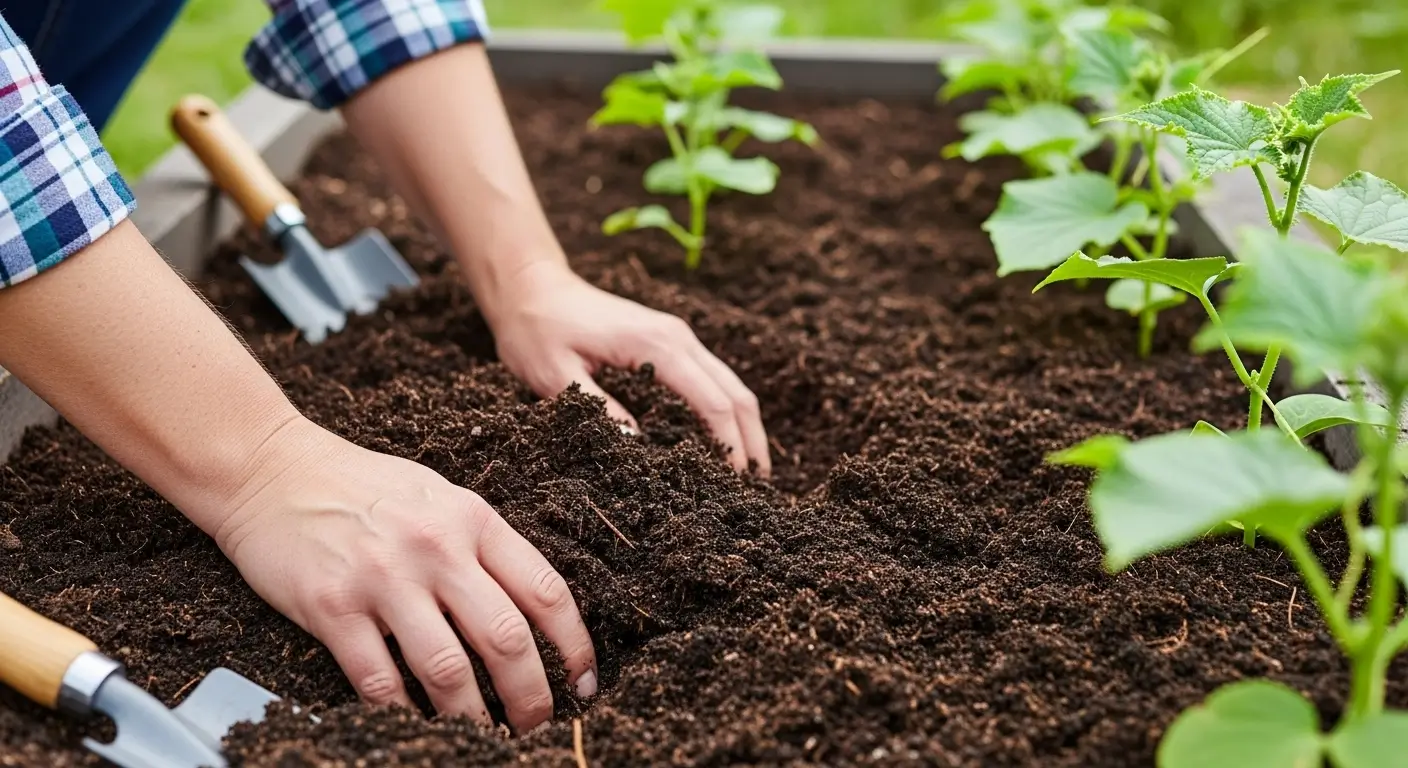
This is where the magic begins, even though you won’t see much happening above ground for months. In my zone 5b garden, I typically plant between mid-October and early November, when soil temperatures have cooled to around 50-60°F.
Here’s what most people don’t realize: within 2-3 weeks of planting, your garlic cloves are already working hard underground. Those cloves are developing their root systems – I’ve seen roots 2-3 inches long just three weeks after planting!
Key care tips:
- Apply 4-6 inches of mulch (I use straw or shredded leaves)
- Ensure good drainage
- Resist the urge to water heavily unless in drought conditions
- Protect from critters
For detailed timing specific to your area, check out my guide on when to plant garlic – it’ll help you nail the perfect planting window.
Stage 2: Winter Dormancy (Winter)
This might seem like the “boring” stage, but it’s actually one of the most critical periods in the garlic plant life cycle. Your garlic needs 12-16 weeks of temperatures below 50°F for proper bulb formation – this process is called vernalization. According to university research on garlic vernalization requirements
While everything looks quiet above ground, your garlic is undergoing crucial physiological changes. The root system continues developing slowly, and the plant accumulates the cold hours it needs for bulb formation.
Winter care is simple:
- Check that mulch hasn’t blown away
- Watch for signs of rodent damage
- Resist any urge to fertilize or water
- Just leave it alone!
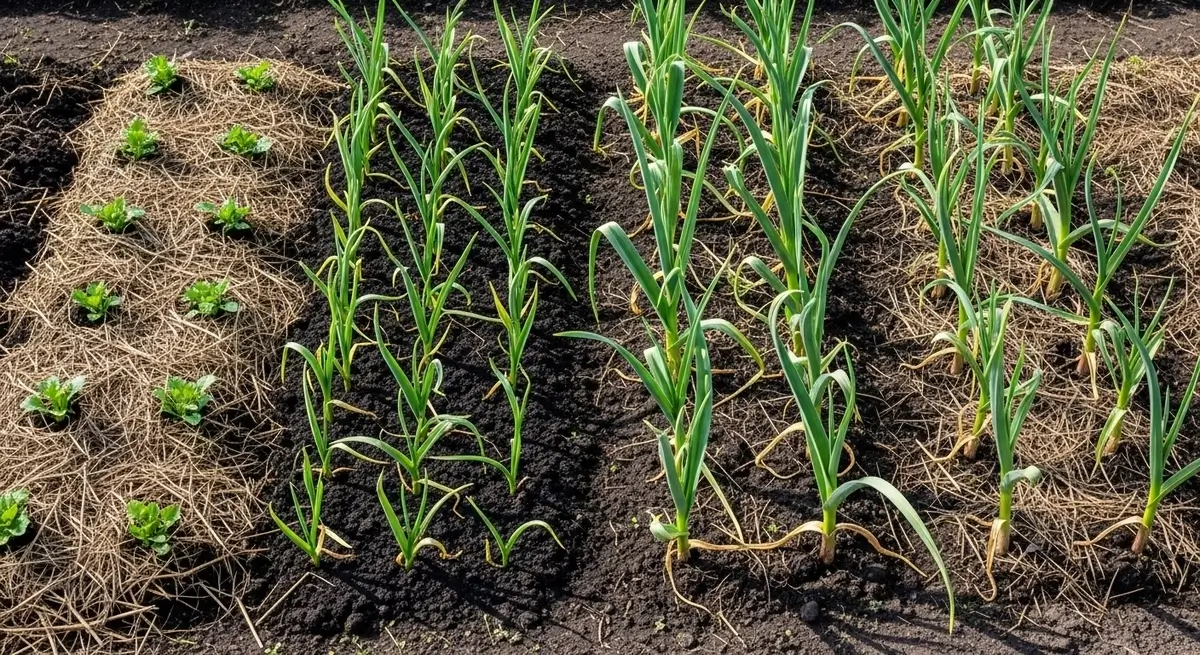
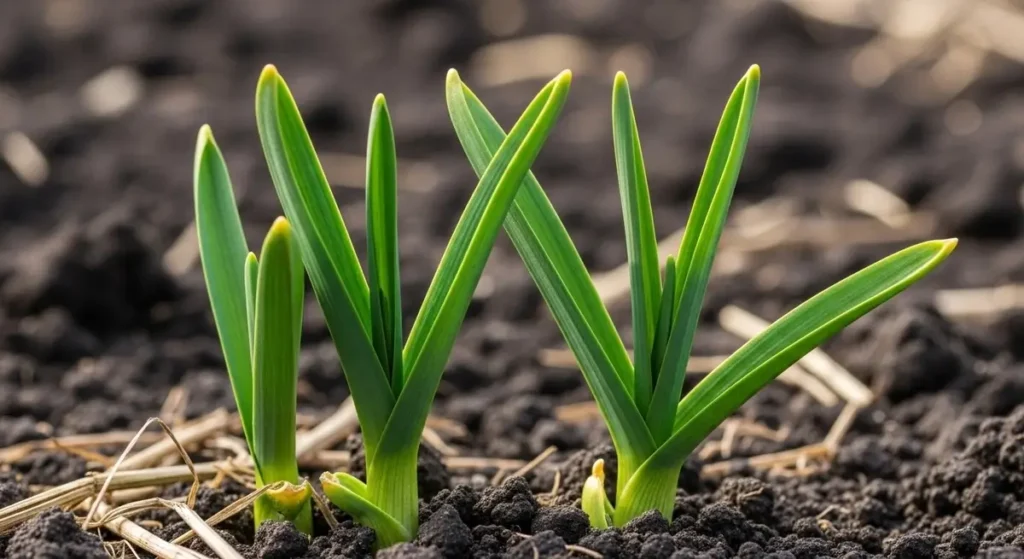
Stage 3: Spring Emergence (Early Spring)
Oh my goodness, this is hands-down my favorite stage! After months of wondering if anything is happening, you finally get to see those first green shoots pushing through the soil.
In my garden, emergence typically happens between late February and mid-March, when soil temperatures reach 40-45°F and we’re getting 10-12 hours of daylight. The first shoots look almost like thick grass, but they quickly develop that distinctive flat, blade-like appearance.
Care during emergence:
- Pull back some winter mulch to give shoots room
- Apply the first feeding when shoots reach 3-4 inches tall
- Start weeding carefully around plants
- Don’t worry if they don’t all emerge at exactly the same time
Stage 4: Vegetative Growth (Spring)
This stage is all about leaf development, and it’s absolutely crucial for your final bulb size. Your garlic will develop 8-12 leaves, and here’s something cool – each leaf corresponds to one layer of the final bulb wrapper!
During this stage, plants go from thin shoots to robust, multi-leaved plants reaching 12-18 inches tall. This is when your garlic is hungriest, requiring plenty of nitrogen for all that leaf development.
My feeding schedule:
- Early stage (4-6 inch shoots): Light-balanced fertilizer
- Mid-stage (8-10 inch plants): Side-dress with compost
- Late stage (12+ inch plants): Final nitrogen feeding
I always stop nitrogen feeding by late April because too much later can delay bulb formation. For complete nutrition guidance, check out my detailed guide on fertilizing garlic.
Stage 5: Bulb Formation (Late Spring/Early Summer)
Here we are – the stage everything has been building toward! Bulb formation begins when days reach 14-15 hours of daylight, usually late spring or early summer in my area.
The base of the plant begins to swell as individual cloves form and differentiate. I check progress weekly by gently feeling around the soil line – you can literally feel the bulbs developing!
Signs of bulb development:
- Week 1-2: Base feels slightly thicker
- Week 2-3: Individual clove bumps start forming
- Week 3-4: Distinct cloves are clearly defined
Critical care adjustments:
- Completely stop nitrogen fertilization
- Maintain consistent moisture (not waterlogged)
- Provide shade during extreme heat waves
Stage 6: Scape Development (Hardneck Varieties)
If you’re growing hardneck garlic like I do, you’ll see curly flower stalks called scapes emerge in early to mid-June. These start straight but quickly develop their characteristic curl.
Should you remove scapes? Absolutely! In my side-by-side trials, plants with scapes removed consistently produced bulbs 20-30% larger than those left intact.
When and how to harvest scapes:
- Cut when they’ve made one full curl but before the bulbil capsule opens
- Use clean shears to cut just above the uppermost leaf
- Bonus: scapes are delicious! Use them in stir-fries or pesto.
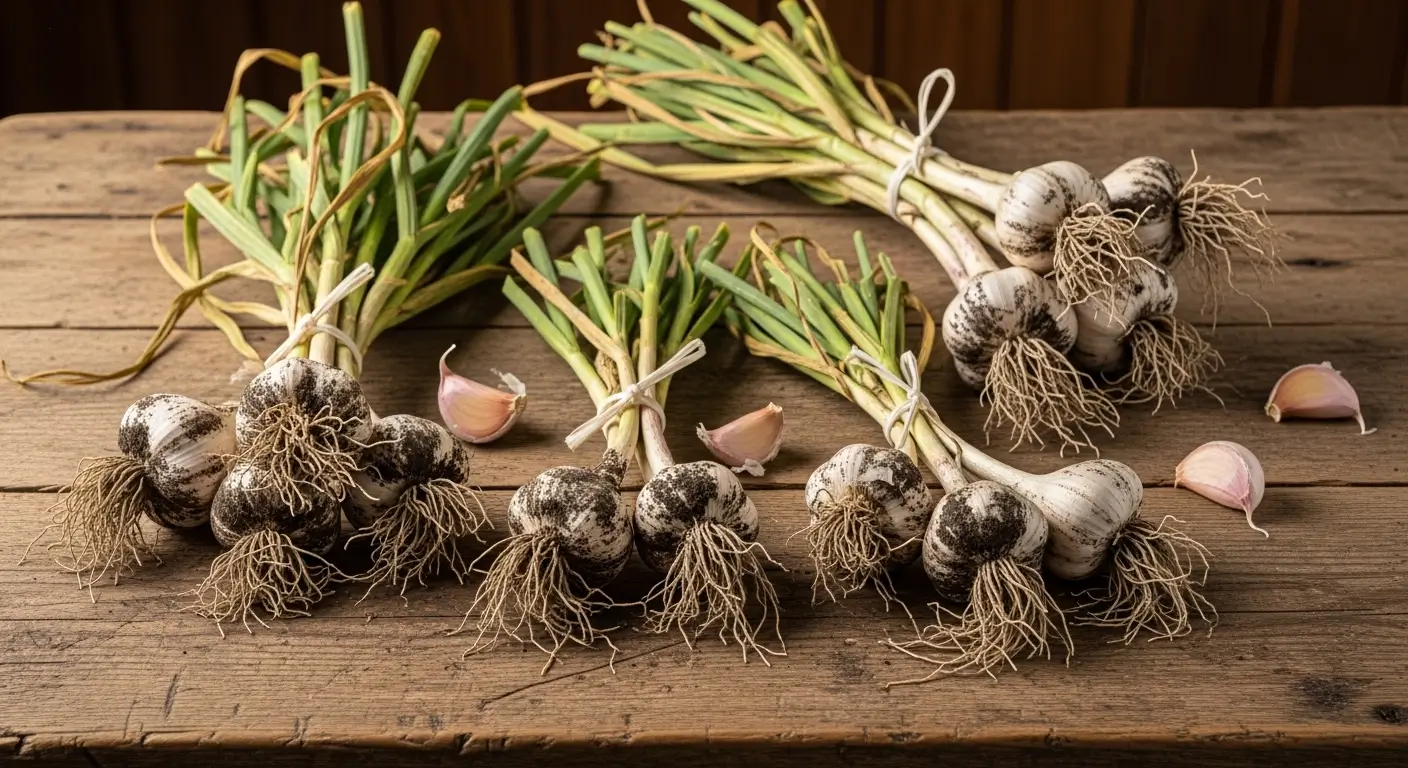
Stage 7: Maturation and Harvest (Mid-Summer)
The grand finale! Knowing when to harvest is crucial – too early means small bulbs, too late means deteriorated storage quality.
Key harvest indicators:
- Bottom 3-4 leaves have turned brown
- The top 5-6 leaves are still green
- Overall plant looks past peak vigor
- Test dig shows well-formed bulbs with tight, papery wrappers
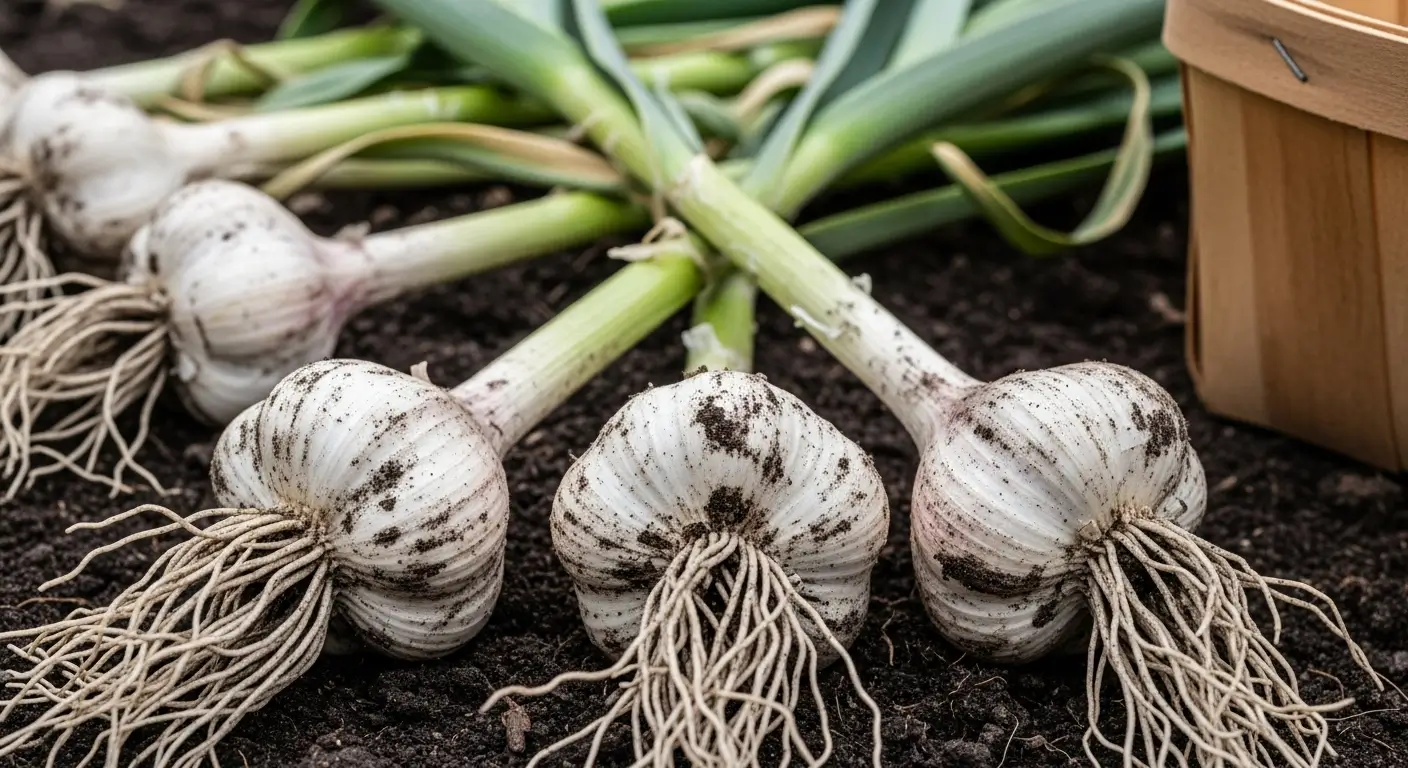
My harvest process:
- Choose dry weather conditions
- Use a garden fork to loosen the soil carefully
- Pull the entire plant with roots and leaves intact
- Brush off loose soil (don’t wash!)
- Cure in a well-ventilated, shaded area for 2-4 weeks
When Things Go Wrong: Troubleshooting Your Garlic Journey
Look, I’ll be honest with you – even after all these years, I still run into problems with my garlic. The difference now is that I know what to look for and how to fix things before they become disasters. Here are the issues I see most often, along with what’s usually causing them:
Spring Emergence Problems
Poor or patchy emergence is probably the most heartbreaking issue for new garlic growers. You wait all winter, and then… nothing. Or worse, only half your bed comes up. In my experience, this usually comes down to planting depth or drainage issues.
I learned this the hard way, my third year growing garlic, when I planted some cloves barely an inch deep (I was rushing before a snowstorm). Those poor cloves either dried out or got eaten by critters. Now I religiously plant 2-3 inches deep, measured from the tip of the clove.
Growing Season Challenges
Weak, spindly spring growth always makes me think of my neighbor’s garlic bed a few years back. His plants looked like they needed a good meal – pale, thin, and just struggling. Turns out he’d skipped fall soil preparation entirely. Poor nutrition during the growing season or insufficient winter cold can both cause this issue.
Small bulbs at harvest – oh boy, this one still stings from my early days! Nothing’s more disappointing than pulling up marble-sized bulbs after months of care. Usually, this means the plants didn’t get enough nutrition during that crucial vegetative growth stage, or (and I’ve done this too) you harvested too early because you got impatient.
Loose, poorly-formed bulbs often happen when you get heavy-handed with nitrogen late in the season. I remember one year I kept feeding my garlic nitrogen right up until June, thinking I was being helpful. Those bulbs fell apart as soon as I tried to clean them. Now I know – cut off nitrogen by early May!
Your Year-Round Garlic Care Roadmap
After managing garlic through so many seasons, I’ve developed a rhythm that works. Here’s my tried-and-true seasonal approach that you can adapt to your own garden:
Fall: Setting the Foundation
This is planting season, and honestly, it sets the tone for your entire garlic year. I spend time preparing my beds with compost, plant my cloves at the right depth and spacing, then tuck them in with a cozy layer of straw mulch. Don’t forget to protect them from curious squirrels – I learned that lesson after finding half my cloves scattered across the yard!
Winter: The Waiting Game
This is the easiest season for garlic care, which is perfect because who wants to be fussing around in the garden when it’s 20 degrees outside? I just check occasionally that my mulch hasn’t blown away, and maybe plan what varieties I want to try next year. Sometimes I’ll browse seed catalogs and dream about next season’s harvest.
Early Spring: Wake-Up Time
Once I see those first green shoots popping up (usually around March here in Illinois), I get excited and start my more active care routine. I pull back some of the winter mulch so the shoots can grow freely, apply my first feeding of the season, and start the never-ending battle against spring weeds.
Late Spring: Growth Mode
This is when garlic really takes off, and it’s hungry! I keep up with regular feeding and make sure they’re getting consistent water. It’s also when I start checking the base of the plants weekly to monitor bulb development – I get genuinely excited, feeling those first little bulb bumps forming.
Early Summer: Decision Time
Scape season! If you’re growing hardnecks, this is when you’ll see those curly flower stalks emerge. I always cut mine off to encourage bigger bulb development, plus they’re delicious grilled or in stir-fries. I also dial back the nitrogen feeding and focus on keeping soil moisture consistent.
Mid-Summer: The Big Moment
Harvest time is both exciting and nerve-wracking. I watch for those telltale signs of maturity and try to time it perfectly with dry weather. There’s nothing quite like pulling up your first bulb of the season and seeing those beautiful, plump cloves!
Your Path to Garlic Growing Confidence
You know what I love most about understanding these garlic growth stages? It takes all the guesswork out of growing garlic. Instead of wondering “Am I doing this right?” you’ll know exactly what your plants need and when they need it.
Think of each stage as building on the last one – those strong roots you encouraged in fall will fuel vigorous spring growth, which creates the leaf power needed for impressive bulb formation. It’s like watching a perfectly choreographed dance unfold in your garden.
For the complete picture on growing garlic successfully, including choosing the right varieties for your area and detailed planting techniques, don’t miss my comprehensive guide on how to grow garlic. It covers everything from soil prep to storage, giving you the full foundation for garlic growing success.
Here’s what I want you to remember most: be patient with yourself and your garlic. Every gardener makes mistakes – I certainly have! But each season teaches you something new, and before you know it, you’ll be the one other gardeners come to for garlic advice.
Whether you’re just getting started or looking to level up your garlic game, understanding these growth stages will transform you into a confident, successful garlic grower. And trust me, once you taste your first home-grown garlic, you’ll never want to go back to store-bought!
Happy growing, and here’s to your most successful garlic harvest yet!