Okay, real talk – I used to think growing garlic was this super complicated thing that only “real” gardeners could pull off. Boy, was I wrong! Turns out, growing garlic in containers is probably one of the easiest things you can do, and honestly? Some of my best garlic has come from random pots sitting on my deck.
I’m not even kidding – last year I harvested these massive, gorgeous bulbs from containers while my fancy garden bed garlic looked kinda sad. Go figure, right? If you’ve been thinking about trying container gardening but weren’t sure where to start, garlic is your friend. Trust me on this one.
Table of Contents
Why Growing Garlic in Containers is My New Obsession
Look, I’ll be straight with you – garlic in pots is just easier. Like, way easier than I expected when I first tried it.
You Actually Know What’s Going On: With containers, there’s no guessing about your soil. Is it too wet? Too dry? You can see and control everything. My garden soil is this weird clay mess that I’m still trying to figure out after five years, but my containers? Perfect every single time.
You Can Move Stuff Around: This sounds silly until you experience it. When the weather app starts screaming about a surprise frost, I just drag my pots into the garage. Try doing that with your garden bed – I dare you!
Small Spaces Are Fine: My friend Sarah lives in this tiny downtown apartment with basically a fire escape for outdoor space, and she grows enough garlic to last her all year. If she can do it, literally anyone can.
It Just Works Better Sometimes: I swear my container garlic always pops up earlier in spring. Maybe it’s because the pots warm up faster? Whatever – I’m not complaining about getting a head start on the growing season.
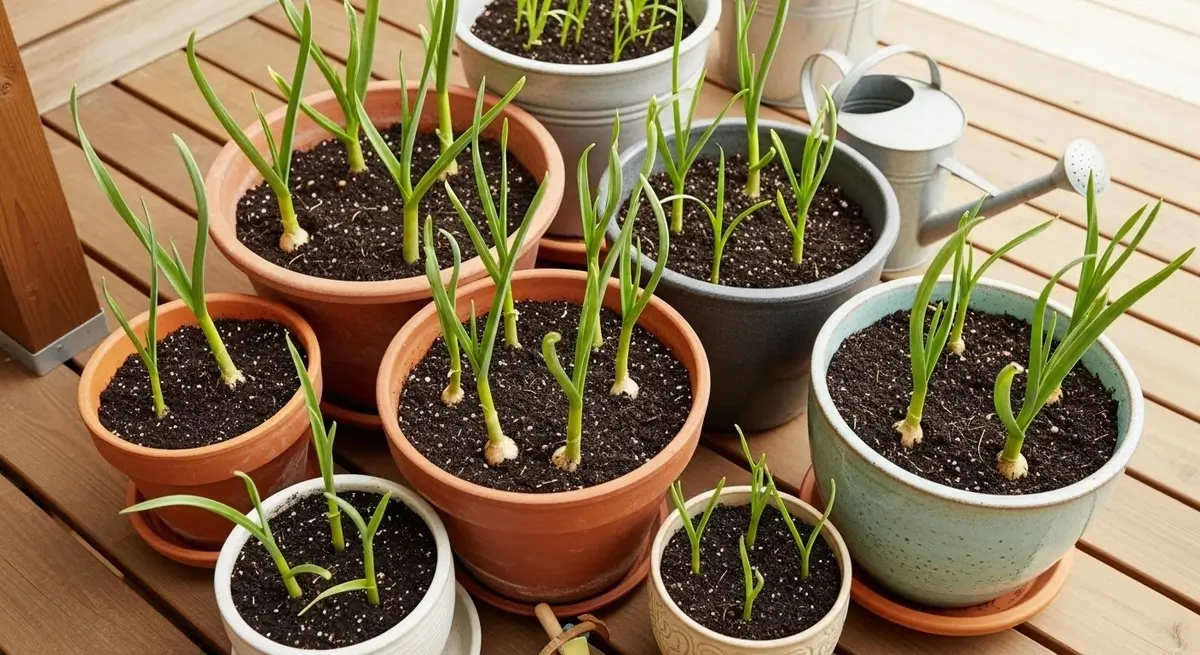
Let’s Talk Containers (Because Size Really Does Matter)
Alright, here’s where I messed up big time when I started. I thought, “Oh, garlic’s small, I’ll just use these cute little pots I have lying around.” Wrong move, friend. So wrong.
Go Bigger Than You Think: You need pots that are at least 12 inches deep – and honestly, deeper is better. I’m talking 14-inch diameter pots if you want to fit 8-10 cloves comfortably. I know it seems like overkill, but garlic needs room to do its thing underground.
My first attempt was in these adorable 6-inch pots, and let me tell you, the garlic that came out looked like it belonged in a dollhouse. Learn from my mistakes!
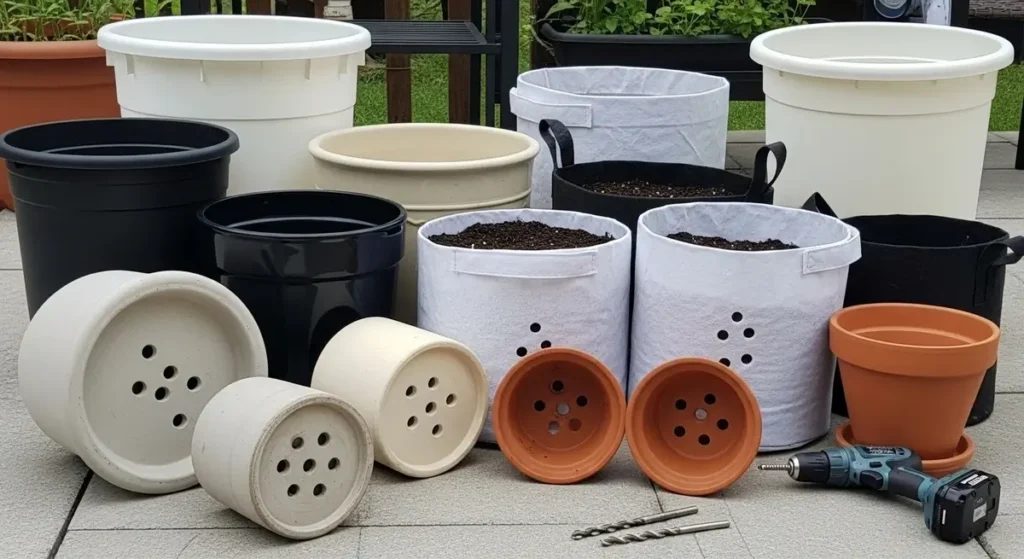
Drainage Holes Are Your Best Friend: I cannot stress this enough – if water can’t get out, your garlic’s gonna have a bad time. I drill holes like I’m making Swiss cheese. Bottom of the pot? Holes. Sides near the bottom? More holes. Garlic hates wet feet more than I hate doing laundry.
Pro tip I learned from this sweet lady at my garden club: throw some broken pottery or gravel in the bottom before you add soil. Keeps everything draining nicely.
Don’t Overthink the Material: I’ve tried everything – fancy ceramic, basic plastic, those fabric grow bags. Honestly? For beginners, just grab some decent plastic or resin pots. They’re not gonna dry out on you like terra cotta, and you won’t throw out your back moving them around.
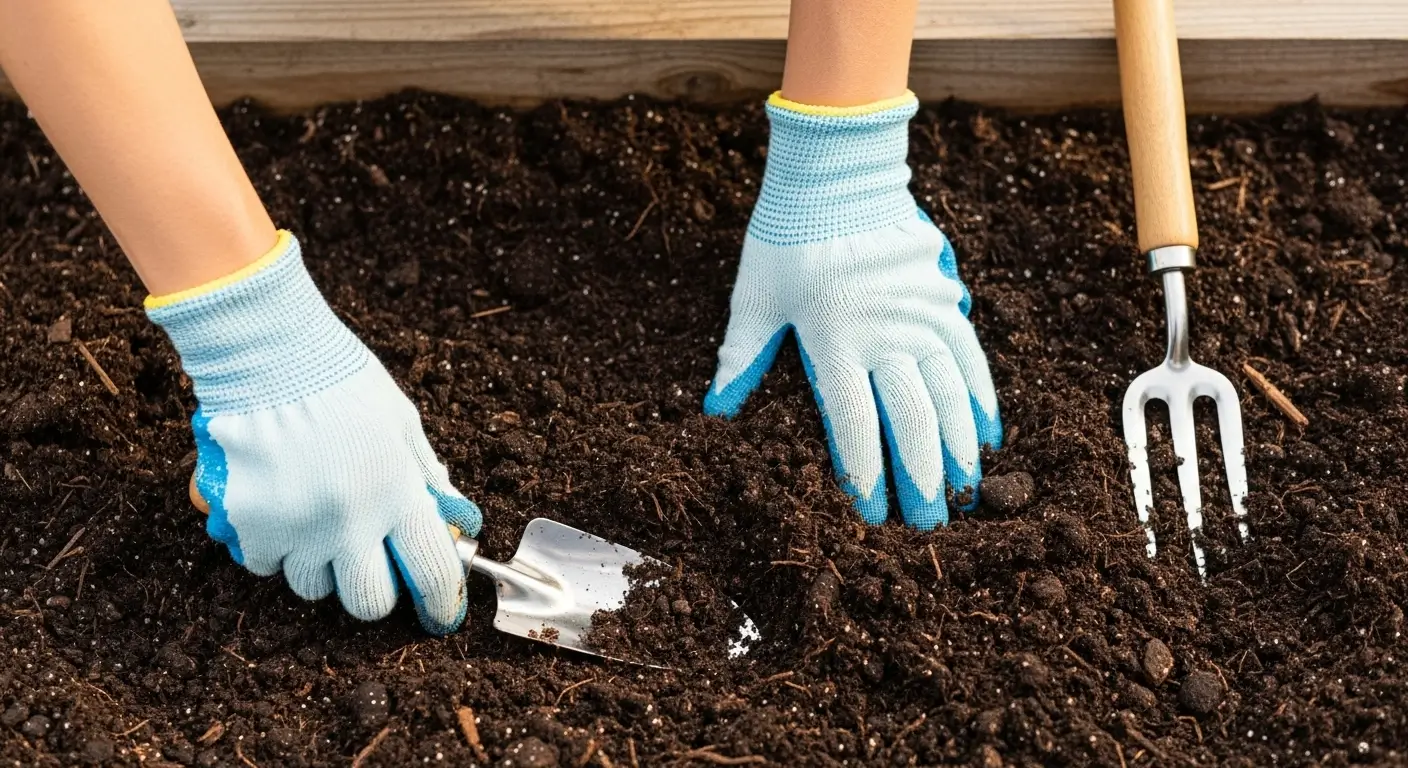
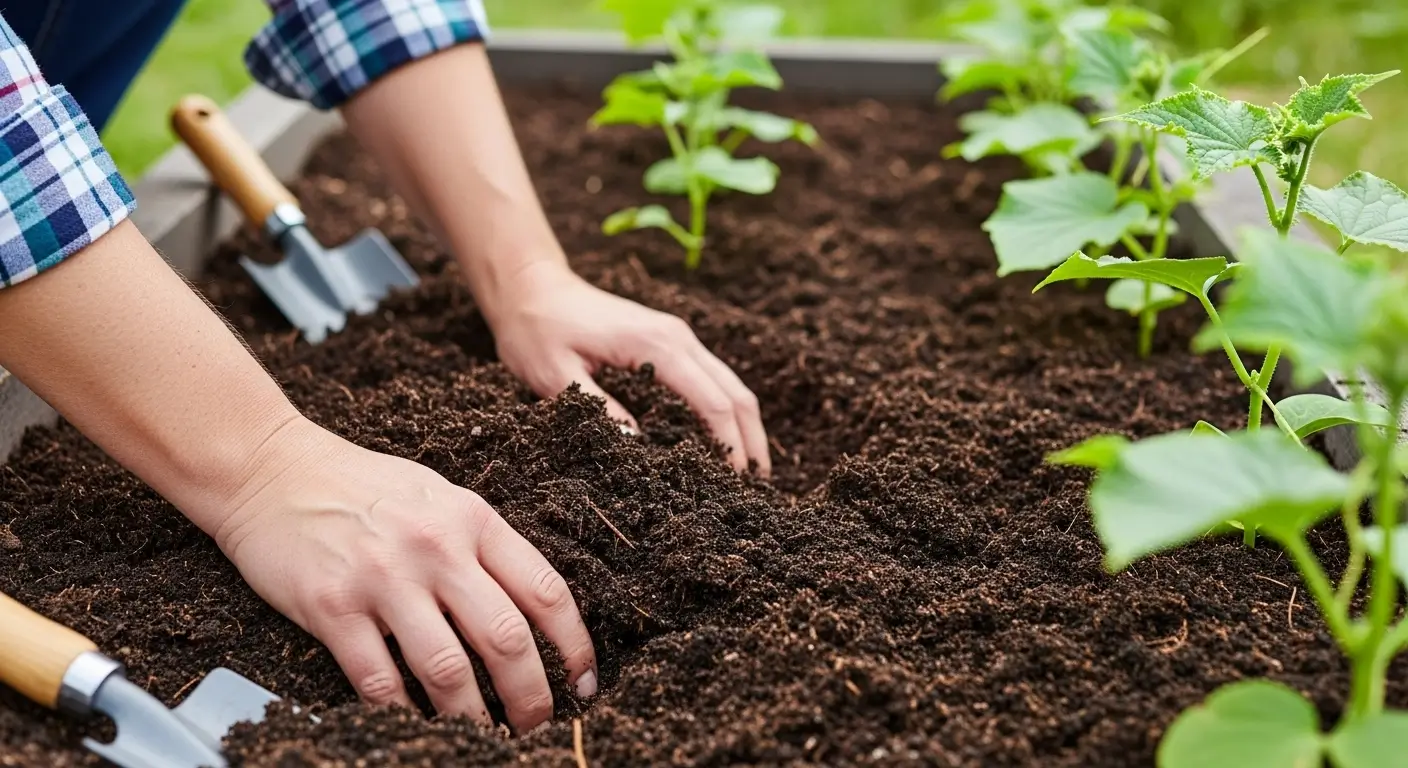
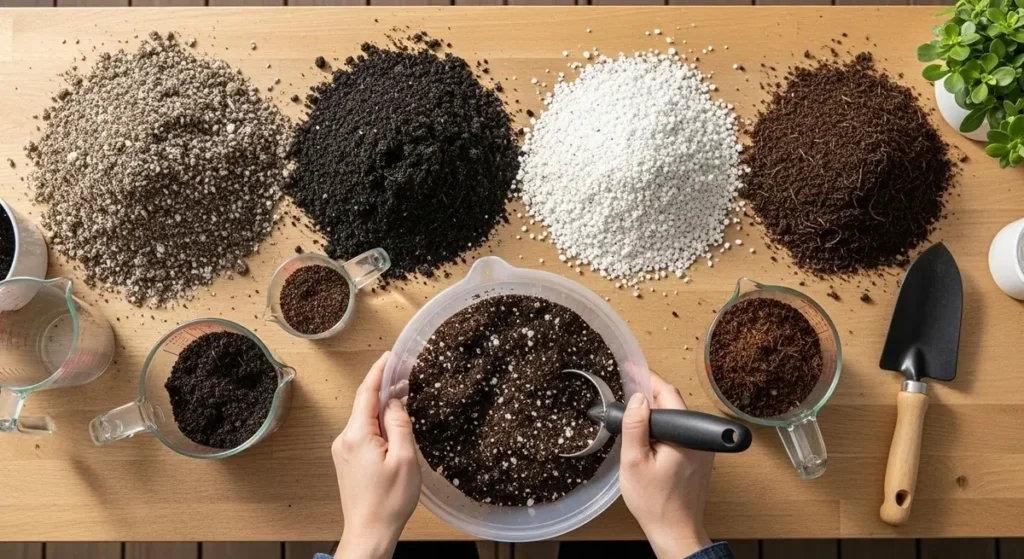
The Magic Soil Recipe (It’s Not That Complicated)
Okay, I’m gonna share my super-secret soil mix, but don’t tell anyone I said it was super-secret because it’s actually pretty basic.
Here’s What I Throw Together: About 40% decent potting soil, 30% compost (the good stuff), 20% perlite to keep things draining, and 10% worm castings because worms are basically tiny soil wizards.
The pH Thing: Garlic likes things slightly alkaline – somewhere between 6.0 and 7.0. I test mine with one of those cheap pH kits from the hardware store. Takes like two minutes and saves you from wondering why your garlic looks grumpy.
The Drainage Test: Fill your pot with soil, water the heck out of it, and see what happens. If water’s still sitting on top after a few minutes, you’ve got problems. If it drains so fast, it’s like pouring water through a sieve, which also causes problems. You want that Goldilocks zone – not too fast, not too slow.
Planting Time (AKA When the Real Fun Starts)
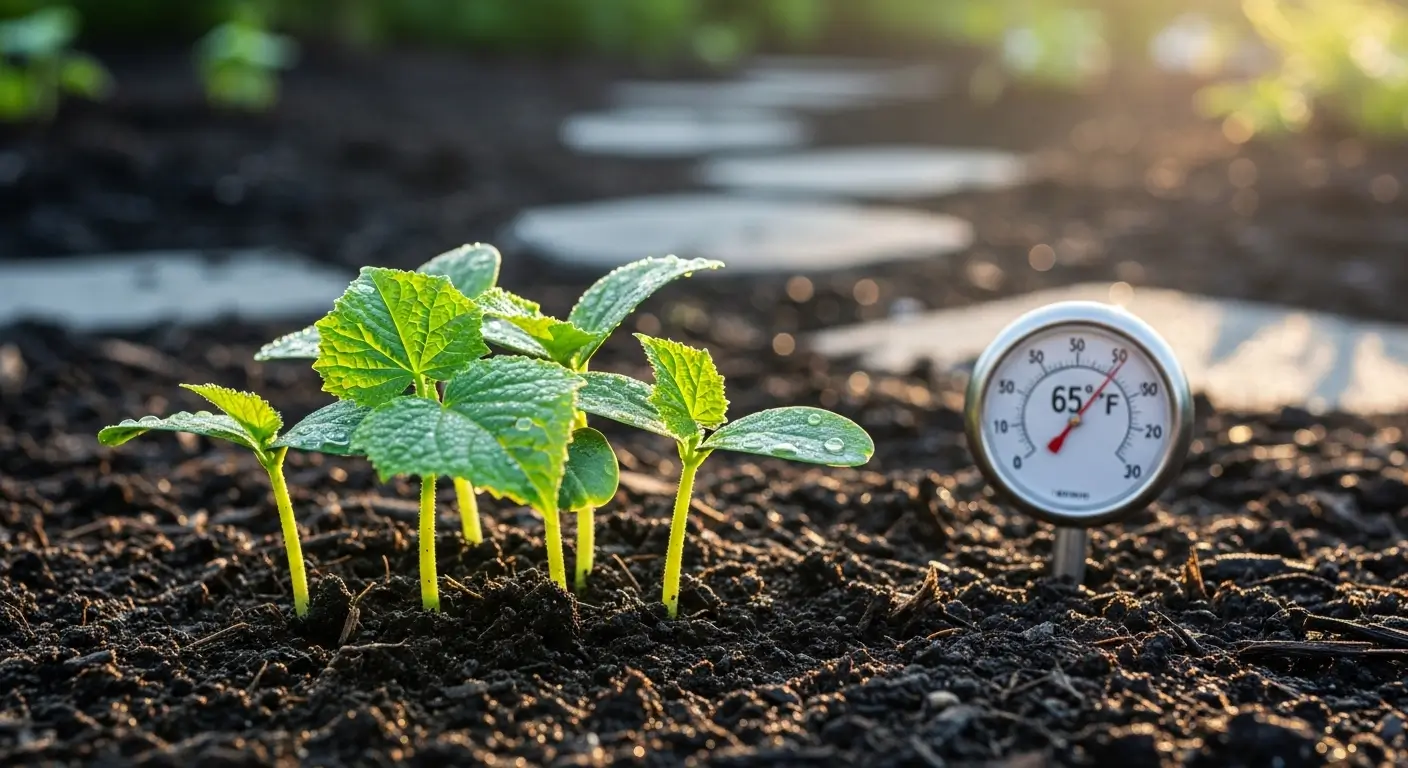
Timing matters: aim to plant your garlic about 4 to 6 weeks before your area’s first hard freeze. Here in Illinois, that usually falls sometime in October—right around the time I’m digging out my winter sweaters. But for the best results, check your USDA hardiness zone to figure out the right timing for where you live.
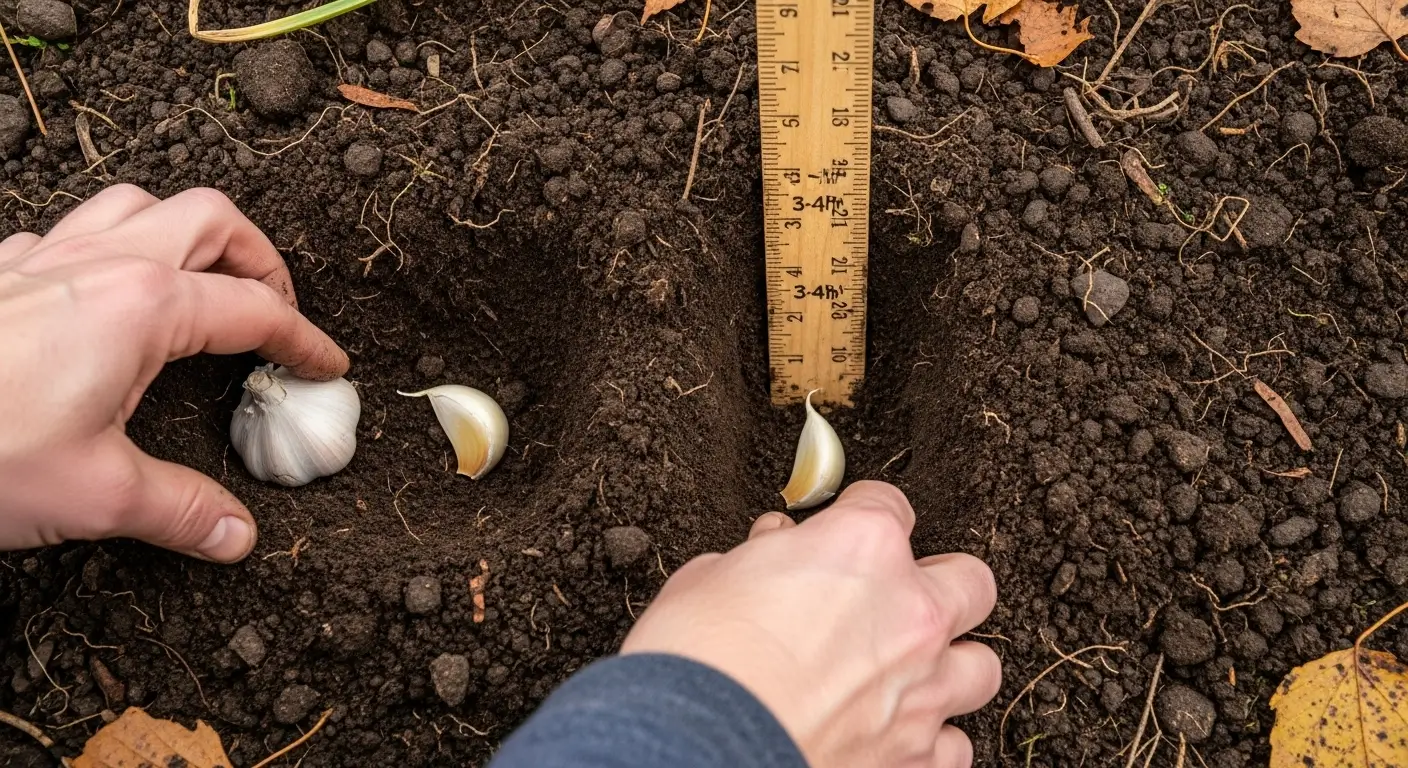
Pick the Good Cloves: You want the biggest, healthiest-looking cloves from your seed garlic. I separate them right before planting – don’t do it days ahead like I did once, because they’ll dry out and get all sad.
How Deep, How Far Apart: About 2 inches deep, pointy end up (this feels obvious, but I’ve seen people mess it up), and space them maybe 3-4 inches apart. Yeah, it seems close, but they’re living in paradise compared to garden soil, so they can handle being neighbors.
Here’s something weird I discovered – I plant container garlic a bit shallower than garden garlic because containers freeze harder. Who knew?

Keeping Your Garlic Happy Through the Seasons
Winter Protection: This is super important and something I totally screwed up in my first year. Containers freeze way more than garden soil, so you can’t just leave them sitting out in the polar vortex.
I move mine to my unheated garage or cluster them against the south side of the house. You want them cold (garlic needs that chill time), but not frozen solid for months. I learned this when half my cloves died during that brutal winter a few years back.
Spring is Like Christmas Morning: When those first green shoots push through the soil, it’s honestly one of the best parts of gardening. Usually happens in March or April, and it never gets old.
Watering Without Overdoing It: Once things get growing, water when the top inch of soil feels dry. Not bone dry, not soggy – just dry. Container plants are drama queens about water, so you gotta stay on top of it.
If you want to know what to expect as your garlic grows, check out our complete guide to garlic growth stages – it’s super helpful for knowing when to do what.
Advanced Tips for Growing Garlic in Containers
Plant in Waves: I started doing this thing where I plant new containers every couple of weeks in the fall. Sounds crazy, but it gives you a staggered harvest, which is pretty cool for meal planning.
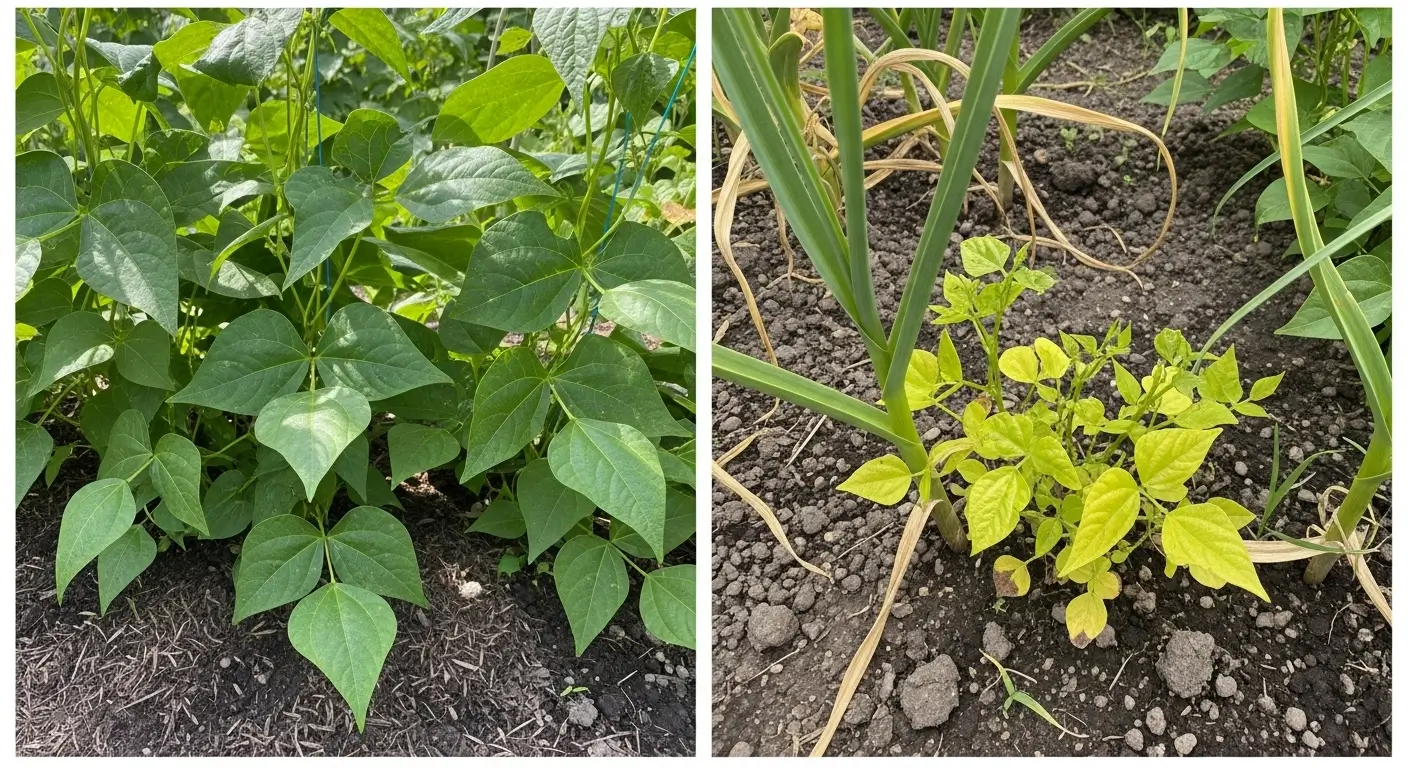
Throw in Some Herbs: If you’ve got really big containers, plant some parsley or chives around the edges. They won’t bug the garlic, and you get bonus herbs. Win-win.
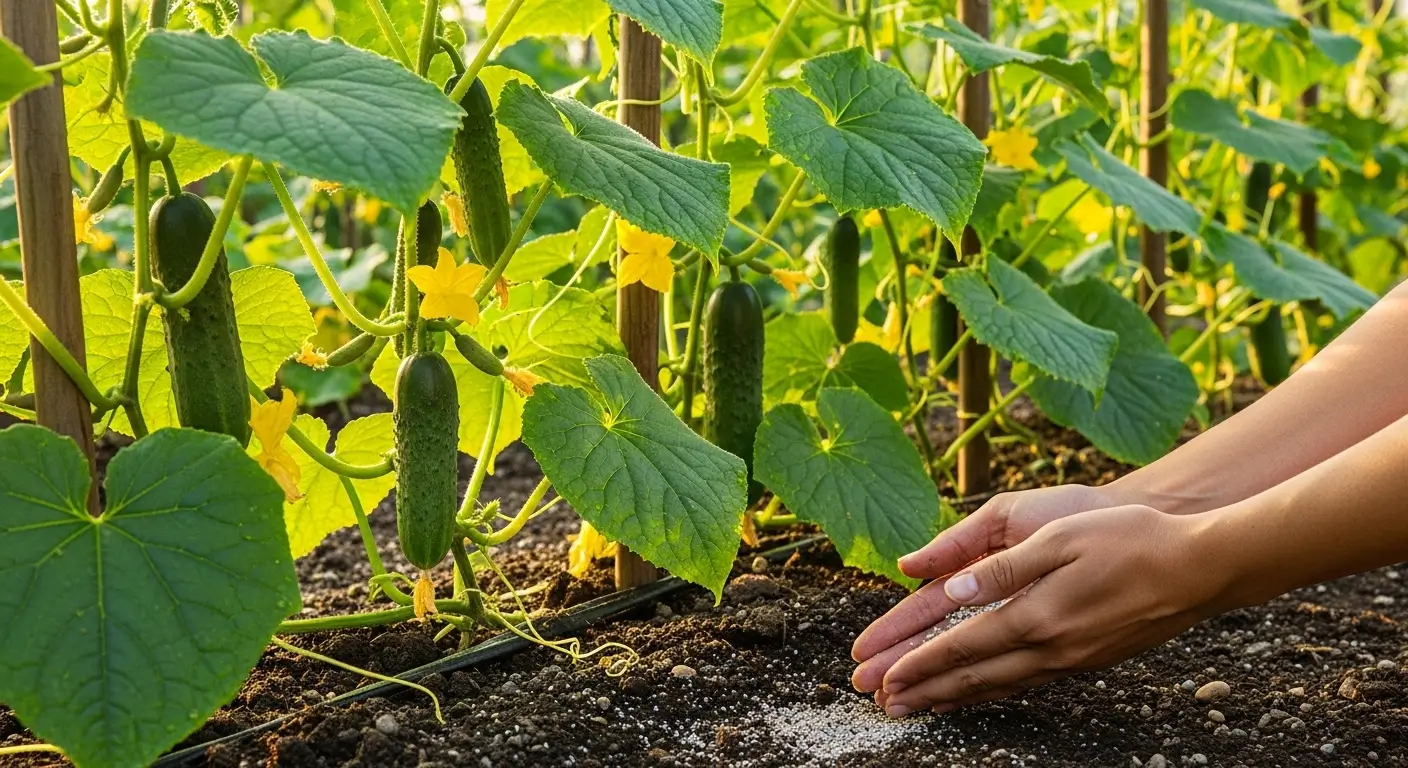
Feed Them Occasionally: I give my container garlic a little fertilizer boost three times during the season – when they first pop up, when they’re about 6 inches tall, and when I see flower buds starting (which I pinch off immediately).
When Things Go Wrong (Because They Sometimes Do)
Stunted, Sad-Looking Plants: Usually means your pot’s too small, drainage sucks, or they didn’t get cold enough over winter. I see this a lot when people try to grow garlic indoors – it doesn’t work that way, friends.
Leaves Turning Yellow Too Early: Water drama, either too much or too little. Container plants are more sensitive about this stuff than garden plants, so you gotta pay attention.
Lots of Leaves, Tiny Bulbs: This one’s frustrating – usually means you need to feed them more, or you waited too long to harvest. Container plants burn through nutrients faster than garden plants.
For help picking the right varieties for your setup, our guide to garlic types and best varieties has tons of good info.
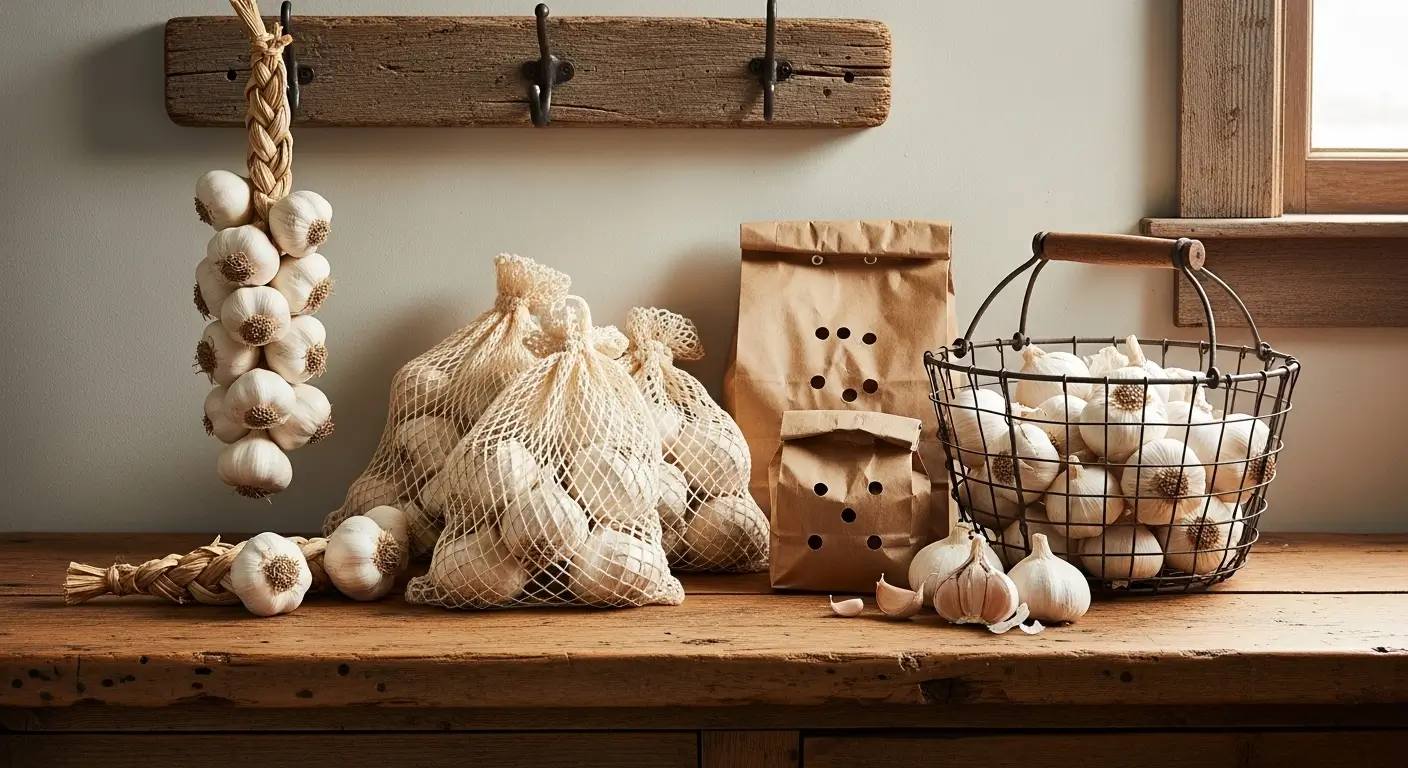
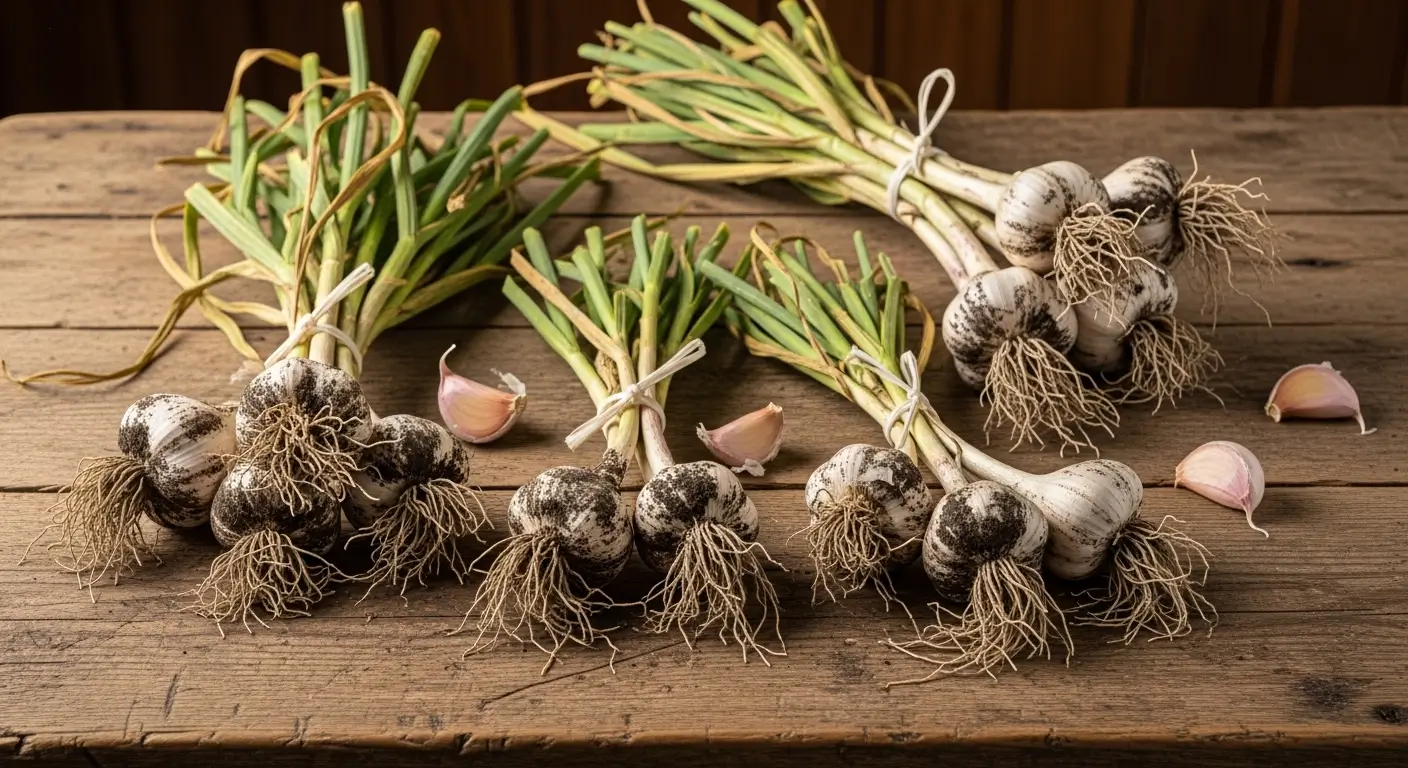
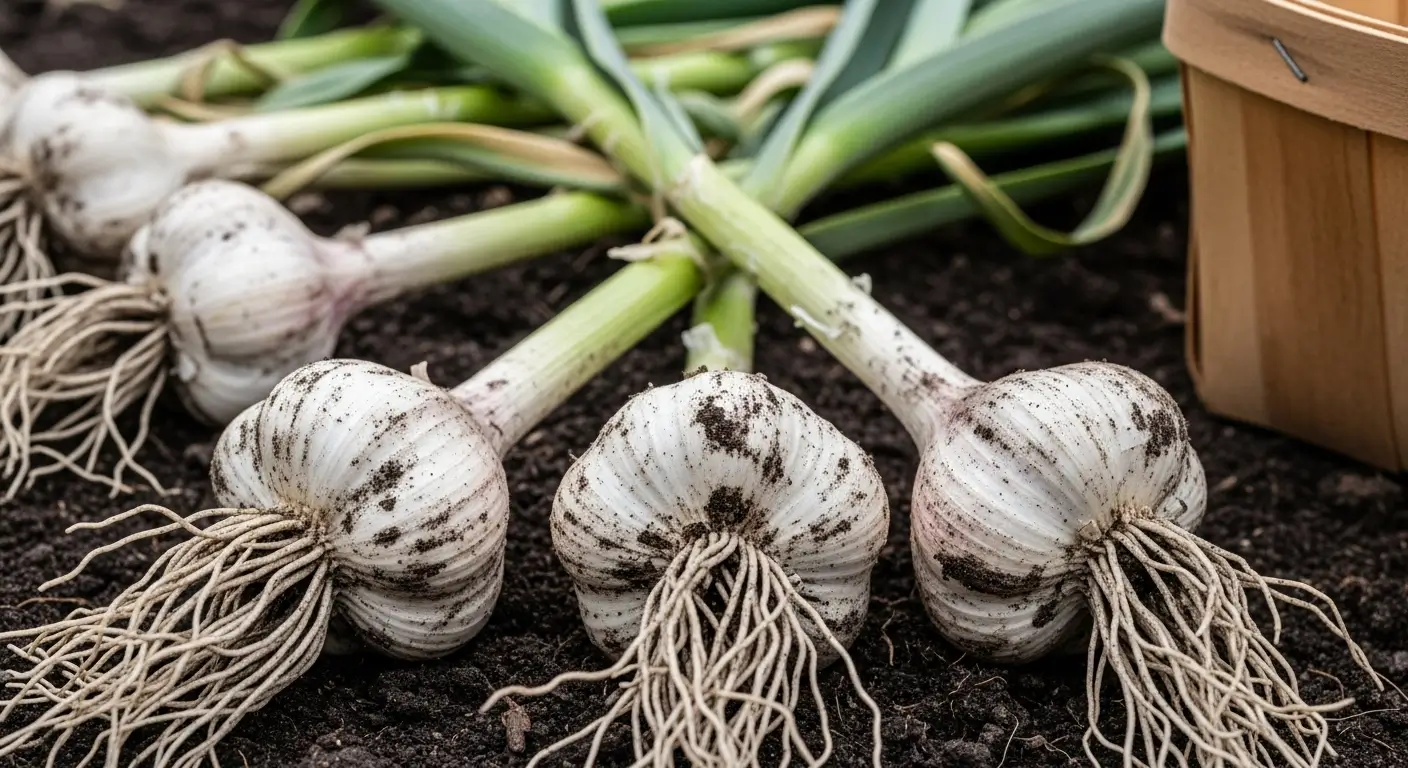
Harvest Time (The Best Part!)
You’ll know it’s time when the bottom leaves turn brown, but you’ve still got several green ones up top. The cool thing about containers is you can actually peek at one bulb without messing up the others – brush away some soil and take a look.
I cure my container garlic the same way as garden garlic – hang it in a warm, dry spot for a few weeks. The quality is just as good, and honestly, sometimes better because I had more control over everything.
Just Go For It Already!
Look, growing garlic in containers has become one of my favorite things to do in the garden. It’s low-stress, pretty foolproof once you get the hang of it, and there’s something really satisfying about growing your own garlic.
Start small – maybe try 2-3 containers your first year. Figure out what works in your climate and with your schedule. Most importantly, don’t stress about making it perfect. Even if you mess something up, you’ll learn something for next time.
The best part about container growing is that it’s low-risk but high-reward. Even if you’ve got terrible soil or live in an apartment, you can still grow amazing garlic.
Want even more garlic growing info? Check out our main guide to growing garlic for all the details.
So what do you think? Ready to give it a shot? I’d love to hear how it goes! Please drop me a comment and let me know what varieties you’re thinking about trying, or share pics of your setup. Nothing makes me happier than seeing other people get excited about growing their food – even if it’s just a few pots on a balcony!