Hey there, fellow dirt-under-the-fingernails friend! So, you’ve got some garlic in the ground and you’re wondering about mulching garlic for winter, huh? Grab a cup of coffee and let me share a little story—because I’ve been exactly where you are, and I’m here to help you skip the hard lesson I learned the cold way.
It was my second year growing garlic, and I was feeling pretty proud of myself. Garlic’s tough, right? Practically a weed! So when my neighbor mentioned something about mulching, I just shrugged. “It’ll be fine,” I figured.
Well… it wasn’t.
Come spring, half my garlic had popped out of the ground like little white torpedoes. I felt like such a rookie! But that mistake taught me everything I now know about mulching garlic for winter—why it matters, when to do it, and how to do it right. Now, I’m here to pass that knowledge on to you, so your garlic stays snug, safe, and exactly where it belongs.
Here’s what you need to know:
- Mulch when your garlic shoots are 2-3 inches tall (not before!)
- Use 4-6 inches of the good stuff (straw is my ride-or-die)
- Don’t skip this step—seriously, your future self will thank you
- Pull it back gradually in spring when things warm up
Table of Contents
Why Mulching Garlic for Winter Is Absolutely Essential
Okay, let me tell you about my buddy Jim from down the street. This guy grows tomatoes that make you weep with joy and has corn that could win county fair ribbons. But when did he plant garlic for the first time? Total disaster.
“Grace,” he said, “it’s garlic. The stuff grows wild in fields!”
Oh, Jim. Sweet, naive Jim.
Here’s the thing about garlic cold protection—it’s not just about keeping your plants from turning into garlic popsicles (though that’s part of it). It’s about giving them a stable, cosy environment to develop strong roots all winter.
Without proper mulching of garlic for winter, you get what I call “the garlic roller coaster.” Your soil freezes, thaws, freezes again, and before you know it, those poor bulbs are getting tossed around like they’re on some twisted underground amusement park ride. Nobody wants that.
Here’s what good mulch actually does:
- Keeps soil temps steady (no more freeze-thaw drama)
- Stops weeds from crashing your garlic party
- Prevents that awful “heaving” where plants literally get pushed out of the soil
- Keeps moisture levels reasonable (not soggy, not desert-dry)
Trust me, once you start mulching properly, you’ll wonder how you ever grew garlic without it.
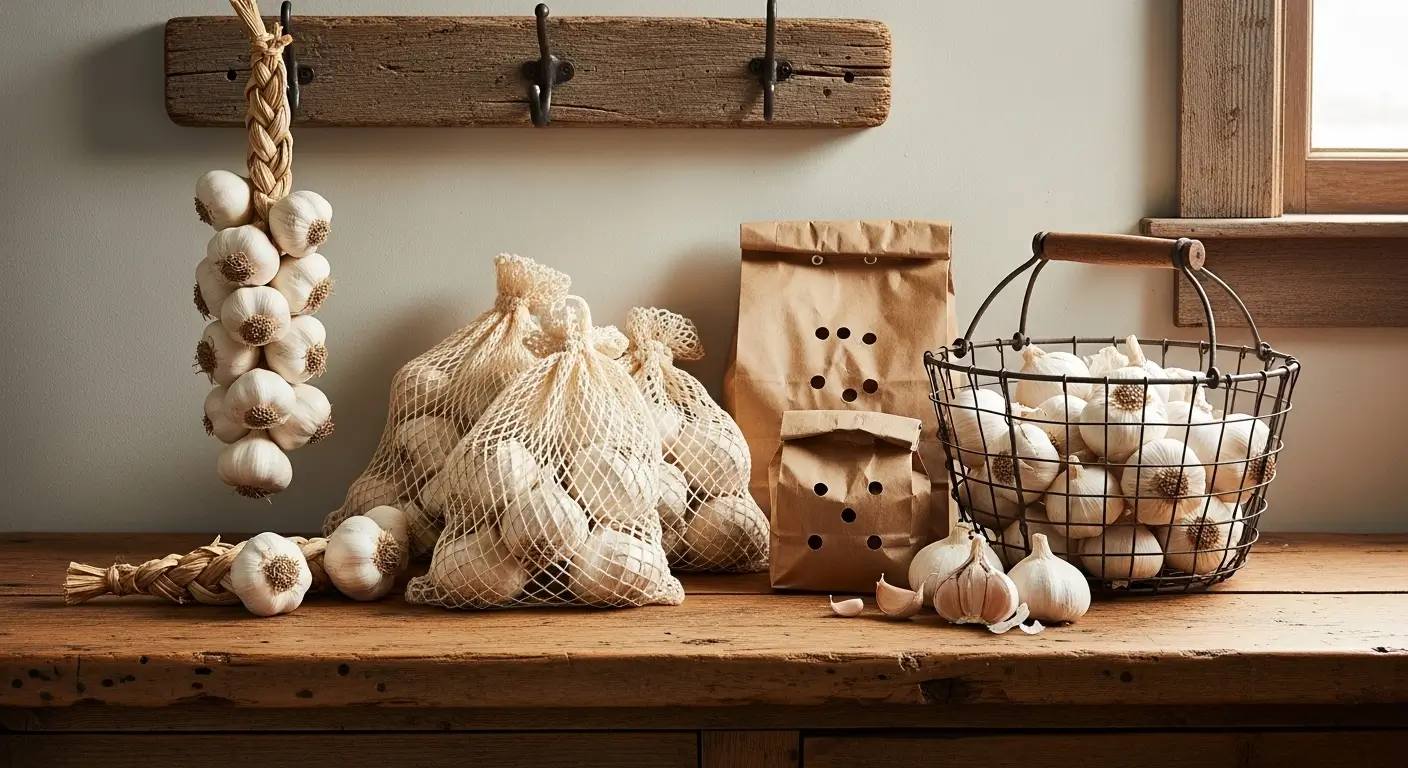
The Best Mulch Materials (I’ve Tried ‘Em All, So You Don’t Have To)
Alright, let’s talk materials. Over the years, I’ve mulched my garlic with everything except my old sweaters (though I’ve been tempted during fierce winters!).
Straw – The MVP
This is my absolute favorite, and I’ll fight anyone who says otherwise. Wheat or oat straw is like the perfect winter coat for garlic—warm but breathable. One bale usually covers about 100 square feet, and around here, I can snag it for $4-5 per bale from local farmers.
Just make sure it’s straw, not hay! I learned this the hard way in 2019 when my “garlic bed” turned into a miniature prairie. Apparently, hay comes with a free bonus package of about a million weed seeds. Who knew?
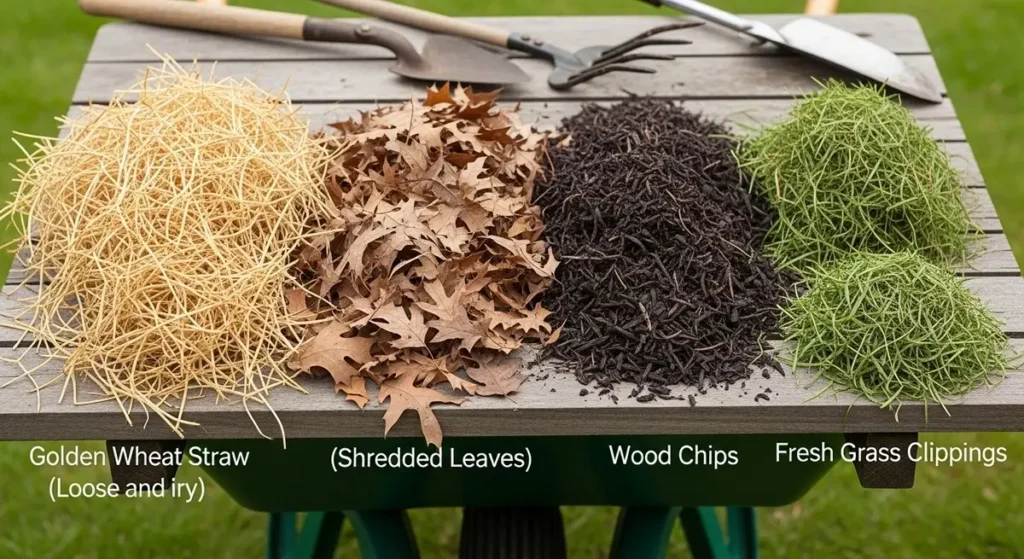
Shredded Leaves – The Freebie
If you’re like me and have trees that dump approximately seventeen tons of leaves every fall, this is basically free mulch! I run ’em through my mower a couple of times to chop them up. Oak leaves are the best because they don’t turn into a soggy mess like maple leaves do.
Wood Chips – The Long-Term Player
These work great if you can sweet-talk your local tree service guys into dropping off a load. They last forever, but don’t add much to your soil as they break down. I usually save these for pathways.
What NOT to Use (Learn from My Mistakes)
- Grass clippings (they turn into slimy green goop)
- Whole leaves (create a waterproof layer that’ll drown your garlic)
- Pine needles (too acidic—your garlic will hate you)
- That stack of newspapers in your garage (just… no)
My Foolproof Step-by-Step Method
Okay, here’s how I do it now, after years of trial and error (mostly error, if I’m being honest):
Timing Is Everything
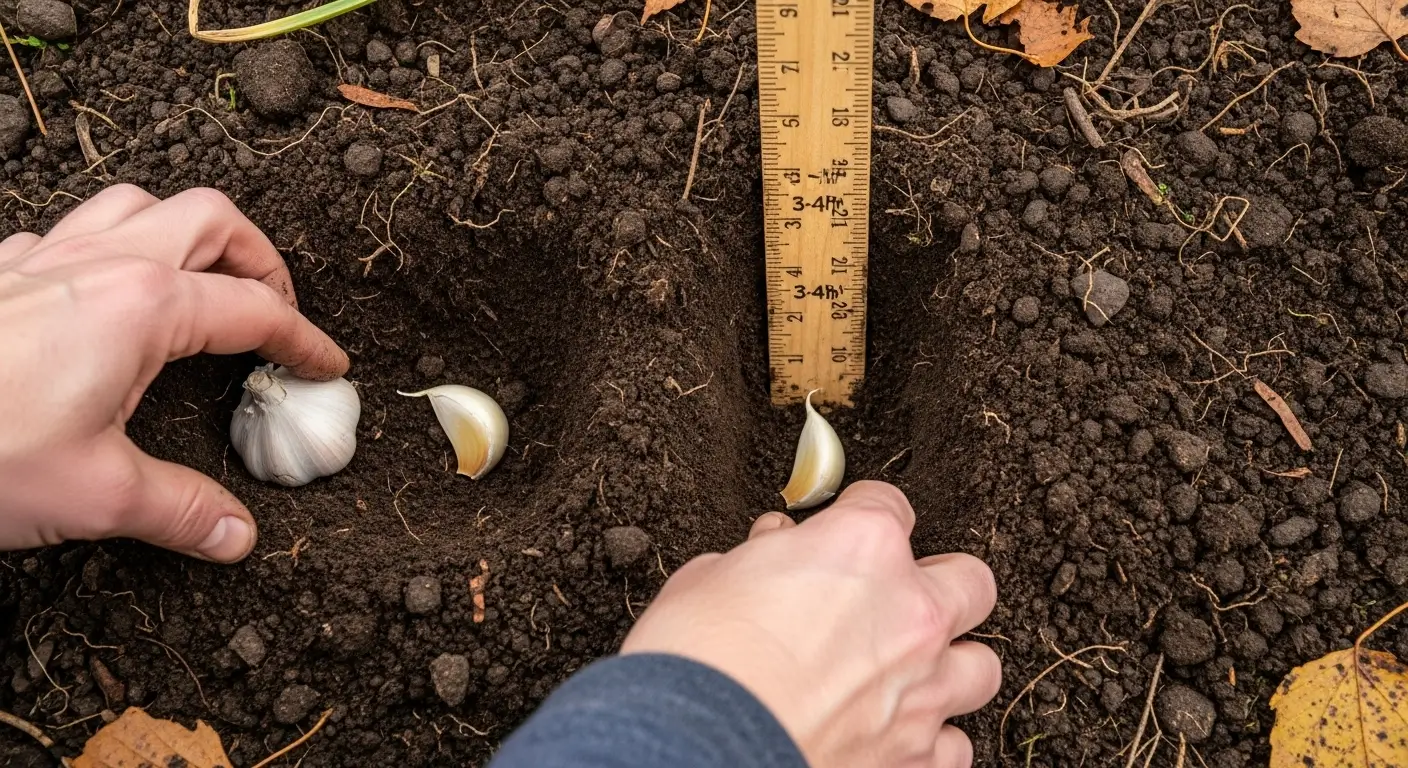
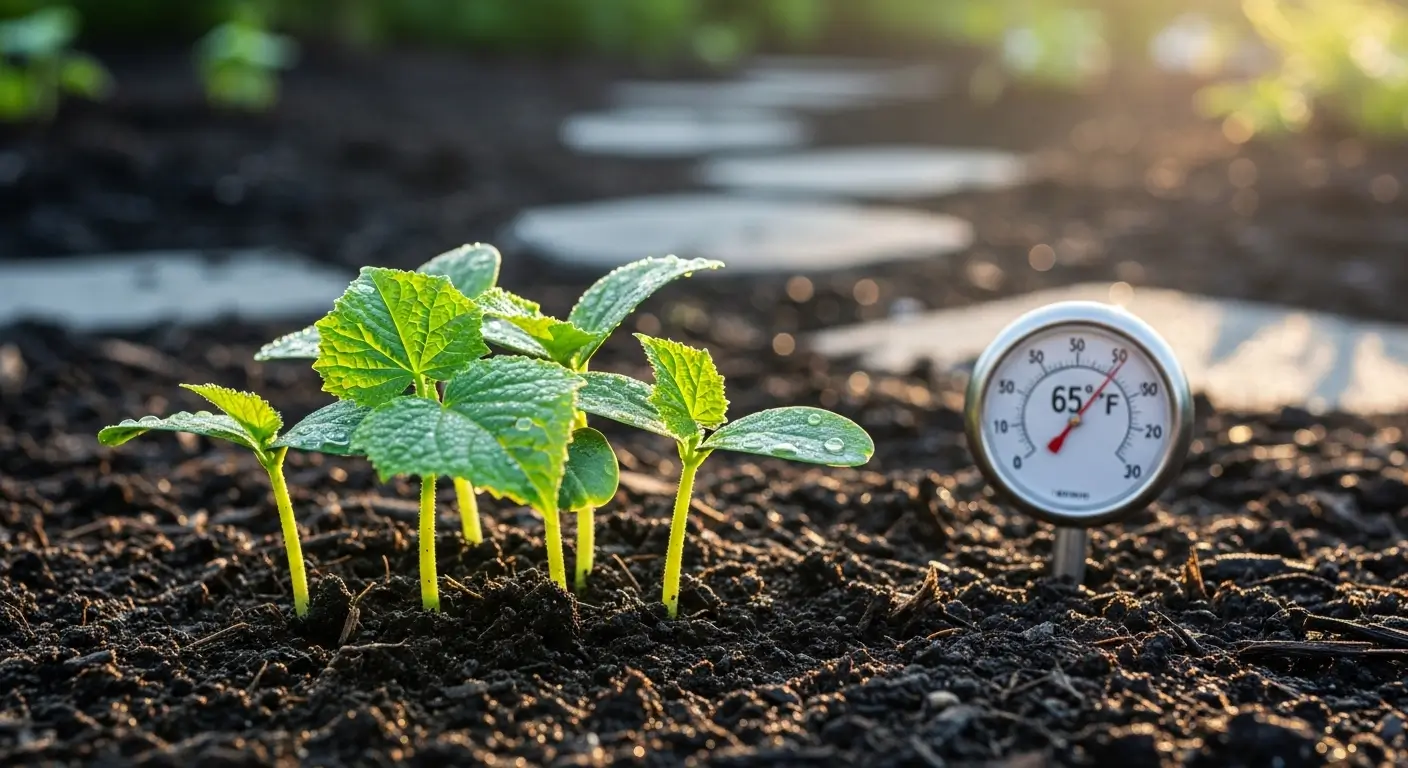
Wait until your garlic shoots are about 2-3 inches tall. This usually happens 4-6 weeks after planting. I know—you want to mulch right away because you’re a responsible gardener. But resist the urge! Mulching too early can keep the soil too cool and mess with sprouting.
Getting Ready
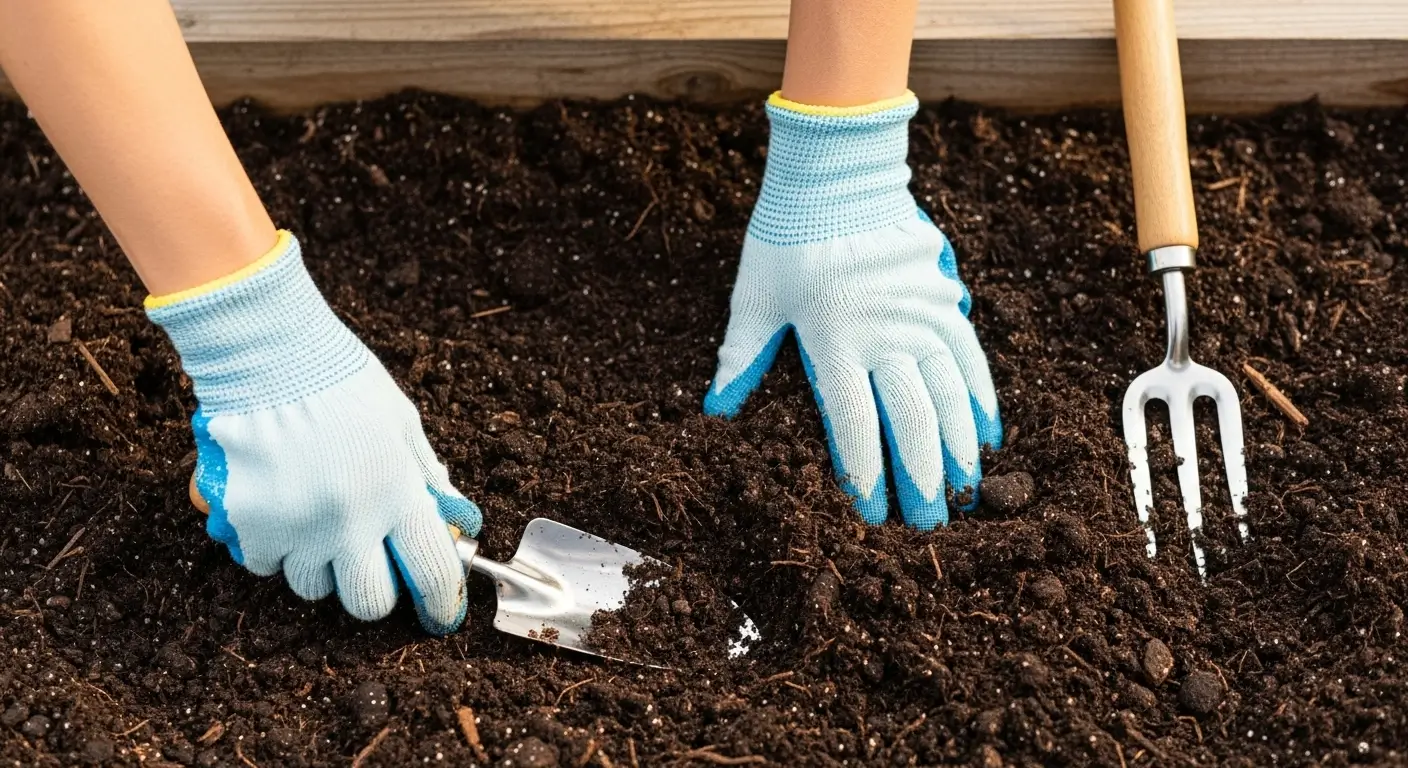
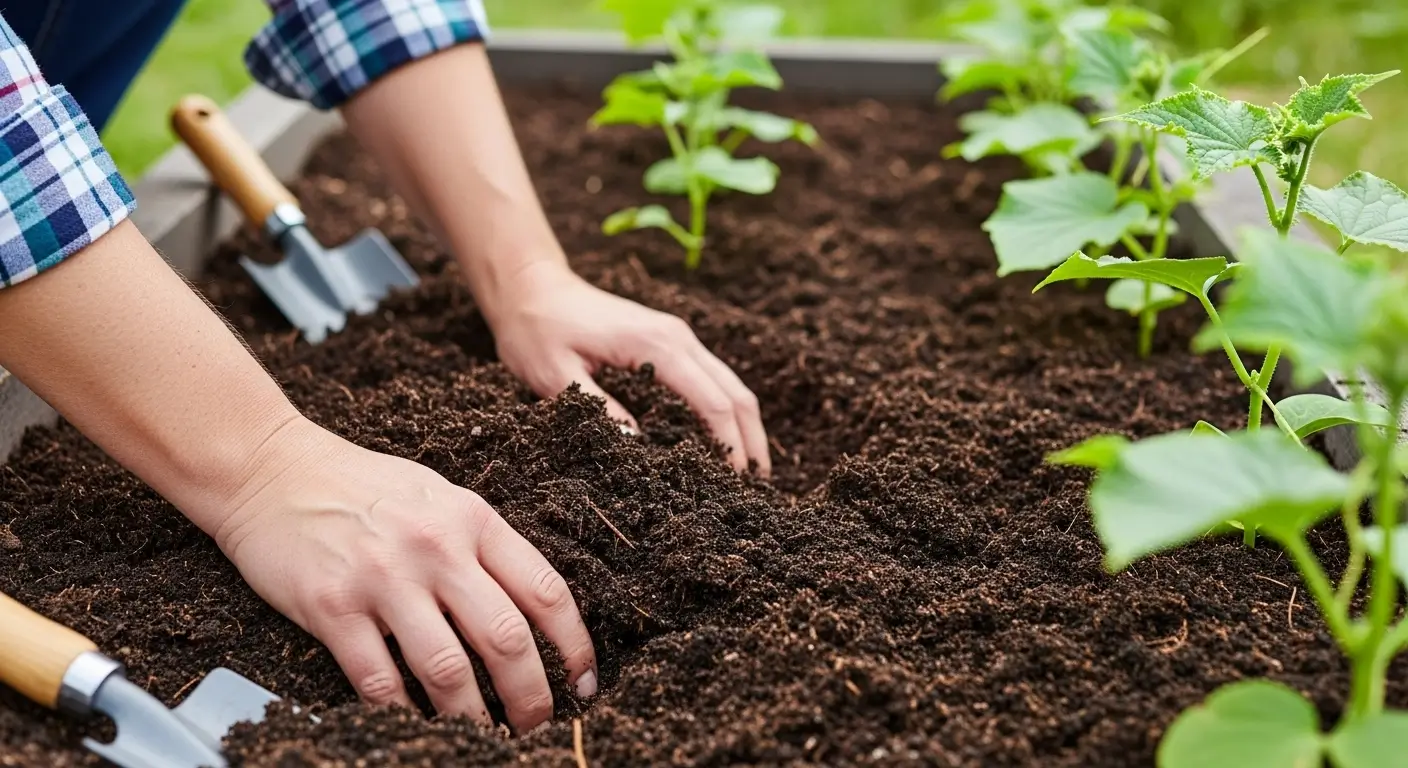
First, do a quick weed patrol. This is your last easy chance until spring, so make it count. Check that your soil is moist but not swampy. If it’s been dry, give everything a good drink and wait a day before mulching.
Oh, and here’s a pro tip that’ll save your sanity: mark your rows with little stakes! Come spring, when everything looks the same under that mulch, you’ll be thanking past-you for this brilliant move.
The Application
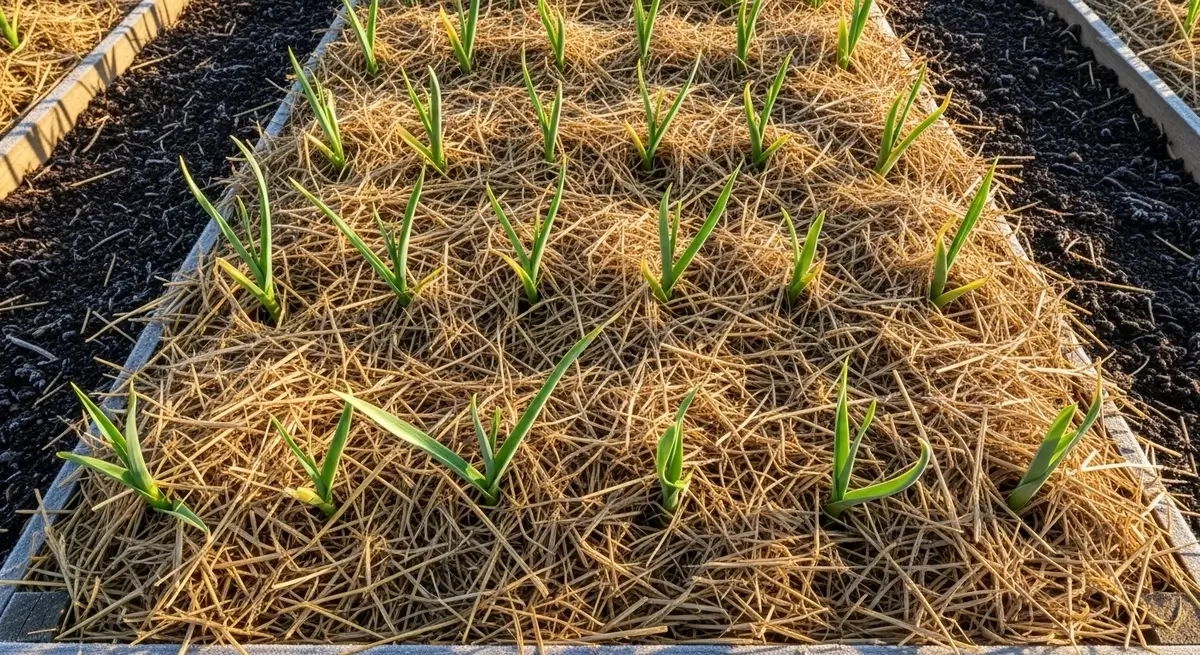
Spread your chosen mulch 4-6 inches thick. Yeah, that sounds like a lot—it felt crazy to me at first, too. But garlic really needs this dense layer. Think of it as tucking your plants in with a really fluffy comforter.
I work in sections, spreading with a rake or just my hands, then fluffing it up so it’s not packed down tight. Air needs to move through there.
Super important: Keep the mulch about 2 inches away from each garlic shoot. You don’t want to bury the green parts or create a cozy mouse hotel right next to your plants.
Now that you know the technique, you’re probably wondering exactly how much mulch to buy, right? I get this question ALL the time from readers. That’s why I created this handy calculator to take the guesswork out of it:
Pretty neat, right? Now let’s talk about timing…
Timing Your Mulch Game Like a Pro
Getting the timing right took me a few seasons to figure out, but now I’ve got it down to a science.
Fall Prep Mode
Most of us plant garlic in October here in the Midwest. I usually go with Columbus Day weekend—it’s easy to remember and seems to work well for my area. Then I start watching for those first green shoots like a hawk.
During this waiting period, I’m hunting down my mulch supplies. Don’t wait until you actually need the stuff! By late October, everyone and their brother were looking for straw, and prices went through the roof. I learned to buy my straw in early September when farmers are happy to clear out their barns.
The Sweet Spot
This is when things get real. Your garlic shoots are 2-3 inches tall and looking perky. The soil’s still workable, but you can feel winter breathing down your neck.
I keep obsessive tabs on the weather forecast during this time. If we’re looking at our first hard freeze in the next week or two, I’ll go ahead and mulch even if the shoots are a bit shorter than ideal. Better safe than sorry, you know?
Different Strokes for Different Folks
Your timing might be different depending on where you live. The north side of my property (which stays colder) gets mulched about a week earlier than my south-facing beds that soak up winter sun.
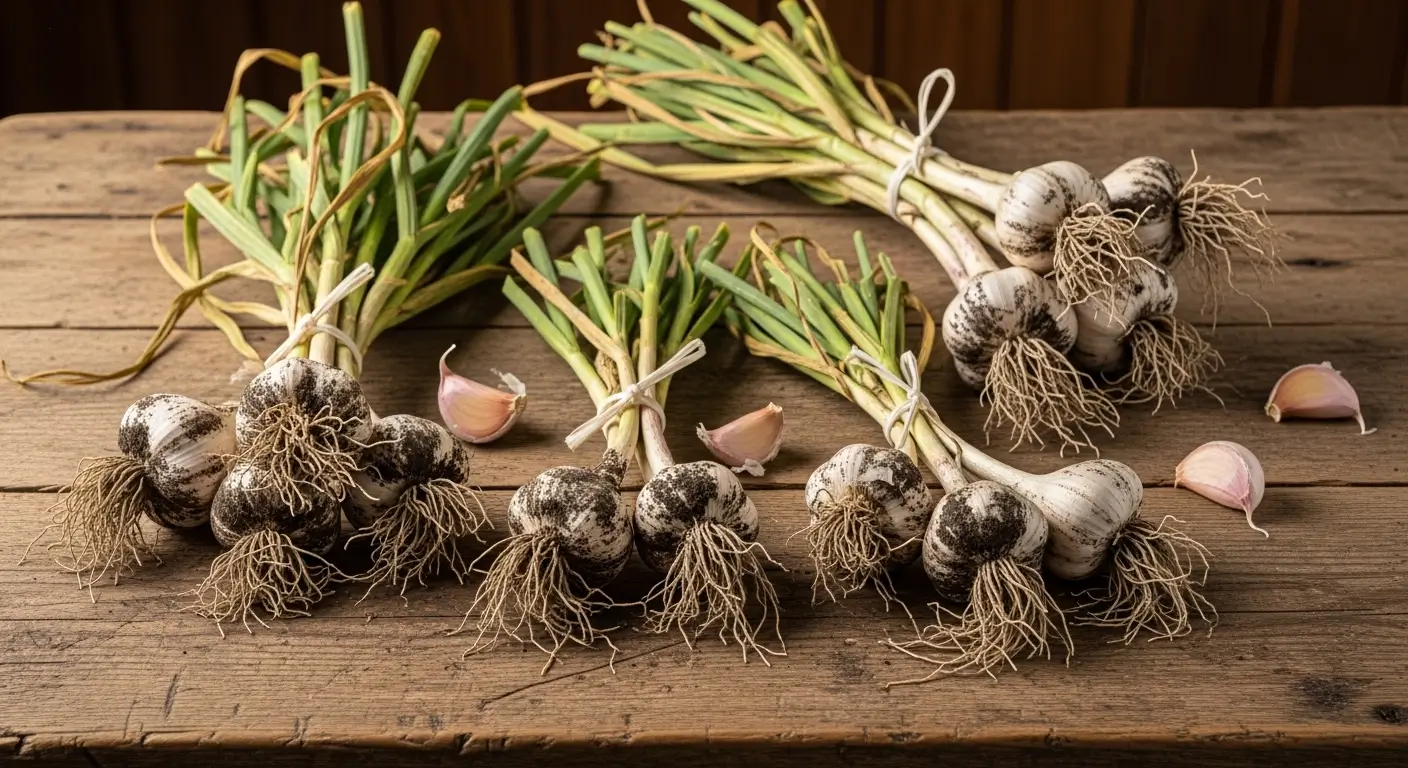
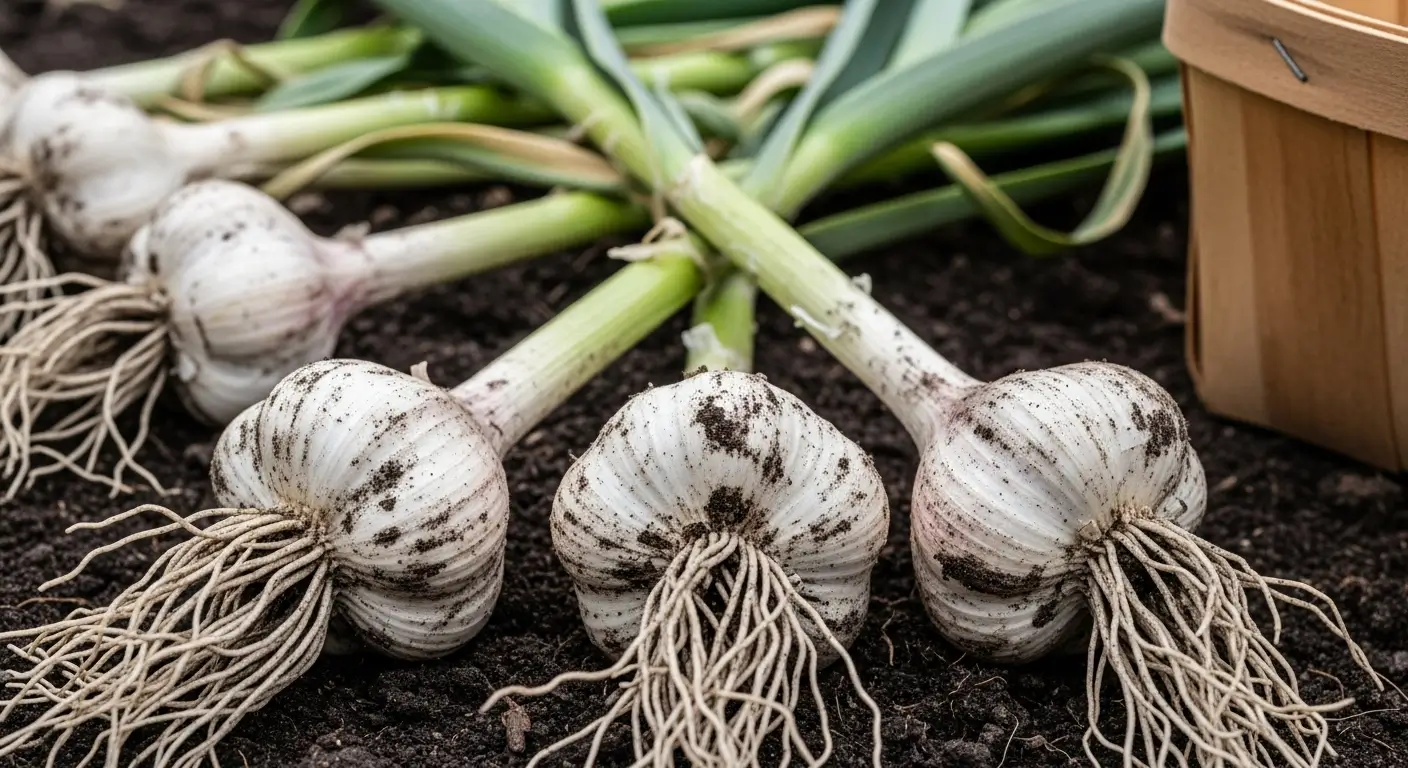
And if you’re growing different types of garlic varieties, you might need to tweak things slightly. I stick with hardneck varieties here in Illinois—they’re tough cookies, but I still love their winter mulch blanket.
Spring Cleanup (The Part Everyone Forgets)
Here’s where a lot of folks drop the ball. They mulch like champions in fall, then completely forget about it until they’re wondering why their garlic looks like it’s moving in slow motion come spring.
When to Start Pulling Back
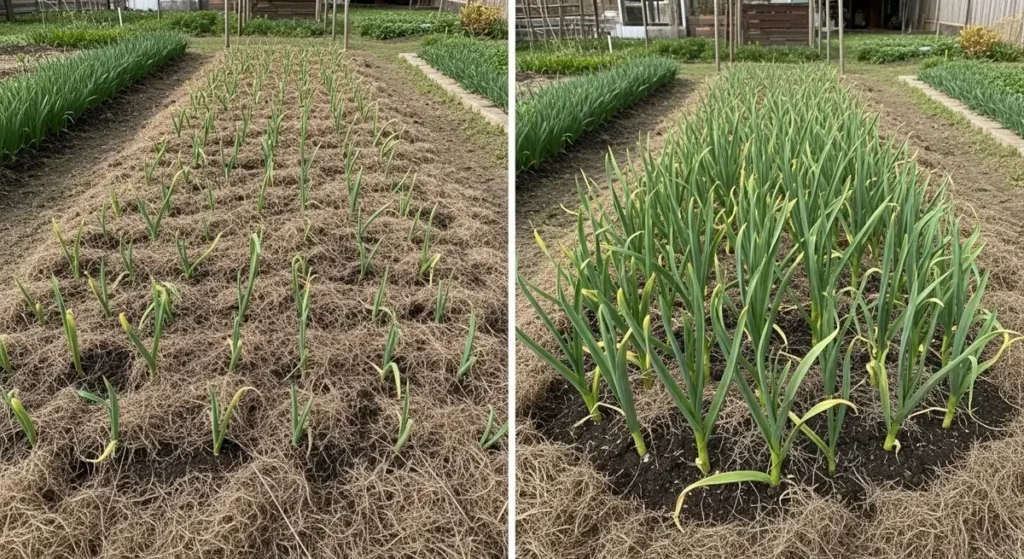
Once daytime temps consistently hit the mid-40s, I start checking my beds regularly. I’m looking for new green growth trying to push through the mulch, usually pale little tips that look like they’re reaching for the sun.
This typically happens around here in late March or early April, but honestly, watch your plants, not the calendar. Mother Nature doesn’t read gardening schedules.
Take It Slow
I don’t yank all the mulch off at once—that’d be like ripping someone’s blanket off on a cold morning. Instead, I pull it back gradually. First, I clear little circles around each garlic shoot. Then, I remove more mulch over a week or two as the weather warms up.
I usually leave about an inch around the base of each plant. This keeps suppressing weeds and helps hold moisture as we head into the growing season.
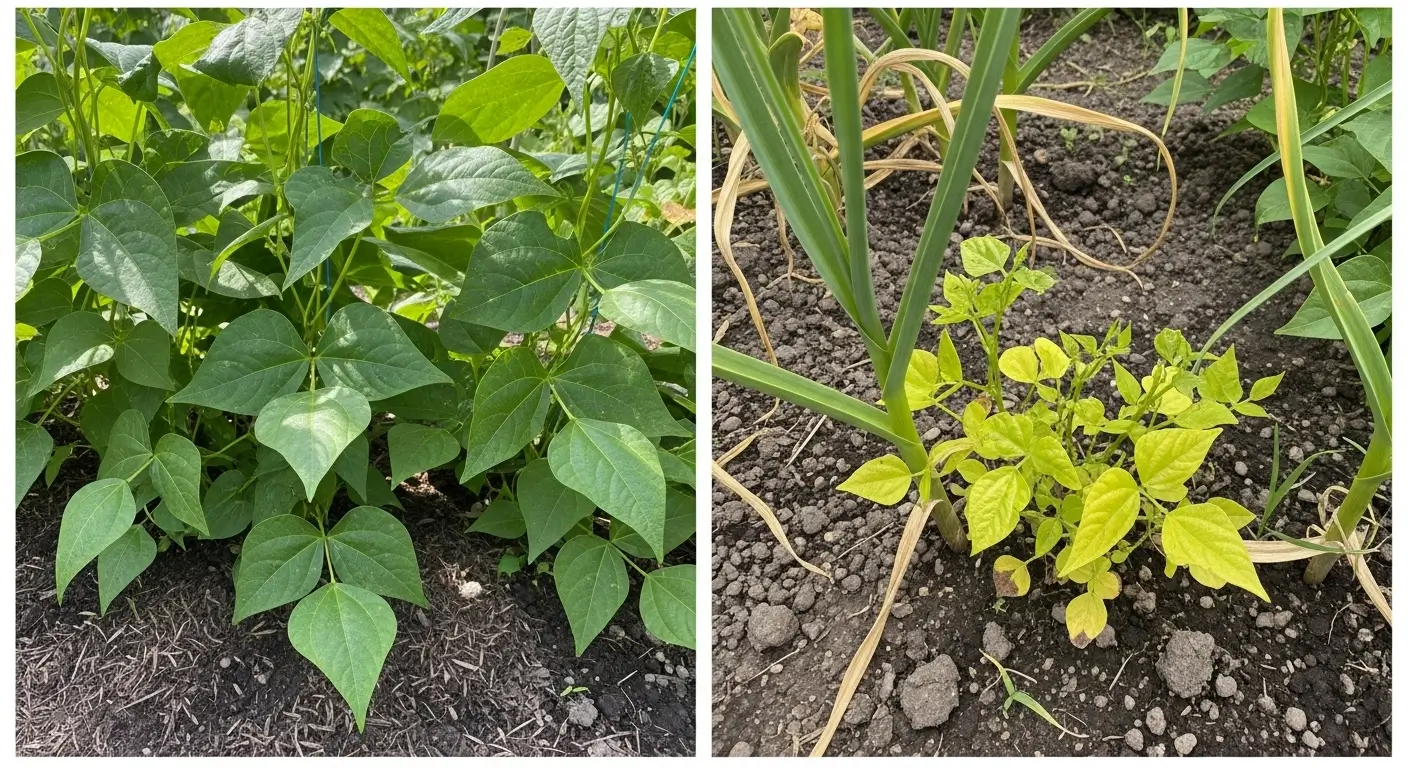
When Things Go Sideways (Troubleshooting Real Problems)
Even with the best intentions, stuff happens. Here are the issues I’ve dealt with over the years:
Mulch Turns Into a Dense Mat
This happened when I tried grass clippings (never again!). If your mulch forms a dense, impermeable layer, break it up with a rake or add some looser stuff on top.
Mice Move In
Thick mulch is like a luxury resort for rodents; they love munching on garlic bulbs. If you see signs of mice, you might need hardware cloth barriers or switch to a less cozy mulch temporarily.
Sluggish Spring Growth
If your garlic seems slow to wake up, you might’ve mulched too thick or left it on too long. Pull back earlier next year and don’t be afraid to let those shoots see some spring sunshine.
For trickier problems, I’ve got a guide on troubleshooting garlic growing problems covering everything from pests to weird diseases.
Regional Differences (Because One Size Doesn’t Fit All)
What works in my Illinois Zone 5b might be total overkill in Georgia or way too wimpy for Minnesota. Here’s the scoop:
Really Cold Places (Zones 3-5)
If you’re dealing with fierce winters, go deeper—maybe 8 inches of mulch. Some folks I know in northern Minnesota even add row cover fabric under their mulch for extra protection.
Moderate Climates (Zones 6-7)
You can get away with 3-4 inches instead of 6. Shredded leaves work particularly well in these areas because they won’t over-insulate.
Warm Areas (Zones 8+)
Your main job might be keeping the soil cool rather than preventing freezing. Lighter mulch applications can help with this while still managing moisture and temperature.
To find your specific hardiness zone and adjust these recommendations accordingly, check the official USDA Plant Hardiness Zone Map.
What I Wish I’d Known When I Started
Looking back, my biggest mistakes were following generic advice instead of paying attention to what actually worked in my specific conditions. I was using too little mulch, applying it at weird times, and choosing materials based on what looked tidy rather than what actually protected my plants.
The game-changer came after that disaster year when I lost half my crop. I started keeping detailed notes, talking to local gardeners, and most importantly, stopped being stubborn about “my way” when it clearly wasn’t working.
My fall routine is solid: source straw in September, plant garlic around Columbus Day, watch for shoots, then mulch when they hit 2-3 inches and cold weather’s coming. This systematic approach bumped my success rate from a disappointing 60% to consistently over 85%.
Beyond the Basics (For When You’re Ready to Level Up)
Once you’ve got basic mulching down, here are some advanced tricks:
Layered Mulching
I’ve started using combo mulches—2 inches of shredded leaves as a base, then 3-4 inches of straw on top. The leaves feed the soil as they break down, while the straw handles the heavy-duty insulation.
Mid-Winter Touch-Ups
During really harsh winters, I sometimes add more mulch mid-season. I keep extra straw bales in my garage just for this.
The Big Picture
Proper mulching sets your garlic up for success, but it’s just one piece of the puzzle. For the complete story on growing amazing garlic from start to finish, check out my comprehensive how-to-grow-garlic guide. And if you’re doing raised beds, there are a few extra considerations that can make a huge difference.
The Bottom Line
Here’s the deal: mulching garlic for winter isn’t just a nice-to-have—it’s absolutely essential if you want a decent harvest. After fifteen years of growing garlic through Midwest winters that can swing from balmy to brutal in 24 hours, I can tell you that properly mulched garlic kicks unmulched garlic’s butt every single time.
The 30 minutes you spend spreading mulch in fall could mean the difference between a sad, sparse harvest and pounds of gorgeous, flavorful garlic that’ll last you all year. And trust me, there’s nothing quite like pulling up your first homegrown garlic bulb in July, knowing you babied it through an entire winter.
Don’t overthink it—start with the basics I’ve laid out here, keep notes about what works in your yard, and adjust as you go. Your garlic is counting on you to tuck it in properly this winter!
So what do you think? Ready to give your garlic the winter protection it deserves? Have you tried mulching before, or will this be your first time? I’d love to hear about your garlic adventures—the wins, the epic fails, and everything else. Please drop me a comment and let’s figure out how to grow the best garlic together!