Oh my gosh, can we talk about garlic for a hot minute? I’ve got some profound feelings about curing garlic after harvest, and I’m confident I can save you from making the same rookie mistakes I did.
So picture this: it’s my third year growing garlic, and I’m feeling all confident. I pull these absolutely gorgeous bulbs out of the ground – I’m talking Instagram-worthy garlic here – and I’m so excited that I immediately wash them off, trim everything up nice and neat, and plop them in my pantry like they’re store-bought bulbs.
Three weeks later? Total disaster. Moldy, sprouting nightmare. I wanted to cry. All that money I spent on fancy seed garlic? Basically, expensive compost at that point.
That epic fail taught me everything I know about properly curing garlic, and honestly? Once I figured this out, my garlic game completely changed. Now I’m that person who’s still cooking with last year’s harvest while my neighbors are buying sad, flavorless bulbs at the grocery store.
Table of Contents
Why Curing Garlic is Your Storage Game-Changer
Look, I’ll be honest with you – how to cure garlic isn’t some fancy gardening flex. It’s absolutely essential if you want your garlic to last longer than a month without turning into a science experiment.
Think of it this way: curing creates this outstanding protective shell around your garlic cloves. It’s like giving each bulb its own little armor. When I skip this step (and yes, I sometimes get impatient), my garlic lasts a month if I’m lucky. But when I do it right? I’m talking 8-10 months for hardneck varieties, and my softneck garlic can easily make it a full year.
The whole thing works because fresh garlic is basically 65% water, which is great for the plant but terrible for storage. Curing drops that down to about 60%, and that slight difference makes all the difference between “wow, this garlic is still perfect” and “ew, what’s that smell?”
The Perfect Timing: When to Start Curing Garlic After Harvest
Here’s where I used to mess up big time – I thought curing started after digging up the bulbs. Nope! It actually begins while your garlic’s still chilling in the ground.
About two weeks before I harvest, I completely stop watering. I know – it feels wrong, like you’re abandoning your plants. But you’re telling them, “Hey, time to start getting ready for storage!”
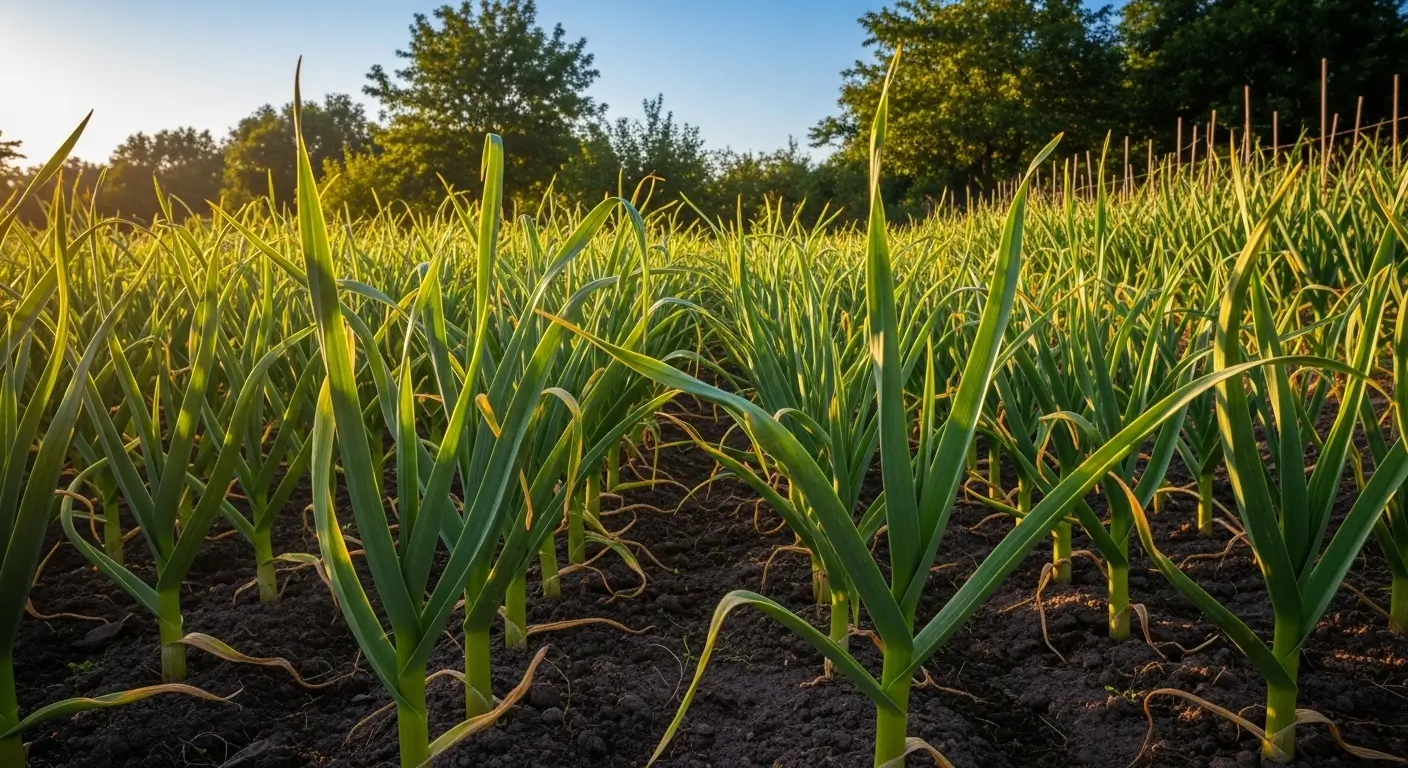
You’ll know it’s harvest time when the bottom leaves are brown, but you’ve still got 5-6 green ones up top. I always harvest on sunny mornings after a few dry days – nobody wants muddy garlic bulbs. For all the nitty-gritty details on timing this perfectly, definitely check out our harvesting garlic timing and storage guide. Trust me, timing is everything with this stuff.
Drying Garlic Bulbs: The Step-by-Step Process
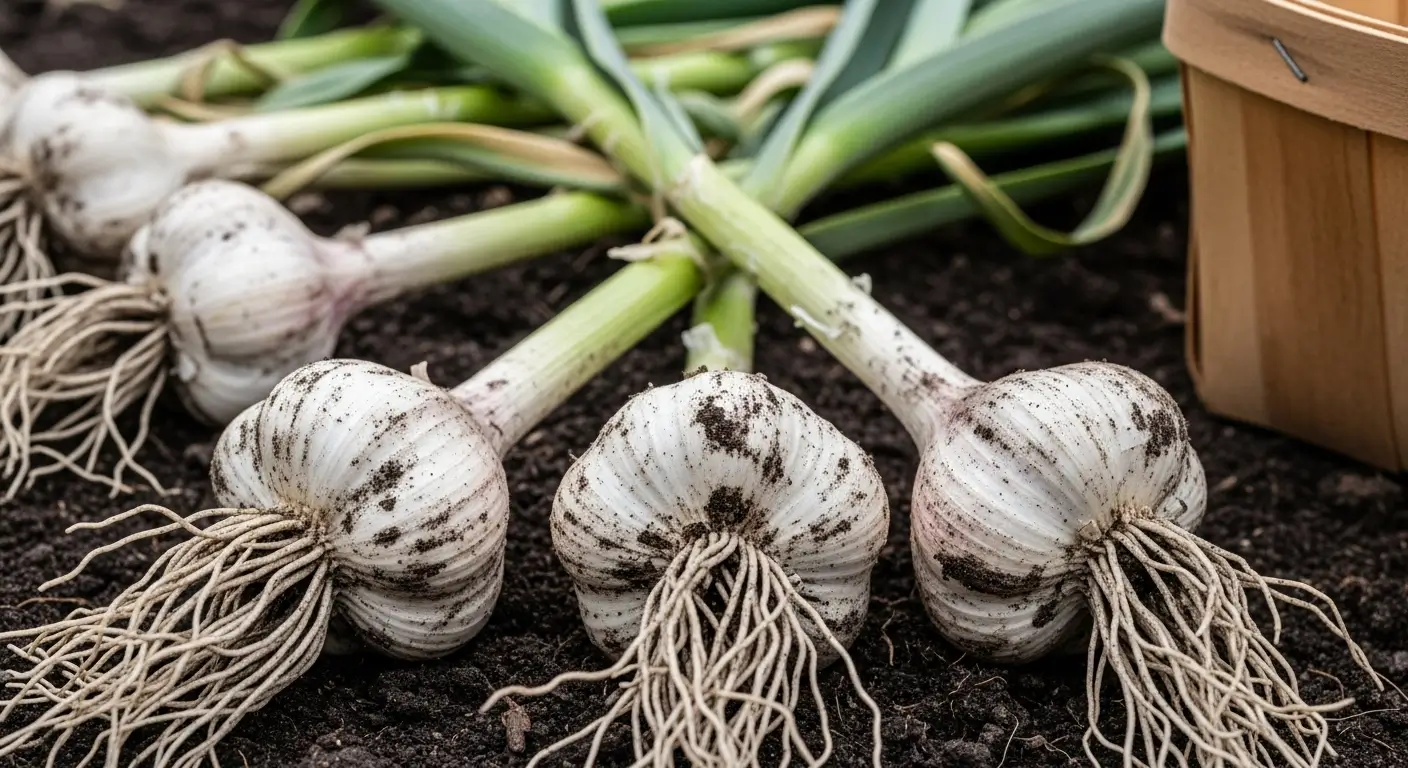
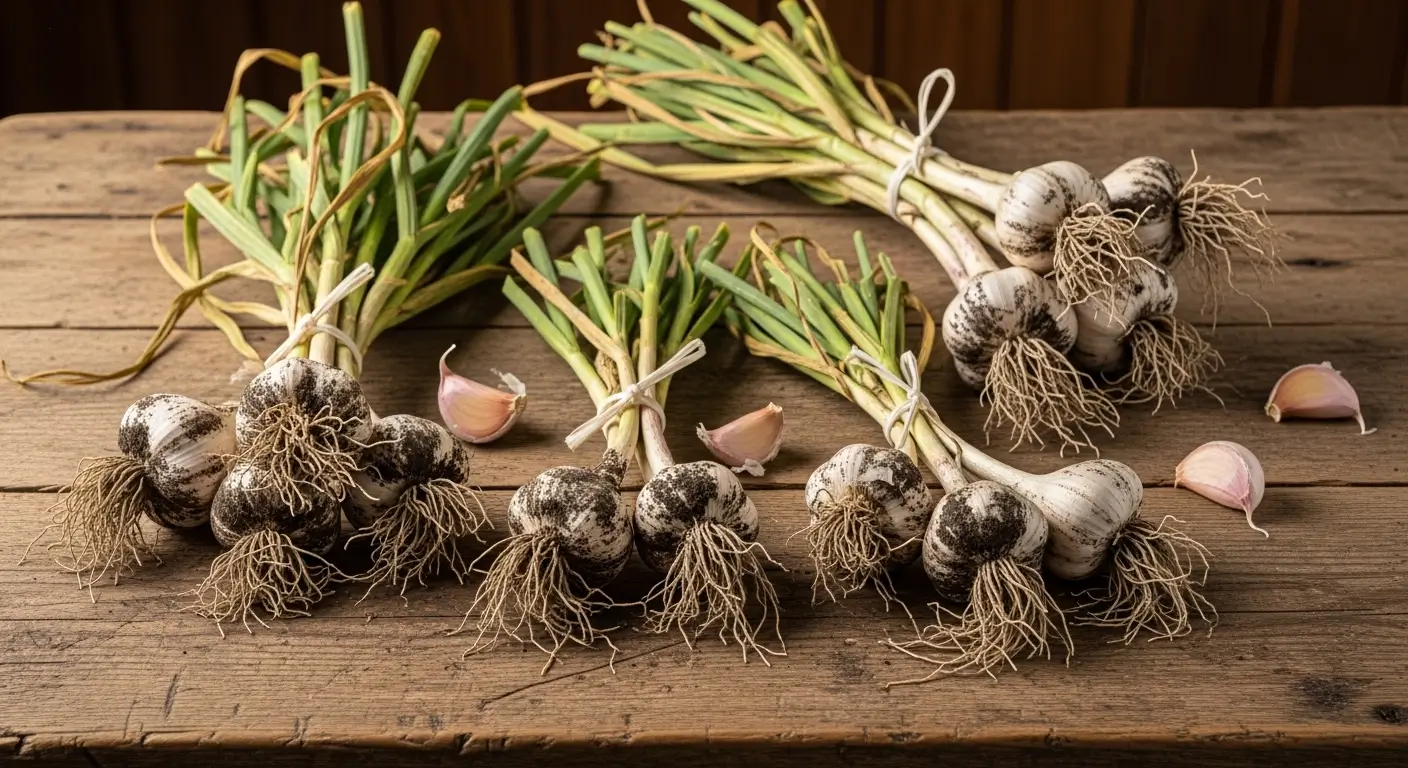
Step 1: The Gentle Harvest
Okay, this part’s crucial – don’t just grab and yank like you’re pulling weeds! I learned this the hard way when I accidentally ripped the stems off half my harvest one year.
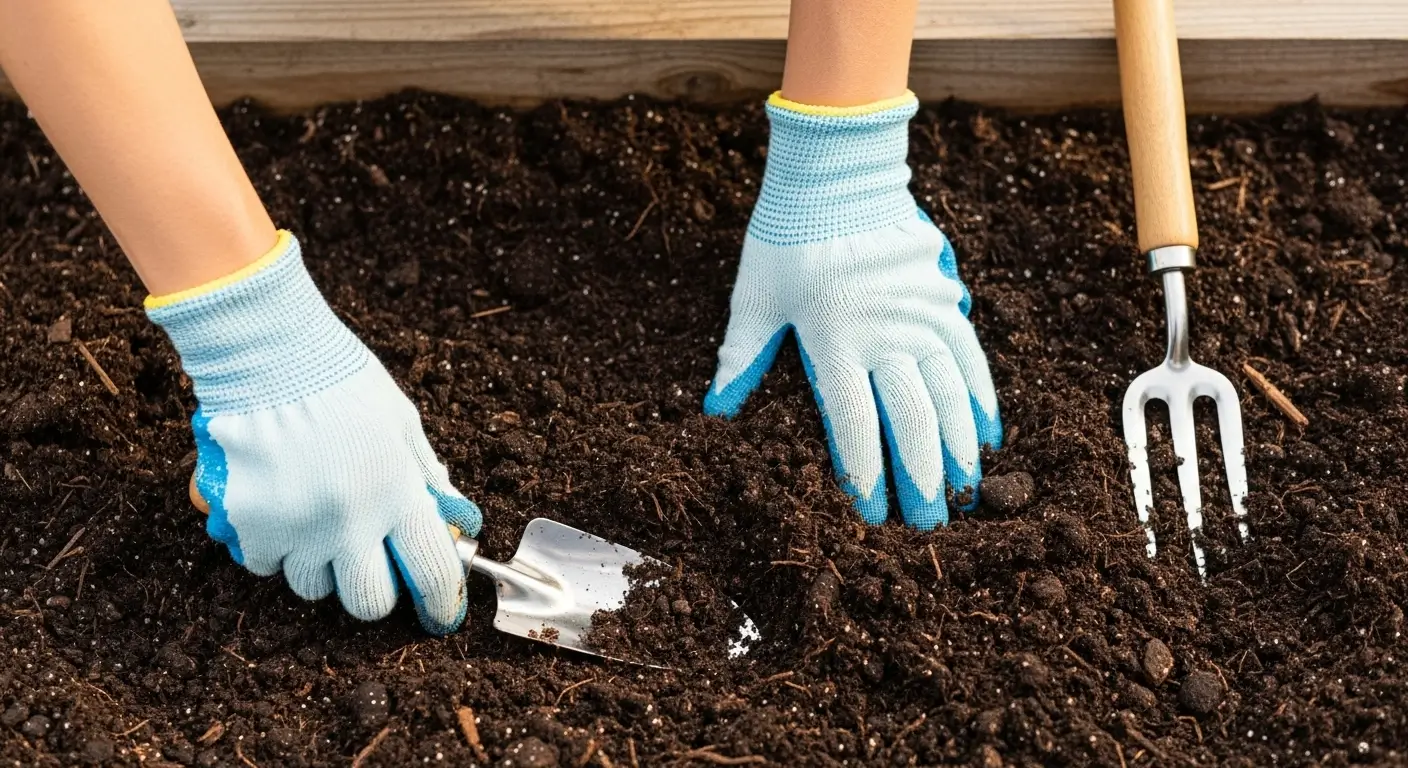
I use a garden fork to gently loosen the soil around each bulb, then lift them carefully. You want those roots and stems intact – they’re doing important work during curing. And don’t stress about getting every speck of dirt off right away. A little soil is totally fine and actually helps with the drying process. Whatever you do, don’t hose them down – we’re trying to get rid of moisture, not add more!
Step 2: The Initial Dry-Down
After harvest, I spread my bulbs in a single layer on old screens or newspapers. My garage is perfect for this, but any shady, breezy spot works. The key is keeping them out of direct sun (which will literally cook your garlic – learned that one the hard way too) while letting air move around them.
This first week is when you’ll see the magic start happening. The outer skins get all papery, and the dirt naturally falls off. It’s actually pretty satisfying to watch.
Step 3: Preparing Garlic for Storage Through Proper Curing
Now we’re getting to the main event! I bundle my garlic in groups of 6-8 bulbs and secure them with rubber bands about 6 inches up the stems. Some people do those fancy braids, but honestly? Bundles are way easier and work just as well. Life’s too short for complicated garlic braiding, you know?
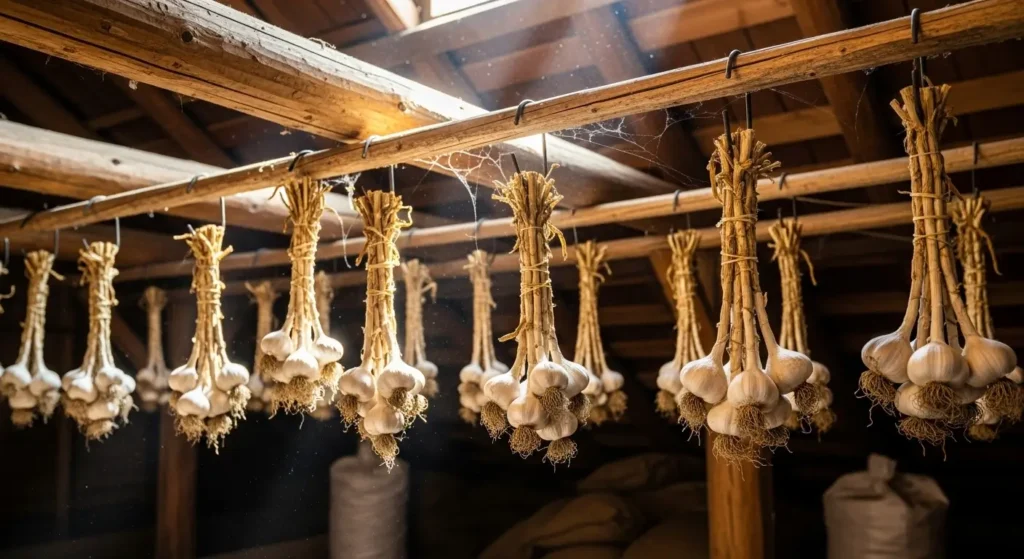
Then I hang these bundles somewhere warm, dry, and breezy. My ideal setup is:
- Around 80-85°F (yeah, it’s toasty)
- 60-70% humidity
- Good airflow (I literally run a fan sometimes)
- No direct sunlight
I’ve used my attic and my basement with a dehumidifier. When I harvested during a cool spell, I even hung them near a heating vent. You work with what you’ve got!
Step 4: The Waiting Game
This is the hardest part for me because I have zero patience. But proper curing takes 2-4 weeks, and there’s no rushing. Hardneck varieties are usually done in 2-3 weeks, while softneck types need the full 3-4 weeks to get properly dried out.
You’ll know they’re ready when:
- The outer skins feel completely papery (like onion skins)
- The stems are hollow and dry
- The roots are brittle and snap easily
- The neck area feels solid and dry
It’s like waiting for Christmas, but the payoff is so worth it.
Look, I get it – even with all this guidance, sometimes things don’t go exactly as planned. Maybe you’re staring at your garlic bundles right now wondering, “Is this normal?” or “Did I mess something up?”
I’ve been there! That’s why I created this quick troubleshooter to help you figure out exactly what’s happening with your garlic and what to do about it. It takes less than 2 minutes and gives you personalized advice based on your specific situation:
🧄 Garlic Curing Troubleshooter
Having issues with curing garlic after harvest? Let’s diagnose the problem and get you back on track!
🔗 Need More Help?
Check out our complete guide sections on troubleshooting common curing challenges and proper storage techniques.
Now, let’s dive into the most common issues I see gardeners run into when curing garlic after harvest, along with my tried-and-true solutions:
Troubleshooting Common Curing Challenges
Problem: Mold During Curing
Ugh, this is the worst. Usually happens when it’s too humid or there’s not enough air moving around. I lost about 20% of my crop in one super-humid August, which still makes me grumpy thinking about it.
Fix it: Get more air circulation going (fans are your friend), reduce humidity however you can, and toss any moldy bulbs immediately. Don’t try to save them; they’ll spread the funk to your good bulbs.
Problem: Bulbs Drying Too Quickly
If your garlic skins are getting brittle and cracking, your curing spot might be too hot or dry.
Fix it: Move them somewhere cooler or add humidity with a shallow pan of water nearby. Just don’t go overboard – we’re talking minor adjustments here.
Problem: Sprouting During Curing
Green shoots popping up during curing usually mean the bulbs weren’t quite ready when you harvested them, or your curing area’s too cool.
Fix it: Use these sprouted bulbs first – they won’t last long, but they’re perfectly fine for cooking immediately.

Post-Curing: Preparing for Long-Term Storage
Once everything’s properly cured, it’s trim time! I use clean, sharp scissors to cut the roots close to the bulb base. For the stems, I leave about an inch – this helps keep moisture from sneaking in through the cut end.
Here’s a little trick my grandma taught me: save your absolute best-looking bulbs (the ones with thick, papery skins) for long-term storage. These are your marathon runners. The ones with thinner skins or tiny blemishes? Use those first.
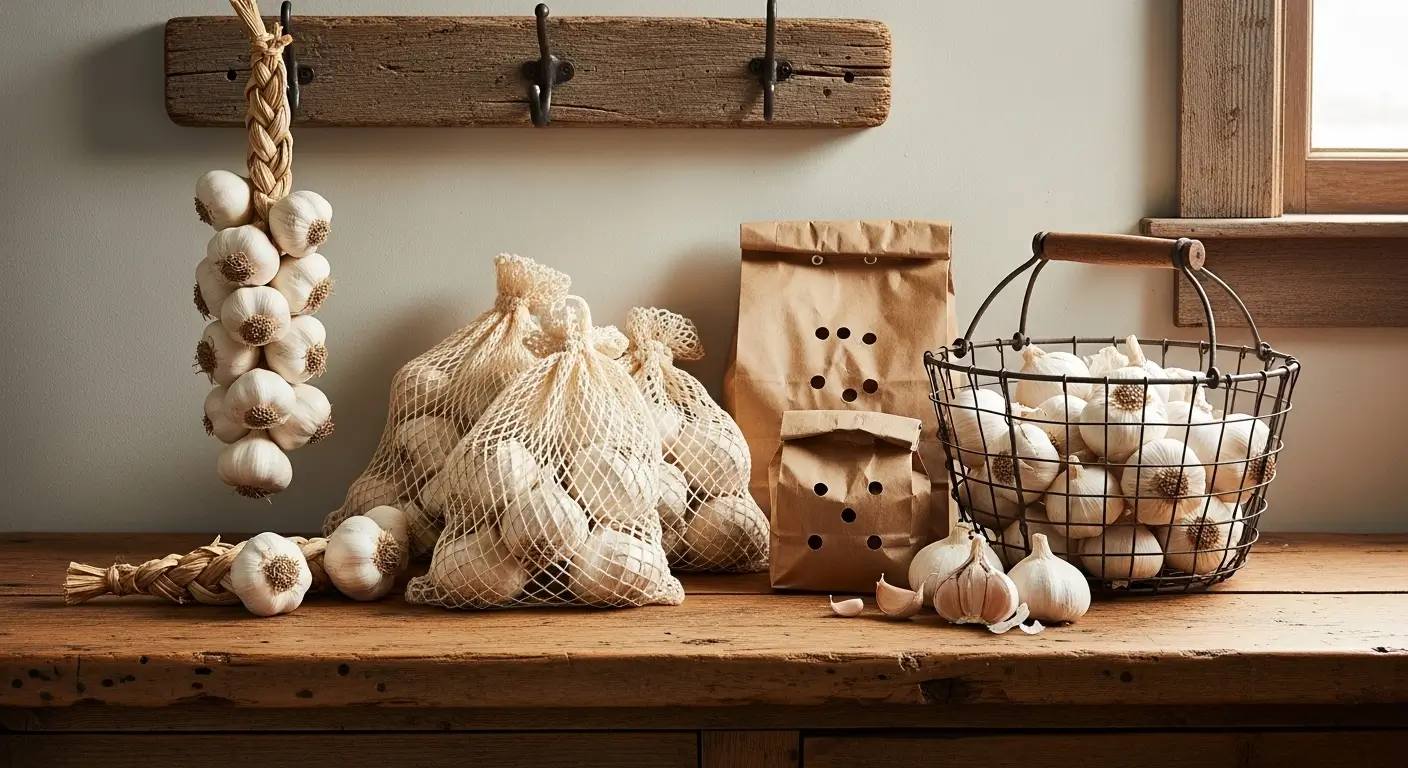
For storage, I’m all about mesh bags, old pantyhose (don’t knock it ’til you try it!), or shallow wooden crates. Anything that keeps the air moving. I store mine in my basement, where it stays between 55-65°F with decent humidity.
Variety-Specific Curing Tips
After years of growing different types, I’ve noticed some garlic varieties are just pickier than others:
Hardneck varieties like German Red or Music cure quickly but don’t store long enough. I use these first, usually within 6-8 months.
Softneck varieties like California Early or Inchelium Red take their sweet time curing. Still, they will reward your patience by lasting 10-12 months when you do it right.
Elephant garlic (which isn’t actually garlic, but whatever) needs extra time – sometimes up to 6 weeks – because those bulbs are massive.
What Success Looks Like
When you’ve nailed it, your garlic bulbs should feel firm and solid with no squishiness when you press them gently. The papery outer skins should make that satisfying rustling sound when you touch them, and there shouldn’t be any mold, sprouting, or soft spots anywhere.
Last season, I cured about 200 bulbs using this method, and I’m still cooking with perfect garlic from that harvest nine months later. There’s nothing like cooking with garlic you grew and cured yourself – the flavor is so much more complex and amazing than anything you’ll buy at the store.
The Bottom Line on Garlic Curing
Look, curing garlic after harvest really isn’t rocket science, but it does require some patience and paying attention to details. The difference between properly cured garlic and rushed bulbs is literally months of storage life and way better flavor.
This whole process connects back to everything in our complete guide to growing garlic – from picking the right varieties to nailing your harvest timing. Each step builds on the last to give you the best results possible.
The biggest thing I’ve learned after years of growing and curing garlic? Don’t rush it. Your future self will be so grateful every time you grab a perfectly preserved bulb months later, knowing you took the time to do it right.
So what’s your experience been with curing garlic? Got any tricks that work great in your area? I’d love to hear about your wins (and epic fails!) in the comments – we gardeners learn so much more when we share our stories with each other!
Frequently Asked Questions About Curing Garlic After Harvest
How long does curing garlic after harvest take?
Curing garlic after harvest typically takes 2-4 weeks depending on the variety and conditions. Hardneck varieties usually cure in 2-3 weeks, while softneck varieties need the full 3-4 weeks. The garlic is ready when the outer skins feel completely papery, stems are hollow and dry, and roots are brittle.
What temperature is best for curing garlic after harvest?
The ideal temperature for curing garlic after harvest is 80-85°F (27-29°C) with 60-70% humidity and excellent air circulation. This warm, dry environment with good airflow helps remove moisture from the bulbs while preventing mold growth during the curing process.
Why is my garlic getting moldy during curing?
Mold during garlic curing usually indicates too much humidity or poor air circulation. To fix this, immediately remove moldy bulbs, increase airflow with fans, move to a drier location if possible, and space remaining bulbs further apart to prevent mold spread.
Can I cure garlic without hanging it in bundles?
Yes, you can cure garlic by laying bulbs on screens or in shallow crates instead of hanging bundles. The key is ensuring good air circulation around each bulb. However, hanging in bundles is often more space-efficient and provides better airflow for most home gardeners.