Okay, let’s talk about garlic soil preparation, because honestly? It’s the difference between growing sad little garlic bulbs that make you wonder why you even bothered, and growing those gorgeous, fat bulbs that make you feel like a total gardening rockstar.
I’m gonna be honest with you here—I totally screwed this up my first time. Picture this: enthusiastic new gardener Grace, armed with a bag of garlic cloves and zero clue about soil prep. I just stuck those poor cloves into my clay-heavy backyard dirt and wondered why I got these tiny, pathetic bulbs that barely qualified as garlic. Spoiler alert: the soil was basically concrete.
Fast forward fifteen years, and now I’m pulling up garlic bulbs that are seriously the size of softballs. My neighbors literally stop me on walks to ask what my secret is. The secret? It’s all about getting that soil absolutely perfect before you plant.
Whether you’re a total newbie freaking out about where to even start, or you’ve been growing garlic for a while but want to step up your game, I’m gonna walk you through everything. Trust me, your garlic (and bragging rights) will thank you.
Table of Contents
Why Garlic Soil Preparation Matters More Than You Think
Here’s the deal with garlic—it’s not like growing lettuce where you plant it and eat it six weeks later. Nope, garlic is in it for the long haul. We’re talking 8-9 months of hanging out in your soil, slowly building those amazing layered bulbs.
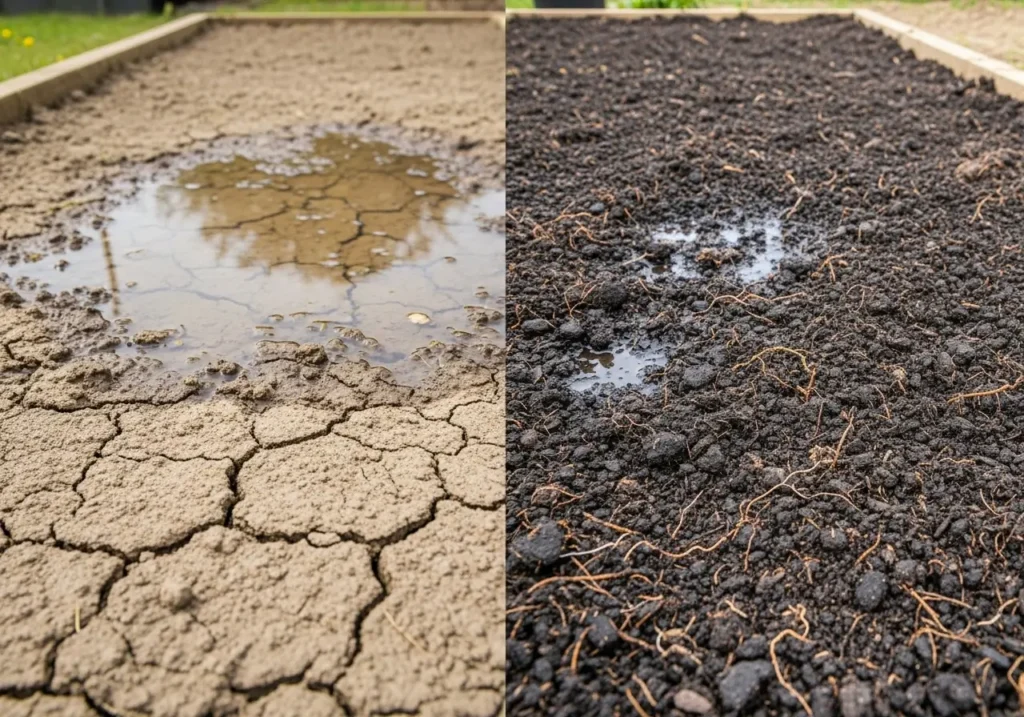
I learned this the hard way when I visited my friend Sarah a couple of years ago. She complained that her garlic always turned out small and kinda bitter, so we went out to dig up a few bulbs to see what was happening. The moment I saw her soil, I was like “Oh honey, no wonder!” It was packed down tight as a brick, and you could practically see the water sitting on top after it rained.
Good garlic soil preparation basically gives your bulbs three things they absolutely need:
- Drainage that actually works (because garlic will literally rot if it sits in soggy soil)
- Food available all season long (remember, it’s a marathon, not a sprint)
- Room to grow (those bulbs need space to get nice and plump)
The couple of hours you spend prepping your soil will save you months of disappointment later. I promise.
Understanding the Best Soil for Garlic: What Your Bulbs Really Want
After growing garlic in everything from perfect garden soil to what I’m pretty sure was mostly rocks and clay (hey, we all start somewhere), I’ve figured out what garlic actually wants.
Drainage is Non-Negotiable
Okay, if you take nothing else from this article, remember that garlic cannot handle wet feet. It will throw a complete tantrum and rot on you faster than you can say “what went wrong?”
The best soil for garlic drains well but doesn’t dry out completely. You know when you grab a handful of good dirt and squeeze it, and it holds together for a second but then crumbles apart? That’s the good stuff right there. If you’ve got puddles hanging around after it rains, we must fix that ASAP.
Soil Structure and Texture
Garlic wants loose, fluffy soil that’s easy to dig through. Think about it—those bulbs are trying to expand underground. If the soil is all packed down, they’re basically doing the equivalent of trying to blow up a balloon inside a shoebox.
I learned this lesson the hard way when I tried to grow garlic in my original clay soil without doing anything to improve it. The poor bulbs came out all squished and weird-shaped because they couldn’t push through that dense mess. It was like they were wearing tiny soil straightjackets.
pH Requirements: Finding the Sweet Spot
Don’t worry, garlic isn’t super fussy about pH, but it does have preferences. I test my soil every fall (yeah, I’m that gardener now), and I’ve found garlic is happiest when the pH sits somewhere between 6.0 and 7.0. That’s just slightly acidic to neutral, which is pretty forgiving. For more detailed soil testing information, the University of Minnesota Extension provides excellent guidance on soil requirements for garlic.
Here’s a cool trick: if your soil tends to be alkaline, like mine naturally is, just working in some good compost or aged manure will help bring that pH down while also making the soil way better overall. It’s like getting two improvements for the price of one!
Essential Soil Amendments for Garlic: Building Your Foundation
This is where things get fun! The right soil amendments for garlic can totally transform even the most challenging dirt into garlic-growing gold. I’ve tried almost everything over the years, so let me tell you what works.
Organic Matter: The Game-Changer
I’m not even kidding when I say that adding good organic matter to your garlic bed will solve about 80% of your soil problems. I add about 2-3 inches of well-aged compost or composted manure to my beds every year, and it’s honestly magic.
Why does this stuff work so well? Because it’s like the Swiss Army knife of soil improvements. Heavy clay soil? Organic matter helps it drain better. Sandy soil that dries out too fast? Organic matter helps it hold onto water. Plus, it feeds all the good soil critters that spend the season feeding your garlic plants.
I make my own compost (because I’m apparently that person now), but good bagged compost works just fine if that’s what you’ve got. Just make sure it’s well-aged—I made the mistake of using fresh manure once and basically burned my poor garlic cloves. Not fun.
Sand and Perlite for Drainage
If you’re stuck with heavy clay soil like in my first garden, adding some coarse sand or perlite can be a total game-changer for drainage. I usually mix in about an inch of coarse builder’s sand (definitely not fine sand—that actually makes things worse) along with my organic matter.
But here’s the thing—don’t just dump sand into clay soil without adding organic matter too. I tried that once and basically created garden concrete. The organic matter is what makes everything work together correctly.
Bone Meal and Balanced Fertilizers
Since garlic is in the ground for so long, it needs steady nutrition throughout the season. I like to work with a balanced organic fertilizer during soil prep, usually with equal parts nitrogen, phosphorus, and potassium (look for numbers like 10-10-10 on the package). Bone meal is fantastic because it gives slow-release phosphorus, which helps with root development.
Just don’t go crazy with the fertilizer during prep. Too much nitrogen early on can actually mess with bulb formation. I save the heavy feeding for spring—if you want the full scoop on that, check out my complete guide to fertilizing garlic.
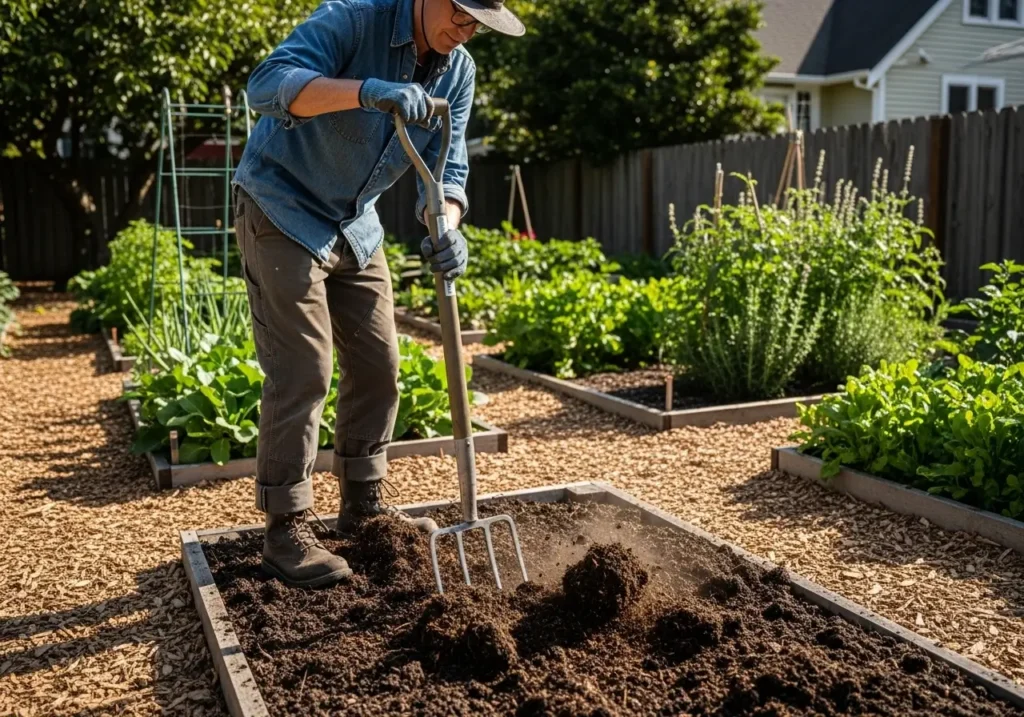
Step-by-Step Garlic Soil Preparation Process
Alright, let’s get down to business! Here’s exactly how I prep my garlic beds every fall. I’ve tweaked this process over the years, and it consistently gives me those gorgeous bulbs I’m always bragging about.
Timing: When to Start Your Prep
I start working on my garlic soil preparation about 4-6 weeks before I want to plant. Here in my Zone 5b corner of Illinois, I’m usually out there in early to mid-September getting ready for late October planting.
Why start so early? Well, all those soil amendments need time to settle in and get acquainted with each other. Plus, if you’re anything like me and tend to put things off until the last minute, starting early gives you some breathing room.
Testing and Assessing Your Soil
Before I start throwing amendments around, I always do what I call the “puddle test.” I dig a hole about a foot deep and fill it with water. If water’s still sitting there the next day, I know I have some serious drainage work.
I also grabbed one of those cheap pH testing kits from the garden center. They’re not precise, but they’ll tell you if you’re in the ballpark, which is all you need to grow great garlic.
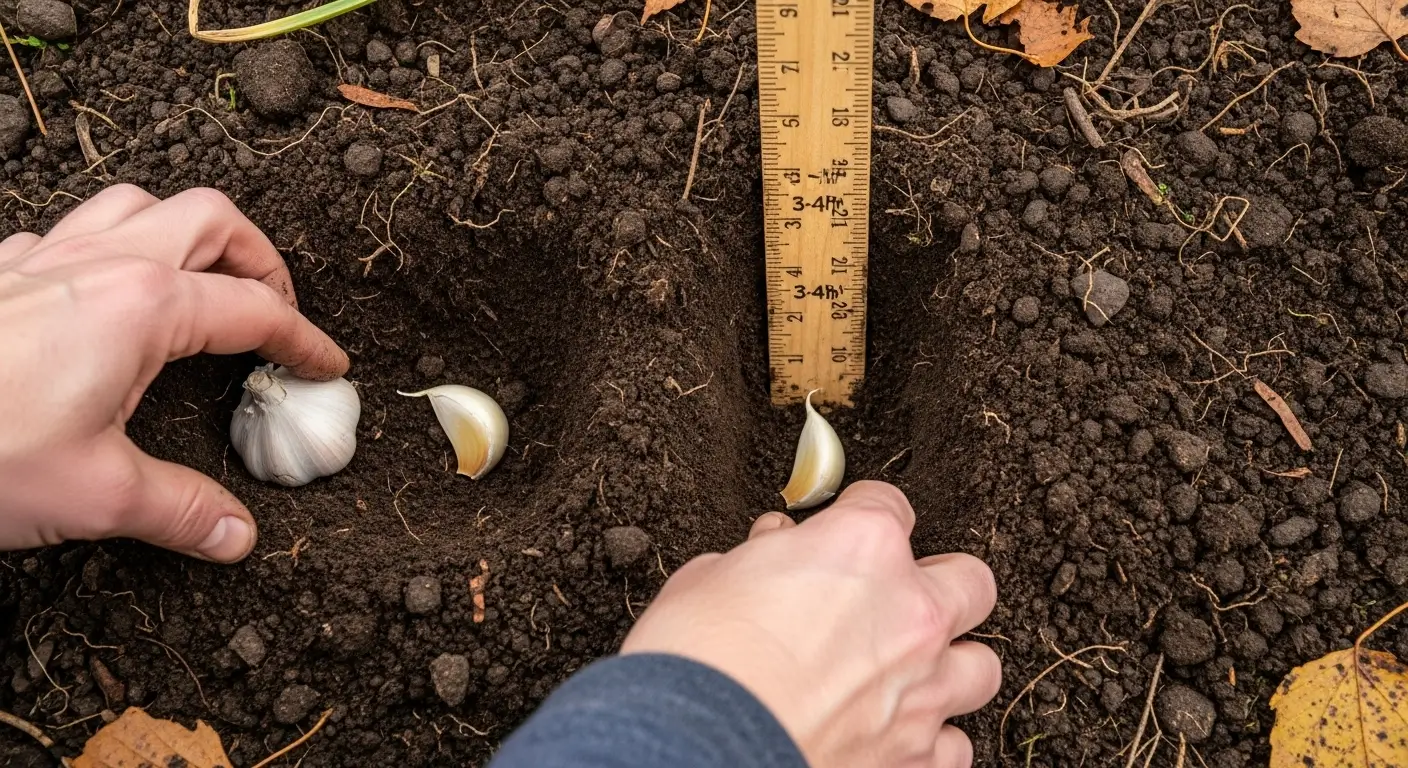
The Preparation Process
Step 1: Clear and Clean the Area. First, I eliminate all the weeds, old plant bits, and rocks bigger than a marble. Garlic doesn’t like competition, so starting with a clean slate is super important.
Step 2: Loosen the Soil I grab my trusty broadfork (or just a regular garden fork if that’s what you’ve got) and loosen up the soil to about 8-10 inches deep. I’m not trying to flip everything upside down, just breaking up any complex, compacted layers. This step is huge if you’re working with heavy or packed-down soil.
Step 3: Add Amendments. This is where I pile on all my soil amendments for garlic:
- 2-3 inches of good compost or composted manure
- About an inch of coarse sand if I’m dealing with clay
- A handful of balanced organic fertilizer per square foot
- A sprinkle of bone meal for good measure
Step 4: Mix and Integrate. I work all this good stuff into the top 6-8 inches of soil with my garden fork. The goal is to end up with a nice, uniform mixture that’s loose and crumbly—like chocolate cake mix, if that helps.
Step 5: Water and Settle. I give the whole bed a really good soaking and then just let it chill for a few weeks. This provides all the amendments time to start working together, and any pH changes to happen gradually.
Common Soil Preparation Mistakes to Avoid
Oh boy, have I made some doozies over the years! Let me help you avoid the mistakes that can really mess up your garlic crop.
Over-Amending with Fresh Materials
This was one of my earliest epic fails. I was so excited about feeding my soil that I went a little crazy with fresh horse manure right before planting. The result? Crispy, burned cloves and terrible germination rates. Always, always use well-aged or composted stuff for garlic soil preparation.
Ignoring Drainage Issues
I can’t even count how many people I’ve talked to who lost entire garlic crops to rot because they planted in soil that didn’t drain properly. If your soil holds water like a bathtub, you must fix that before you even think about growing garlic.
Working Wet Soil
It’s tempting to work on your soil prep when you finally have free time, even if it’s after a significant rain. But working wet soil is like kneading bread dough—you’ll destroy all the good structure you’re trying to create. Please wait until you can grab a handful of soil and it crumbles instead of forming a mud ball.
Skipping the Settling Period
I used to prep my soil and plant the same day because I was impatient. Big mistake! The soil needs time to settle, and all those amendments must start working together. Give it at least 2-3 weeks between prep and planting.
Regional Considerations for Soil Preparation
Living here in the Midwest has taught me that different parts of the country have totally different soil challenges. Here’s what I’ve learned from chatting with gardeners all over:
Clay-Heavy Soils (Hello, Midwest!)
If you’re dealing with clay like I had in my first garden, drainage is absolutely your biggest challenge. Go heavy on the organic matter and seriously consider building raised beds if your drainage is really terrible.
Sandy Soils (Lucky Coastal Folks)
Sandy soils are excellent for drainage but terrible at absorbing nutrients and moisture. You’ll want to add tons of organic matter and plan on feeding your garlic more frequently throughout the season.
Rocky Soils (Mountain and Hill Country)
Obviously, you’ll need to remove the big rocks, but here’s the thing—rocky soils usually drain really well, sometimes too well. You might need to add extra organic matter to help hold onto some moisture.
Advanced Tips for Perfect Garlic Soil
After fifteen years of growing garlic, I’ve picked up some tricks to take your soil game to the next level.
Cover Crop Benefits
If you’re the planning-ahead type (which I’m definitely trying to be more of), consider planting a cover crop in your garlic bed the season before. I love crimson clover or winter rye. These crops add organic matter, improve the soil structure, and help keep weeds from taking over.
Mycorrhizal Inoculants
Okay, this sounds super fancy, but mycorrhizal fungi are like tiny soil helpers that make it easier for your garlic to get nutrients. I sprinkle some commercial mycorrhizal inoculant into my planting holes—it’s like giving your garlic plants a superpower boost.
Mulching Considerations
While this isn’t technically soil prep, thinking about your mulch game is essential. I always have my straw or shredded leaves ready to go before I plant. A good mulch layer helps keep soil temperature and moisture steady all season.
Maintaining Your Prepared Soil Through the Season
Your soil prep work doesn’t stop when you plant! Garlic spends most of its life hanging out in that soil, so you want to keep it happy throughout the growing season.
Spring Soil Care
When spring rolls around and your garlic starts growing, all that careful soil structure you created becomes super important. I’m cautious not to walk on the beds when the soil is wet, because that can undo all your hard work.
This is also when good watering habits become crucial. The loose, well-draining soil you’ve created should make it easy to keep things consistently moist without turning your bed into a swamp.
Monitoring and Adjusting
Throughout the season, I keep an eye on how things are going. If I notice spots where water pools or where the soil seems to be getting packed down, I’ll add a light layer of compost around the plants.
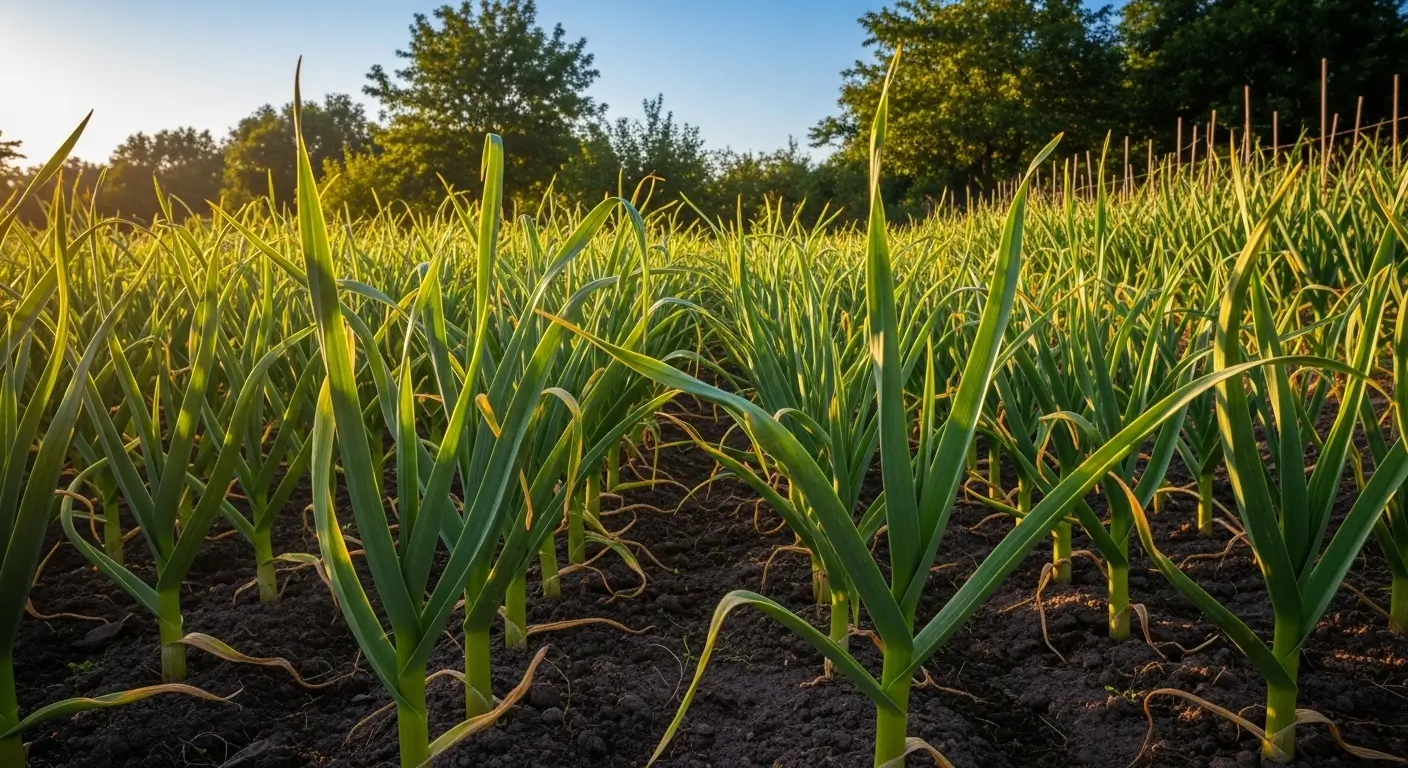
The Payoff: What Good Soil Prep Gets You
When you nail your garlic soil preparation, the results are impressive. I’m talking about:
- Way bigger, more uniform bulbs
- Garlic that stores better and lasts longer
- More vigorous plants that can handle whatever the weather throws at them
- Fewer problems with pests and diseases
- Just plain more garlic overall
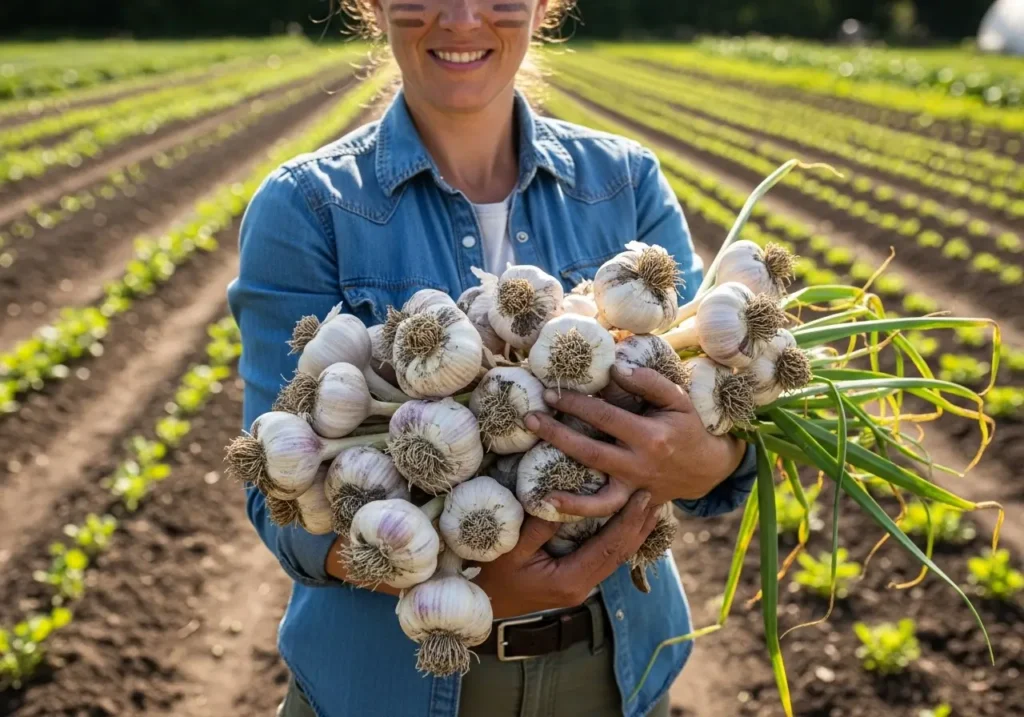
Last year, my properly prepped garlic bed gave me bulbs averaging about 3 inches across, while my neighbor’s garlic (planted in plain old dirt) barely hit 2 inches. That’s the difference good soil prep makes!
Your Path to Garlic Growing Success
Garlic soil preparation seems like a lot of work up front, but it’s one of my favorite parts of the whole garlic-growing process. There’s something really satisfying about working the soil, adding all those good amendments, and knowing you’re setting those cloves up for success.
You don’t have to be perfect right out of the gate. I’ve been at this for fifteen years, and I’m still figuring out new things about soil. Start with the basics—good drainage, plenty of organic matter, and decent pH. Everything else is just fine-tuning as you go.
If you’re just getting started with garlic, definitely check out my complete guide to growing garlic for the whole picture. But honestly, if you can master soil preparation, you’re already way ahead of the game.
The best time to start prepping your garlic soil is right now—whether for this fall’s planting or getting ready for next year. Your future self will be so grateful when you’re pulling up those beautiful, fat bulbs next summer.
Trust me, once you taste homegrown garlic raised in properly prepared soil, store-bought garlic will never taste the same. The flavor difference is incredible, and knowing you created those perfect growing conditions makes it taste even better!
Garlic Soil Preparation Frequently Asked Questions
What type of soil is best for growing garlic?
Honestly, garlic isn’t super picky, but it absolutely cannot handle wet feet! You want loose, well-draining soil that doesn’t turn into a puddle after it rains. I always tell people to aim for a pH between 6.0-7.0 – garlic likes things just slightly acidic to neutral. The real secret is adding tons of good compost or aged manure. Trust me, I learned this the hard way when my first garlic crop turned out tiny because I planted in plain old clay dirt!
How much compost should I add to my garlic bed?
I usually go with 2-3 inches of good compost or aged manure spread over the whole bed, then work it into the top 6-8 inches of soil. For my 4×8 foot beds, that’s about 16-24 cubic feet – sounds like a lot, but it’s so worth it! If you’ve got heavy clay like I used to deal with, bump it up to 3-4 inches. Good soil already? Lucky you – 2 inches will do the trick.
When should I prepare my soil for garlic planting?
Start your soil prep about 4-6 weeks before you want to plant – I can’t stress this enough! I used to be impatient and prep the soil the same day I planted. Big mistake! The amendments need time to settle in and get acquainted with your existing soil. Here in Illinois, I’m usually out there in early September getting ready for my late October planting. Give yourself that buffer time – your garlic will thank you for it.
How do I fix clay soil for garlic growing?
Oh boy, clay soil – been there! Add 3-4 inches of aged compost AND about an inch of coarse sand, then work it all into the top 8 inches. But here’s the thing – never just dump sand into clay without the organic matter. I tried that once and basically created garden concrete. Not fun! If your clay is really terrible, consider raised beds. Sometimes it’s easier to start fresh than fight with impossible soil.