Okay, real talk – I used to be absolutely terrible at growing garlic. Like, embarrassingly bad. My first attempt at garlic in raised beds? Total disaster. I ended up with these sad little bulbs that were smaller than cocktail onions. My neighbor’s dog probably could’ve grown better garlic by accidentally burying bones in the yard.
But here’s the crazy part – once I figured out what I was doing wrong (spoiler alert: pretty much everything), growing garlic in raised beds became one of my favorite things to do in the garden. Now I’m pulling up bulbs that are so gorgeous they make me want to cry happy tears. And honestly? It’s not even that hard once you know the tricks.
If you’re thinking about planting garlic in raised beds, you’re already making a smart move. Raised beds are like giving your garlic the VIP treatment – better drainage, fluffier soil, and less back-breaking work. But there are definitely some things you need to know to avoid my epic early failures.
Table of Contents
The Quick and Dirty Guide (Because Nobody Has Time for Novels)
Let me save you years of trial and error with the essential stuff:
- Plant in fall: 4-6 weeks before your first hard frost (mark your calendar now!)
- Don’t crowd them: Each clove needs 4-6 inches of personal space (they’re introverts like that)
- Drainage is everything: Soggy garlic = dead garlic (learned this the hard way)
- Go deep: Your bed needs at least 8-10 inches of good soil
- Mulch like crazy: Pile on that straw after planting
Get these right and you’ll be bragging to your neighbors by next summer. Promise.
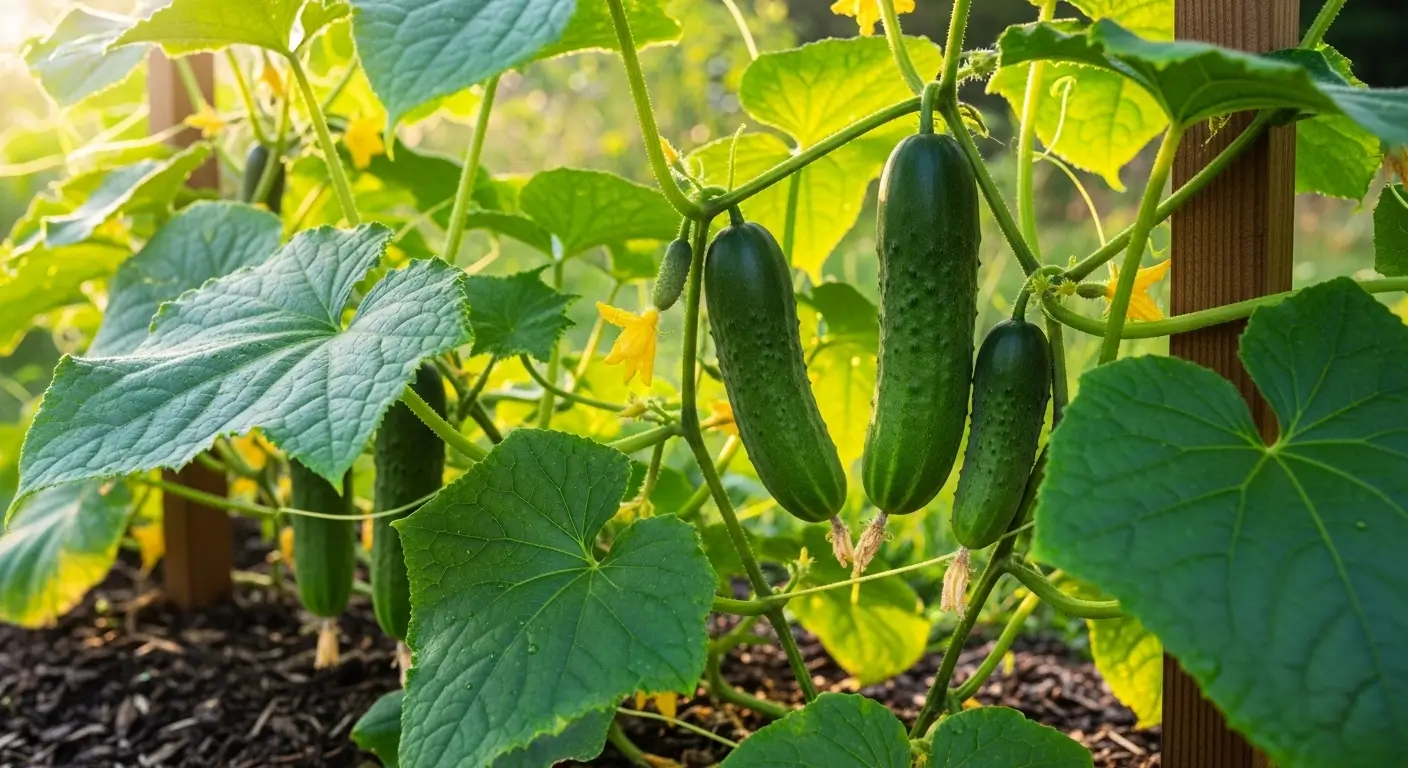
Why Growing Garlic in Raised Beds Is a Game-Changer
Do you know what’s awesome about growing raised bed garlic? It’s like upgrading from coach to first class. Your garlic gets all the good stuff – perfect drainage (no more mushy, rotting cloves), loose soil that roots can actually penetrate, and you don’t have to deal with whatever mystery soil came with your yard.
Plus, this is huge – raised beds warm up way faster in spring. My garlic is usually ready to harvest a few weeks earlier than my friend Sarah’s ground-planted stuff. And between you and me, mine’s always bigger too. (Sorry, Sarah!)
But the real game-changer? You get to build the perfect soil from scratch. No more fighting with clay that’s harder than concrete or sand that drains like a sieve.
Setting Up Your Garlic Paradise
Size Matters (But Not How You Think)
Here’s the thing – you don’t need some massive raised bed setup to grow incredible garlic. My favorite garlic bed is just 4×8 feet and about a foot deep. It’s perfect because I can reach everything from the sides (no awkward stretching or stepping on plants), and it holds about 80 garlic plants. That’s enough to keep me in homemade garlic bread for a year, with plenty left over to make my neighbors suddenly very friendly around harvest time.
Width-wise, stick to 4 feet max. Trust me on anything wider; you’ll be doing weird yoga poses while trying to reach the middle plants.
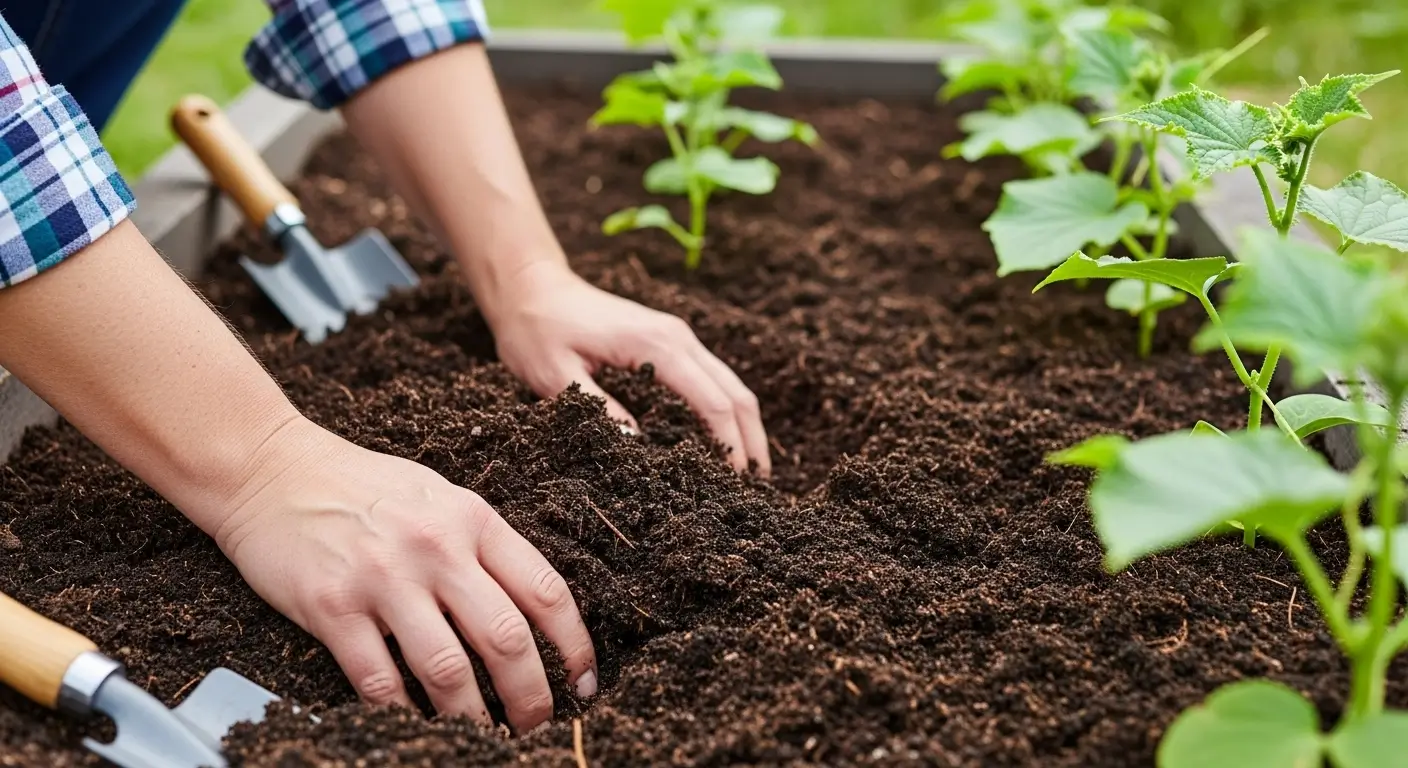
The Magic Soil Recipe
Okay, this is where I used to mess up big time. I thought I could dump some regular potting soil there and call it good. Nope! Garlic’s opinions about soil; if you ignore them, you’ll get tiny, sad bulbs like I did.
Here’s my tried-and-true mix that actually works:
- 40% good compost (the black gold of gardening)
- 30% leaf mold or coconut coir (for that fluffy texture)
- 20% perlite or coarse sand (drainage heroes)
- 10% aged manure (because garlic loves a good meal)
The goal is soil that feels like a barely-wrung-out sponge. Moist but not soggy. Do the squeeze test – grab a handful, squeeze it, then poke it. It should hold together for a second, then fall apart. If it stays in a ball, add more perlite. If it won’t stick together at all, add more compost.
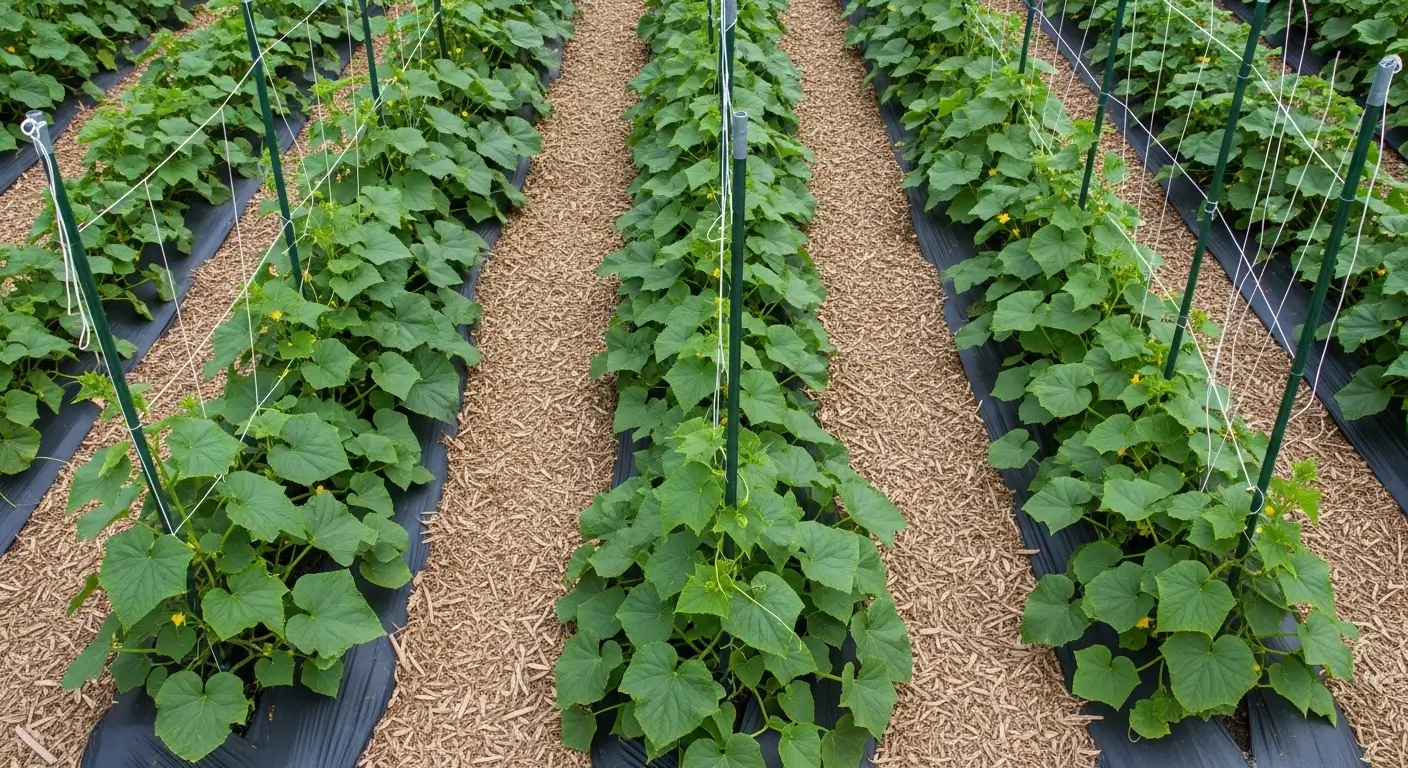
Garlic in Raised Beds: Spacing Like a Pro
This is probably where most people (including past me) screw up. When you’re excited about growing garlic, it’s so tempting to stuff as many cloves as possible into your bed. Don’t. Just don’t.
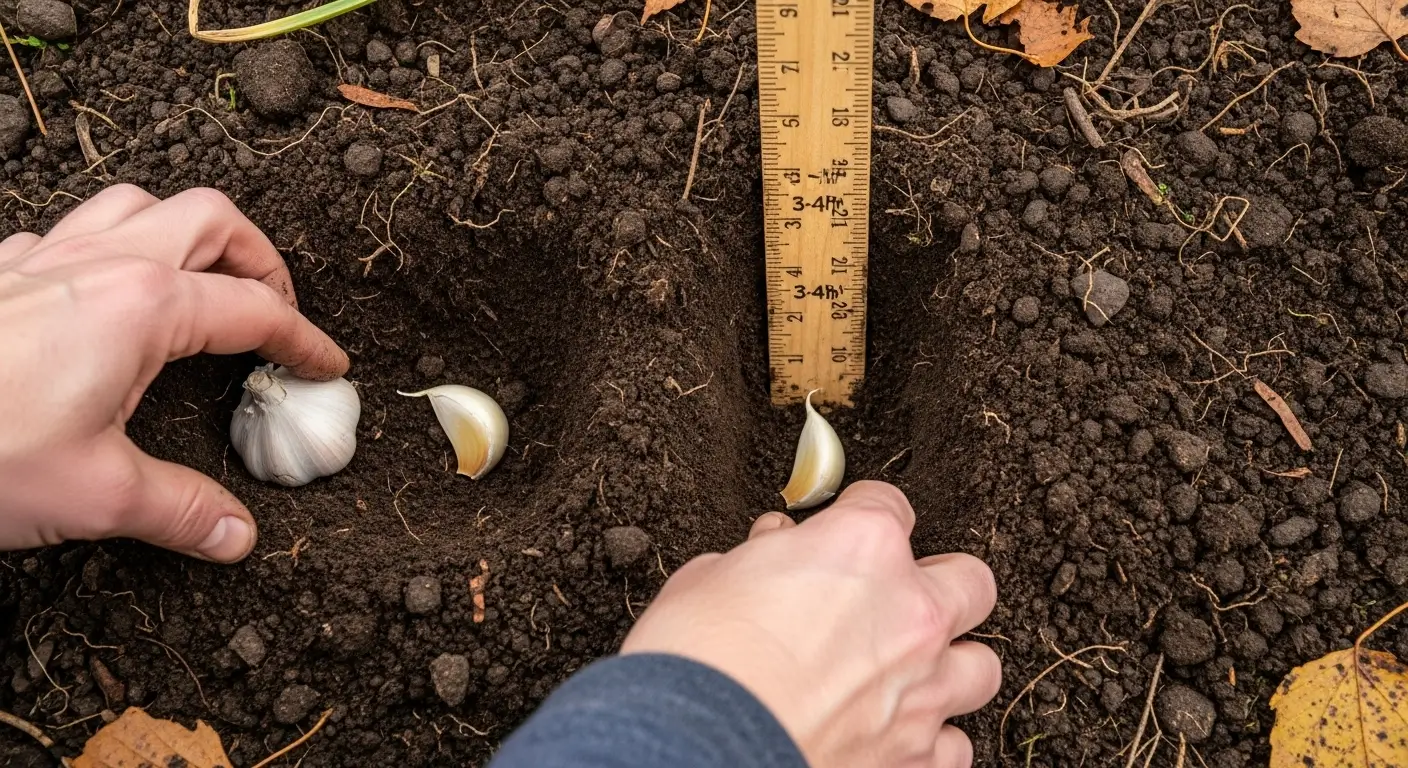
The 4-6 Inch Rule (It’s Not Negotiable)
Each garlic clove needs 4-6 inches of space from its neighbors. I know it seems like a lot, but here’s why it matters:
Air flow: Crowded garlic gets funky diseases. I lost half a bed to some gross white rot situation because I got greedy with spacing. Never again.
Room to grow: Garlic roots spread out more than you’d think. Give them room and they’ll make bigger bulbs. Crowd them and you get garlic that’s all attitude, no substance.
Sanity: Proper spacing makes everything easier – weeding, watering, harvesting. Future you will thank present you.
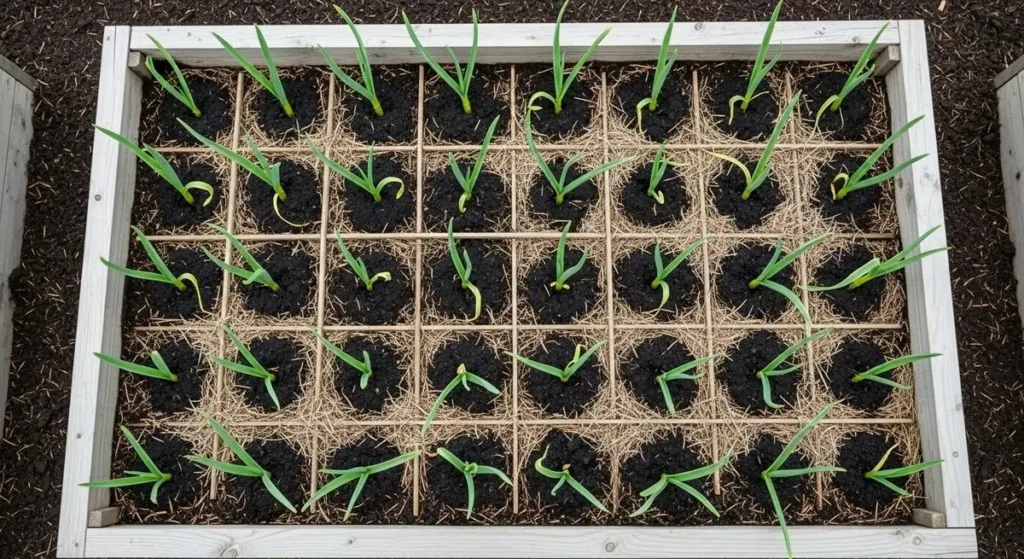
My Foolproof Layout
In my 4-foot bed, I plant in neat little rows 6 inches apart. I literally use an old yardstick to mark my spots before I start because trying to eyeball it never works out well. For the big hardneck varieties (which are my favorites), I go with 6-inch spacing all around. The smaller softneck types can handle 4 inches, but why risk it?
🧄 Garlic Spacing Calculator
Calculate how many garlic cloves fit in your raised bed!
Planting Day: Let's Do This Thing
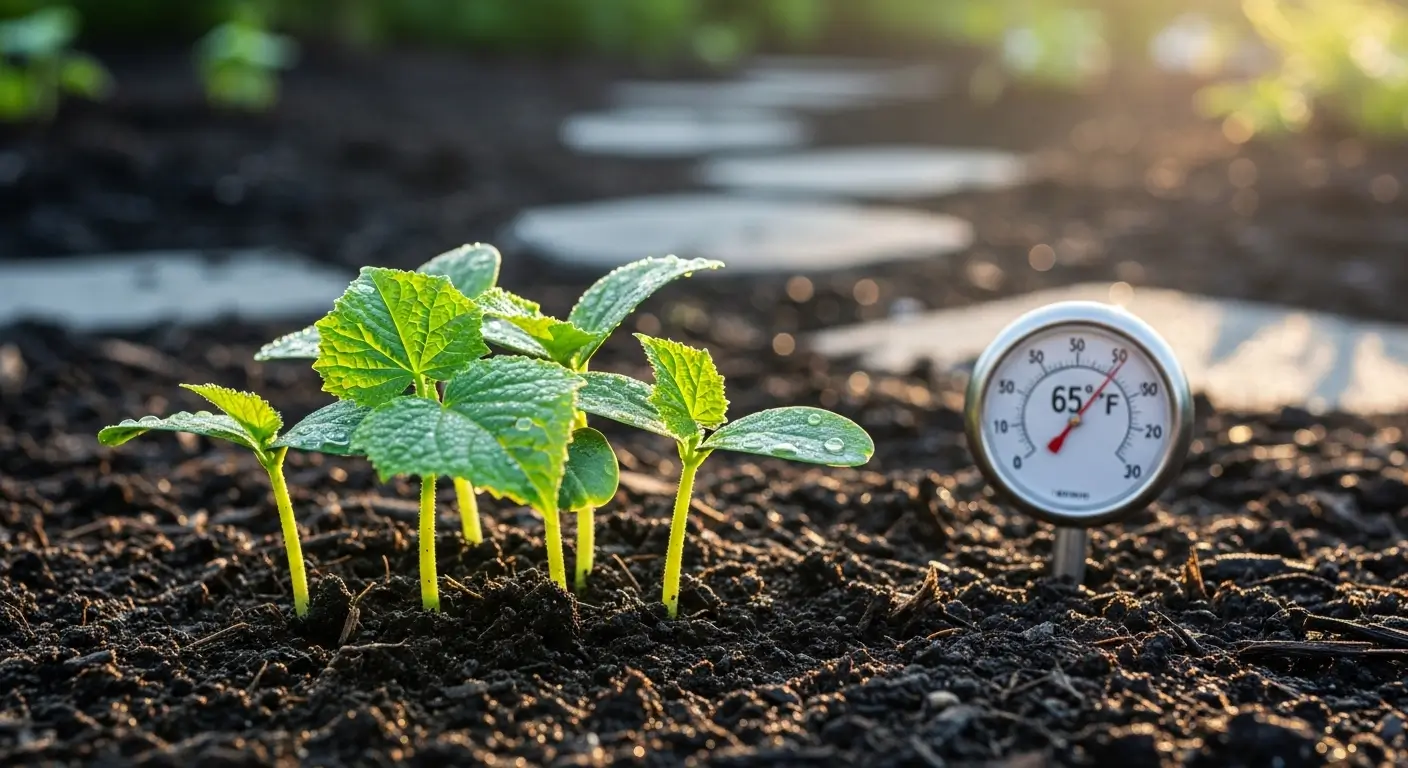
Timing is Everything
The secret to raised bed garlic spacing success starts with timing. Illinois Extension experts recommend planting 4-6 weeks before our first hard frost – usually mid-October here in Illinois. But here's the thing about raised beds: they can get a bit dramatic with temperature swings, so I keep an eye on the weather forecast.
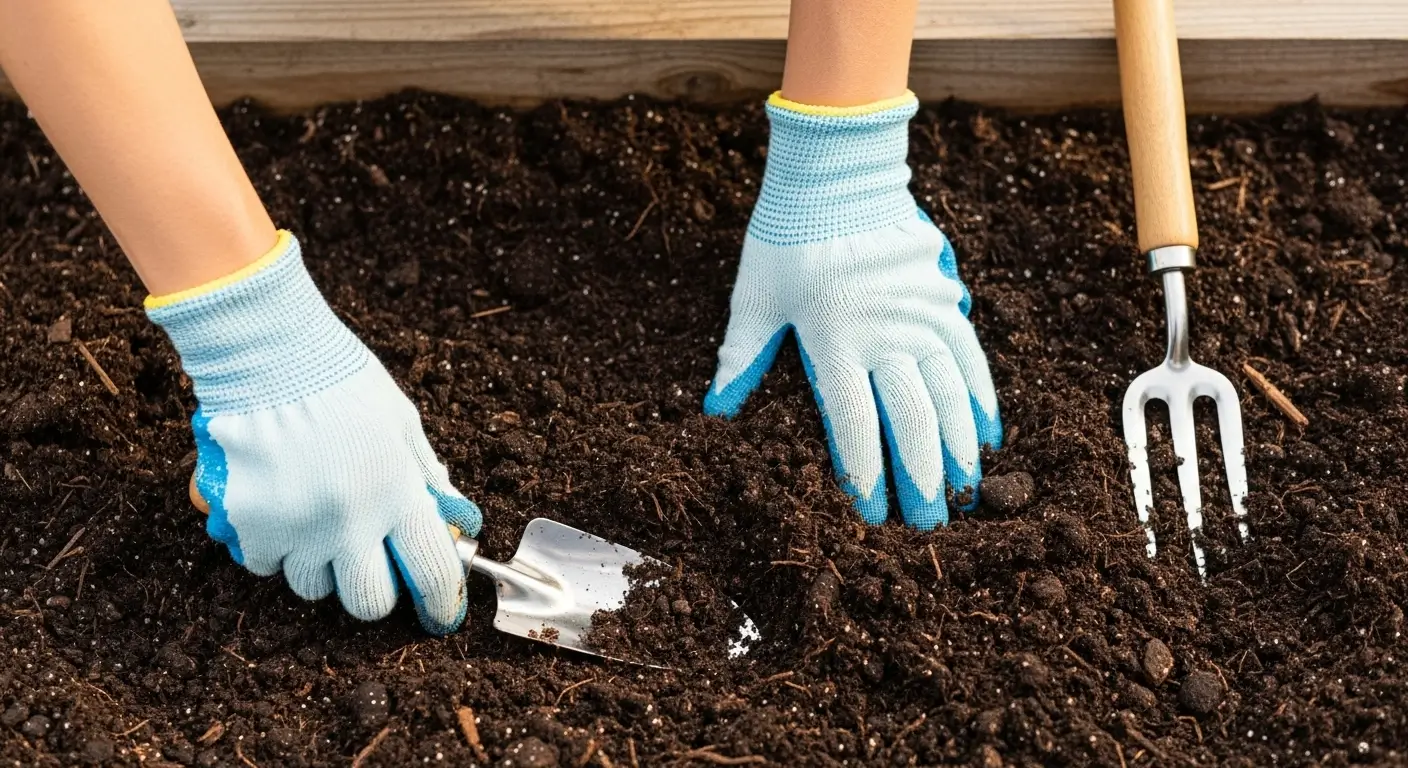
The Step-by-Step (Don't Skip Steps!)
1. Break apart your bulbs: Do this right before planting, not a week ahead. Keep that papery skin on each clove like a little jacket.
2. Make your holes: About 2 inches deep. I use my finger or a dibble stick. Pointed end up, flat end down (like you're planting a tiny traffic cone).
3. Drop and cover: Pop each clove in its hole, cover with soil, and pat gently. Don't pack it down like you're making cement – garlic must breathe.
4. Water carefully: Give it a good drink with a gentle shower. I use a watering can because the hose is too aggressive and tends to disturb everything.
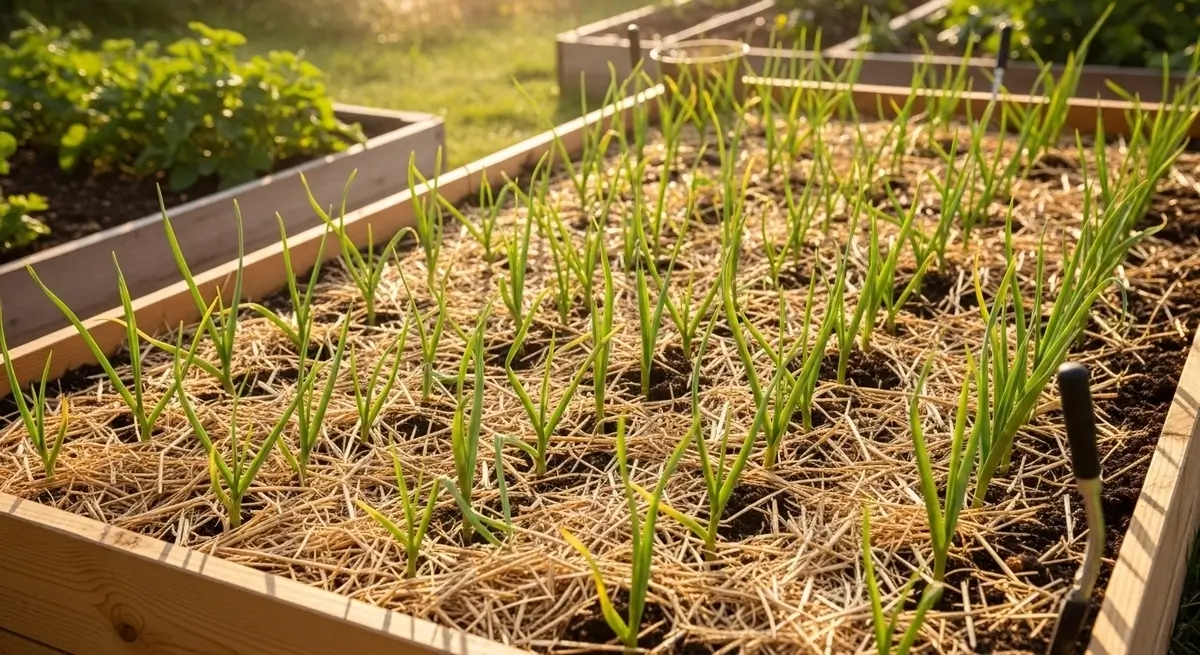
5. Mulch immediately: This is super important! I pile on 4-6 inches of straw mulch. It's like a cozy blanket for winter.
The Waiting Game: Seasonal Care
Fall and Winter (The Boring Part)
After planting, your garlic basically goes into hibernation mode. The mulch is doing all the work, keeping things at the right temperature and blocking weeds. I check on it once a month, mainly to make sure the mulch hasn't blown away.
If we get one of those weird warm spells in January (climate change is real, people), I might pull back some mulch so the garlic doesn't get confused and start growing too early.
Spring (When Things Get Exciting)
This is my favorite part! When those little green shoots start poking through the mulch, it's like Christmas morning. Proof that your garlic survived winter and is ready to party.
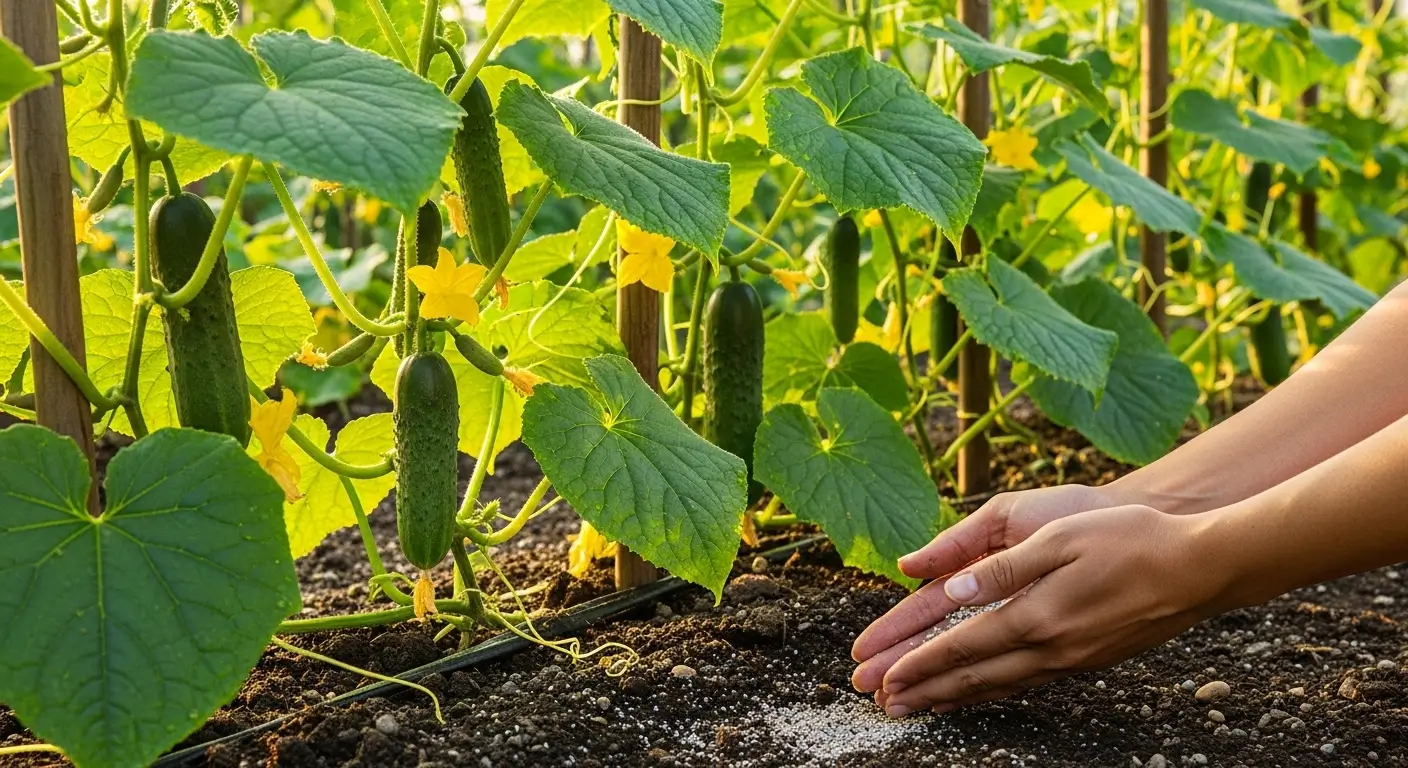
Once the shoots are about 4-6 inches tall, I give them a snack – usually some compost or organic fertilizer worked into the soil around the plants. Raised beds drain nutrients faster than regular soil, so this spring feeding is crucial.
Summer (The Home Stretch)
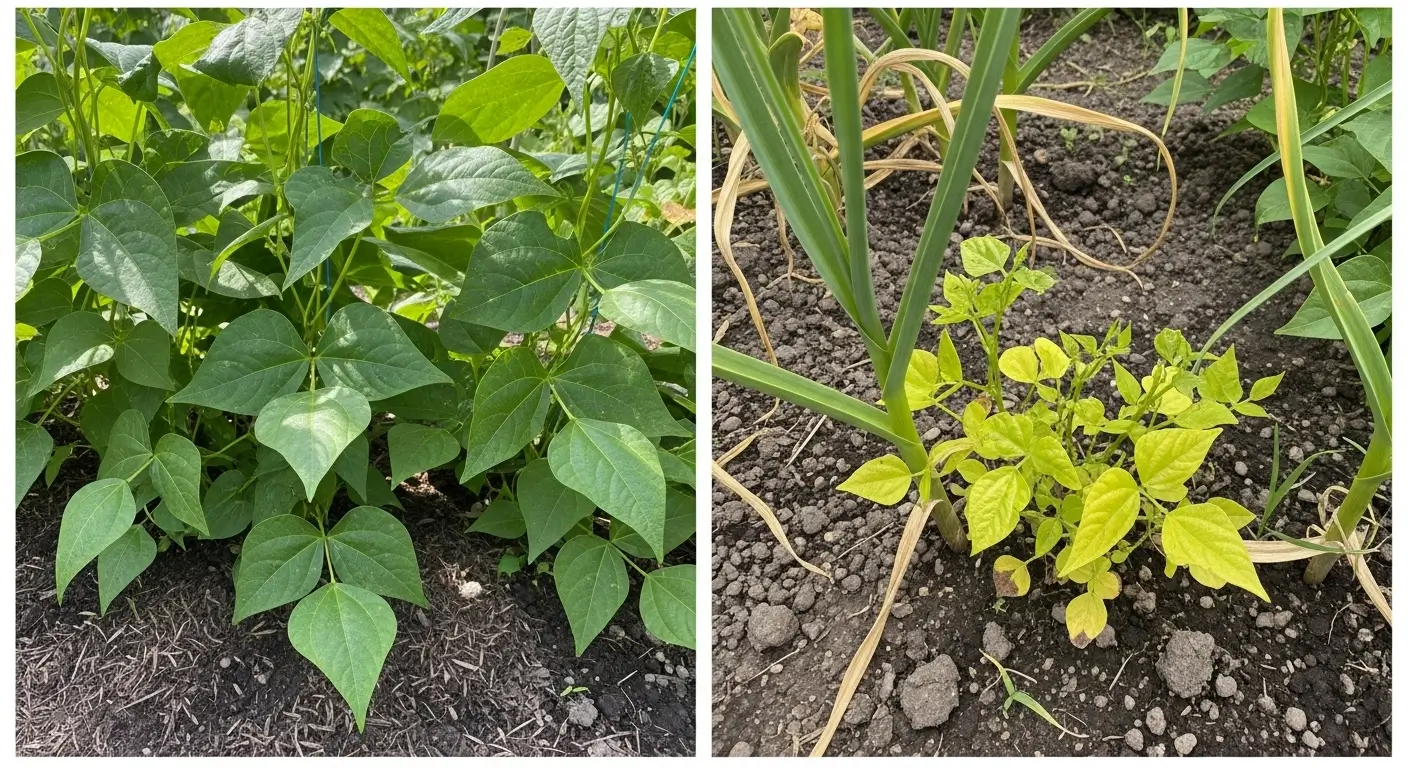
Summers are when raised beds really show off. Better drainage means fewer disease problems, and the height makes everything easier to manage. Keep an eye out for scapes (those curly flower stalks) on hardneck varieties – cut them off to encourage bigger bulbs. Plus, scapes are delicious in stir-fries!
When Things Go Wrong (Because They Will)
Drainage Drama
Even in raised beds, sometimes water pools after a significant rain. If this happens, your soil's probably too heavy. I fix this by mixing in more perlite or coarse sand – about a shovelful per square foot usually does it.
Tiny Bulb Syndrome
Suppose your garlic comes out looking like it belongs in a dollhouse. In that case, it's usually one of three things: you crowded them (back to that spacing thing!), the soil's not rich enough, or you planted too late. The good news? Raised beds make it easy to fix the first two problems.
Pest Problems
Raised beds aren't magic shields against bugs and diseases, but they do make problems easier to spot and treat. Good spacing helps with air circulation, which prevents most fungal issues. And the contained space makes targeted treatments way more effective.
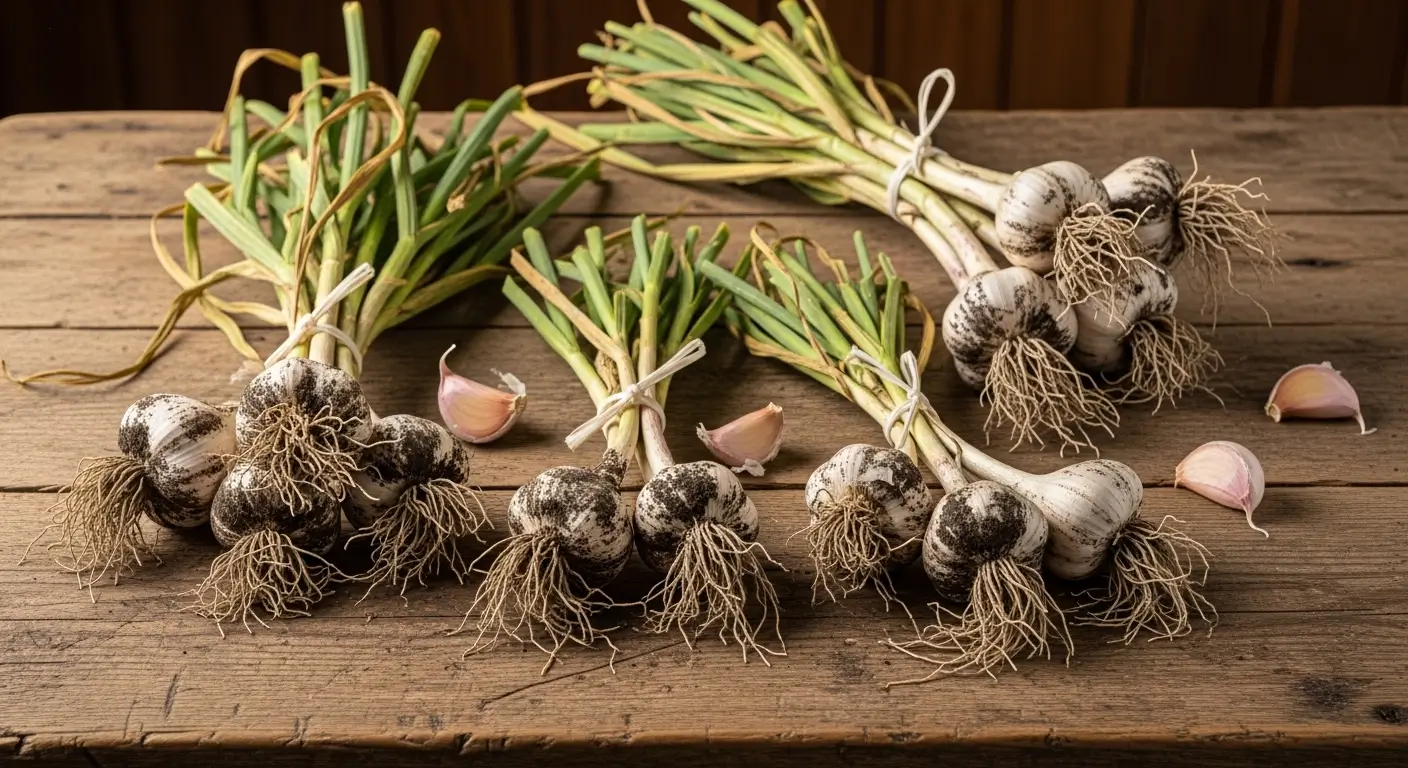
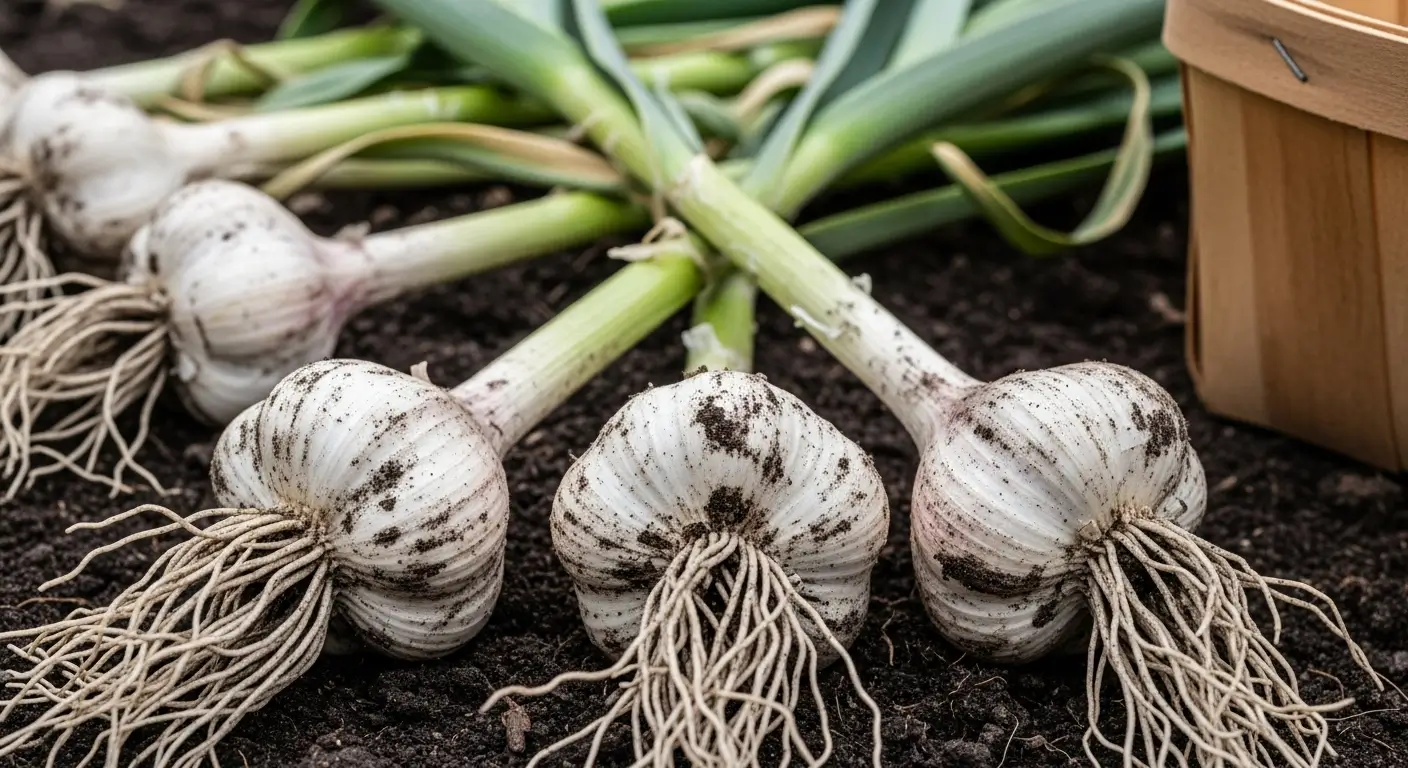
Harvest Time (The Best Day of the Year!)
You'll know it's time when the bottom leaves turn brown, but you still have 5-6 green leaves up top. Usually mid to late July for me. The beautiful thing about raised beds? Harvesting is so much easier. No digging through rock-hard soil or kneeling in mud. Gently fork around each bulb and lift it out.

Pro Tips from Someone Who's Made All the Mistakes
After years of figuring this out the hard way, here are my secret weapons:
Plant lettuce between your garlic: I tuck lettuce transplants between the garlic rows in early spring. The lettuce is ready to harvest, just as the garlic needs more space, and it helps keep weeds down. Want more ideas? Check out these awesome companion plants for garlic.
Try weird varieties: Raised beds let you experiment with varieties that might struggle in regular garden soil. Have some fun with it!
Extend your season: The controlled environment means you can push the planting dates a bit and harvest earlier than ground-planted garlic.
Other Ways to Grow Garlic
While I'm totally sold on raised beds, growing garlic in containers is fantastic if you're short on space. And if you want the complete lowdown on everything garlic – variety selection, detailed timelines, storage tips – definitely check out my complete guide to growing garlic.
You've Got This!
Growing garlic in raised beds has seriously changed my gardening game. What started as a string of embarrassing failures became one of my most reliable and rewarding crops. The combination of better drainage, easier maintenance, and that satisfying height (no more gardening on hands and knees!) makes raised beds perfect for garlic.
Look, garlic growing is a marathon, not a sprint – you plant in fall and wait until the following summer for the payoff. But when you're pulling those gorgeous, fat bulbs out of your raised bed next July, you'll totally get why I'm so obsessed with this method.
The secret sauce? Good soil and proper spacing, and don't overthink it. Skip the temptation to cram in extra cloves, don't skimp on the mulch, and trust the process. Your future self (and your taste buds) will thank you.
Ready to become a raised bed garlic guru? I'm dying to hear about your plans! Drop a comment and tell me what varieties you're thinking about trying, or share your own garlic growing adventures (disasters welcome – we've all been there!). Nothing makes me happier than talking garlic with fellow garden nerds, and trust me, once you taste homegrown garlic, you'll be just as addicted as I am!
Frequently Asked Questions About Growing Garlic in Raised Beds
What spacing is best for garlic in raised beds?
Space garlic cloves 4-6 inches apart in all directions. Hardneck varieties need 6-inch spacing for proper air circulation and bulb development, while softneck varieties can handle 4-inch spacing. Proper spacing prevents disease and allows roots to develop fully.
How deep should a raised bed be for growing garlic?
Your raised bed needs at least 8-10 inches of quality soil depth for garlic. This provides enough room for root development and proper drainage. Beds that are 12 inches deep work even better and give you more soil volume to work with.
What's the best soil mix for garlic in raised beds?
Use 40% compost, 30% leaf mold or coconut coir, 20% perlite or coarse sand, and 10% aged manure. This creates the perfect balance of drainage and moisture retention that garlic needs. The soil should feel like a wrung-out sponge when squeezed.
When should I plant garlic in raised beds?
Plant garlic 4-6 weeks before your first hard frost, typically mid-October in most areas. Raised beds can have more dramatic temperature swings than ground soil, so watch weather forecasts carefully and plant when consistent cool weather arrives.
Do I need to mulch garlic in raised beds?
Yes, mulching is crucial! Apply 4-6 inches of straw mulch immediately after planting. Mulch regulates soil temperature during winter, suppresses weeds, and helps retain moisture. It's especially important in raised beds which can experience more temperature fluctuations.