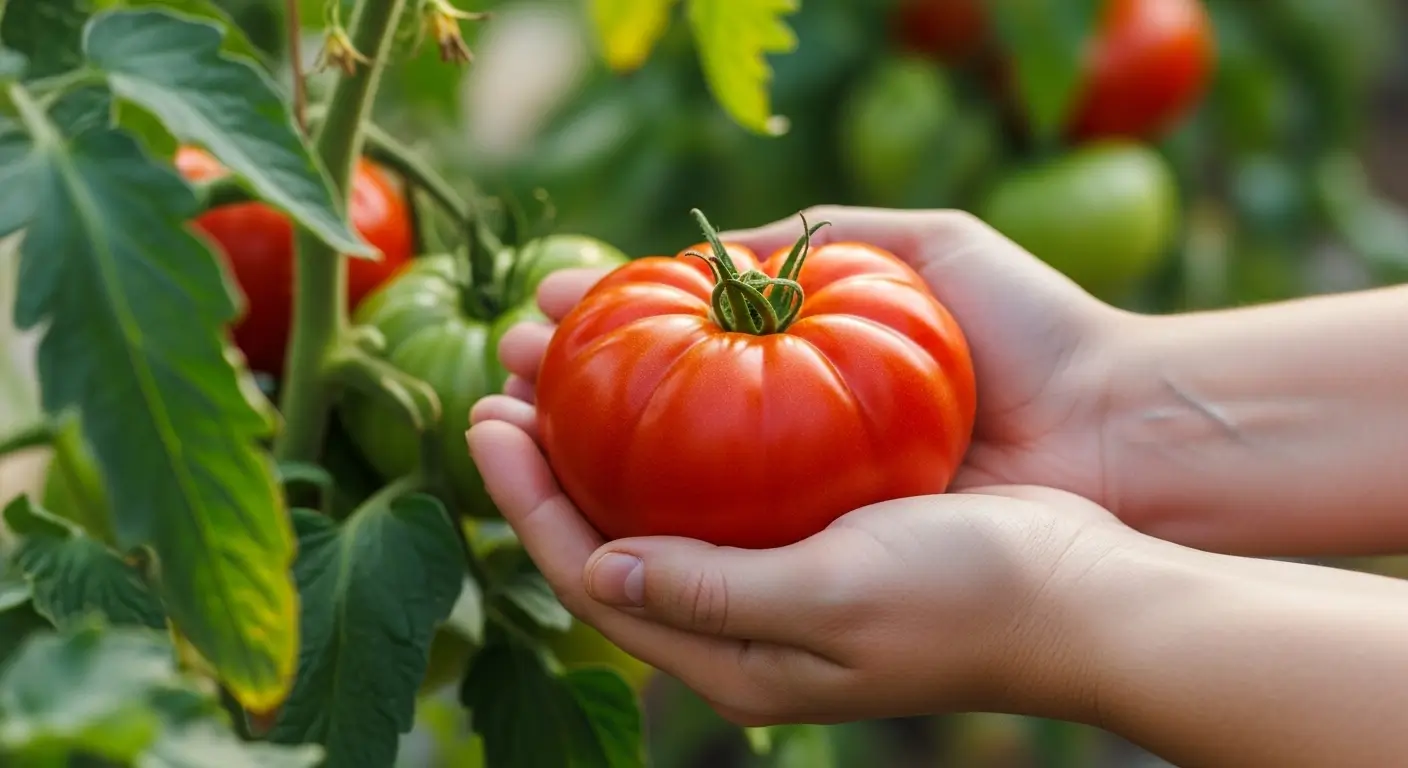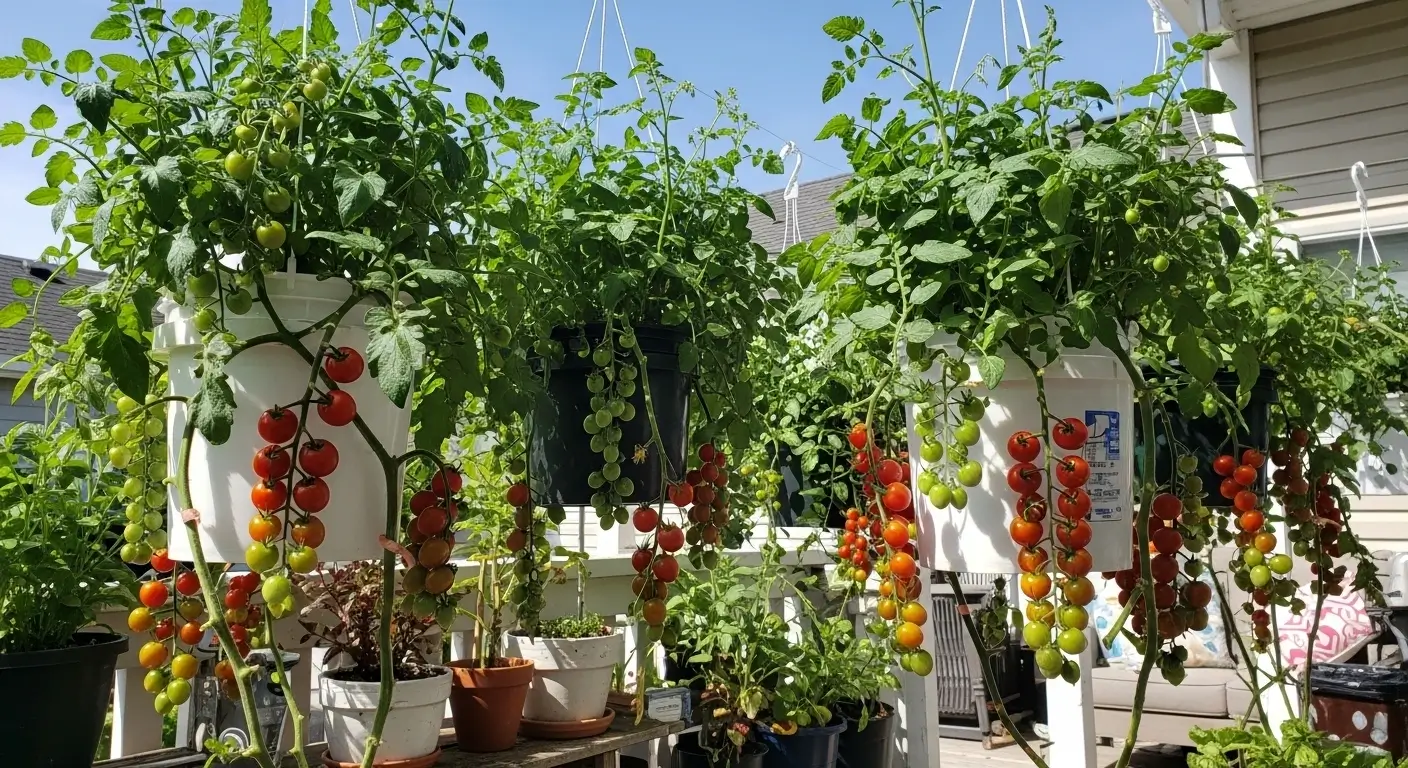
Okay, so here’s the deal – when my neighbor first told me about growing tomatoes upside down, I laughed out loud. Like, come on, that’s got to be some Pinterest nonsense, right? Well, joke’s on me because three years later, I’m totally obsessed with my hanging tomato jungle!
I’m not even kidding – there’s something so satisfying about having these gorgeous cherry tomatoes just hanging there like nature’s own chandelier. Plus, my kids think it’s the coolest thing ever, which honestly makes me feel like I’ve finally done something right in the garden.
Growing tomatoes upside down isn’t just some weird gardening trick (though it definitely gets people talking at neighborhood barbecues). It’s actually super practical if you’re dealing with tiny spaces, crappy soil, or those annoying bugs that seem to find every single tomato you’re trying to grow. Trust me, this might blow your mind.
Table of Contents
Key Takeaways: What You’ll Learn
- Why this crazy method actually works and which tomatoes love hanging out upside down
- How to build your own DIY hanging tomato planter without breaking the bank
- All the care tips I wish someone had told me before I started
- The mistakes I made so you don’t have to (you’re welcome!)
- Whether this beats regular container growing (spoiler: it depends)
Why Growing Tomatoes Upside Down Actually Makes Sense
So you’re probably wondering if I’ve lost my mind. I mean, plants grow up, not down! But here’s what I figured out after watching my first upside-down plant for weeks like it was some science experiment.
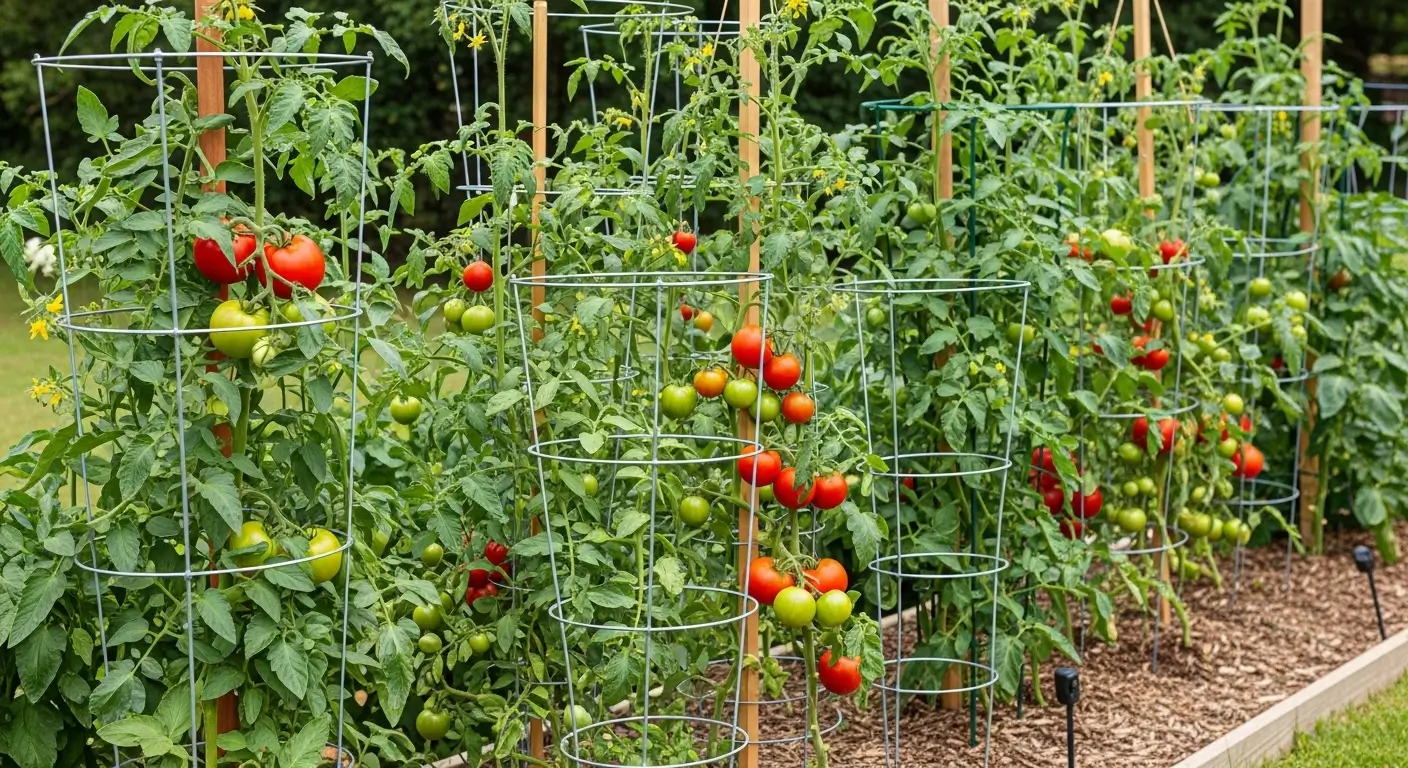
Tomatoes are basically drama queens that want to sprawl all over the place anyway. Do you know how they always flopped over and needed those cage things? Well, when you hang them upside down, they’re just doing what they want to do naturally – except now gravity’s working with you instead of against you.
The Science Behind the Method
Don’t worry, I won’t get all nerdy on you, but here’s the cool part. The main stem still grows toward the sun (even though it’s technically growing “down” from the bucket). All those heavy branches with the tomatoes hang there looking gorgeous without needing any annoying stakes. This gravitational response in plants is actually well-documented in research, showing how they adapt their growth patterns no matter which way they’re oriented.
I’ve also noticed way fewer gross fungal problems with my upside-down plants. Something about the air moving around them better, plus the tomatoes never touch the ground, so they don’t get all nasty and rotty. And honestly? No more slug problems. Those little jerks can’t climb up to my hanging plants!
Choosing the Right Tomato Varieties for Upside-Down Growing
Okay, this is where I made my first epic fail. I thought, “Hey, if I’m doing this, might as well go big!” and tried to hang a massive heirloom plant upside down. Yeah, that ended about as well as you’d expect – with my DIY planter in pieces on the patio and one very dead tomato plant.
Best Varieties for Hanging Gardens
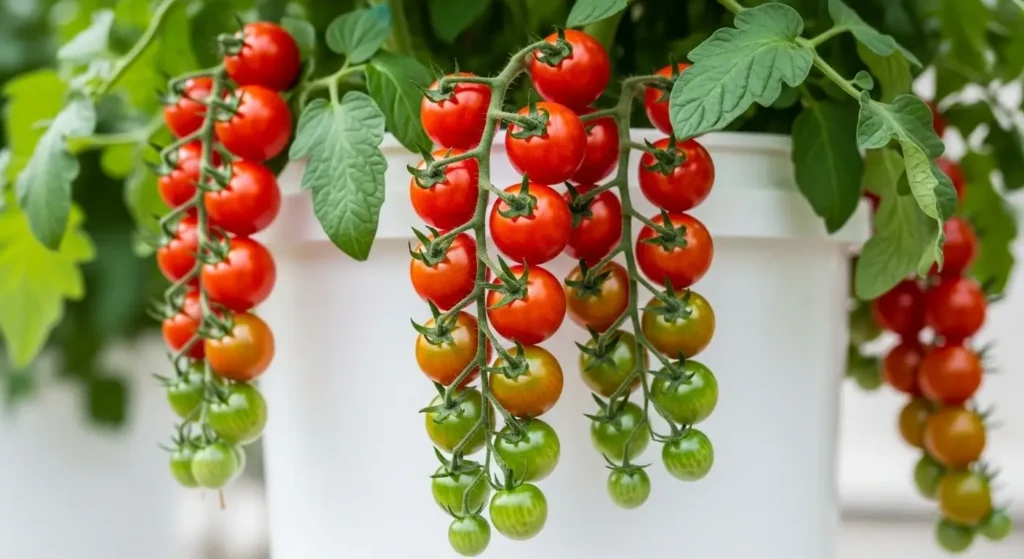
Cherry and grape tomatoes are your best friends here. I’m talking about ‘Sweet 100’, ‘Surefire Red’, and ‘Tumbling Tom’ – these little guys are like they were made for this! They’re not too heavy, they produce like crazy, and they look absolutely gorgeous cascading down.
Small compact varieties work great too. ‘Patio Princess’ and ‘Tiny Tim’ have been total winners in my hanging garden. They stay a reasonable size and don’t try to take over the world like some tomato plants do.
What NOT to try: Don’t be like me and attempt those giant beefsteak varieties. ‘Brandywine’ or ‘Cherokee Purple’ might be delicious, but they’ll literally destroy your setup. Save those beauties for your regular garden beds!
Creating Your DIY Hanging Tomato Planter
You don’t need to spend a fortune on those fancy store-bought hanging planters (though honestly, they do look pretty nice). Making your own is cheaper and fun in a crafty way.
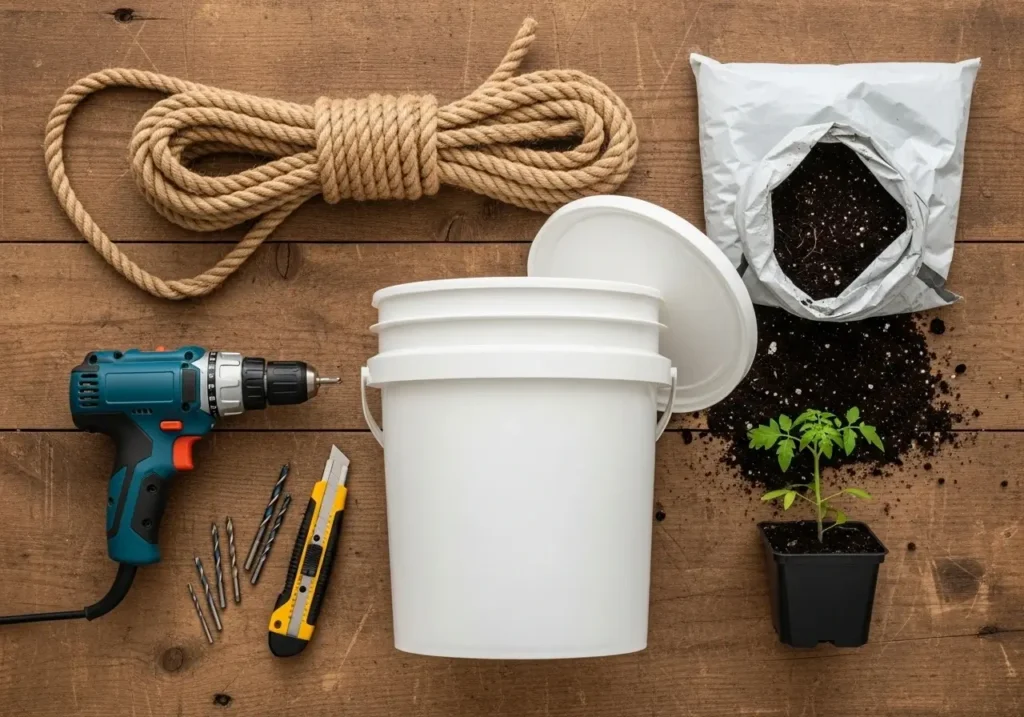
Materials You’ll Need
- One 5-gallon bucket with lid (I ask at the deli counter – they’re usually happy to give them away)
- A drill (borrow one if you don’t have it)
- Sharp knife
- Strong rope or wire for hanging
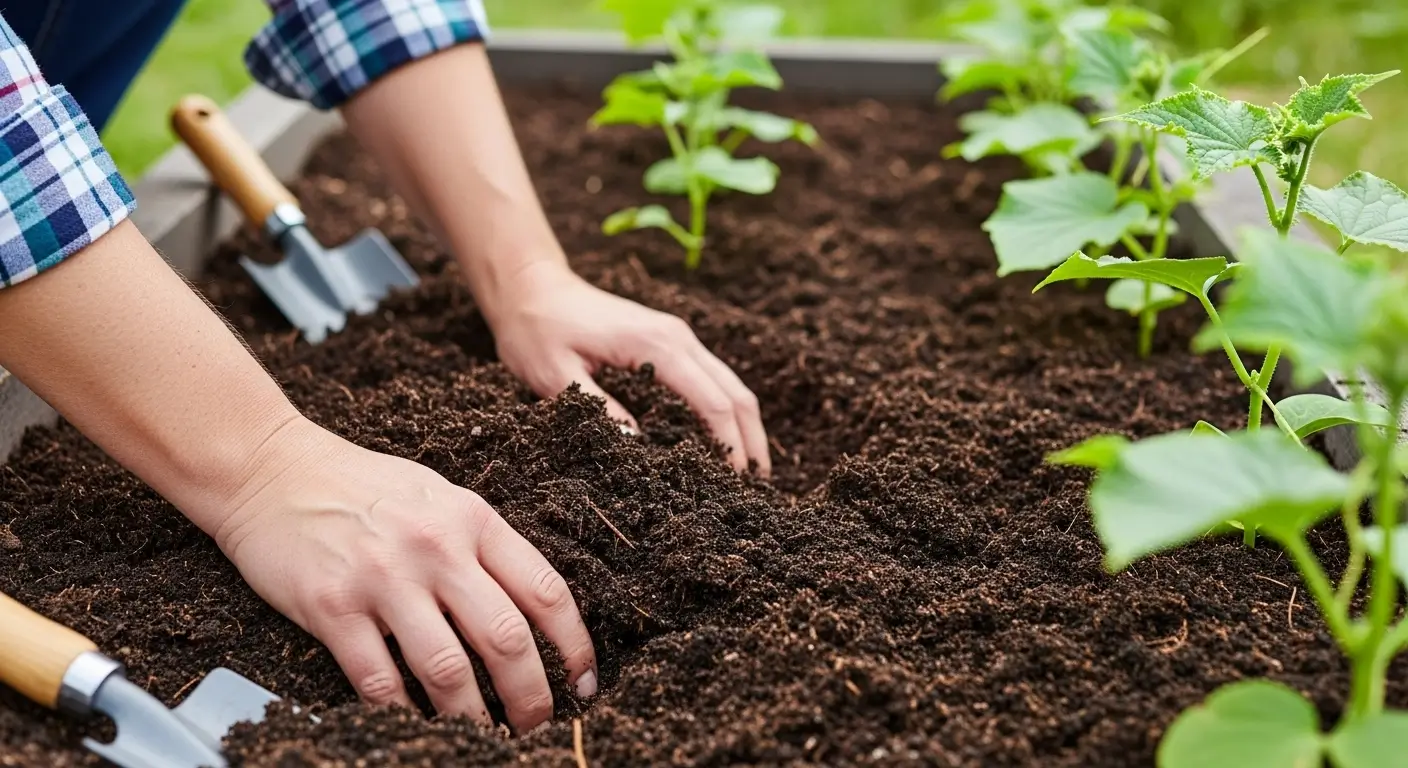
- Good potting mix (don’t cheap out here – trust me)
- One baby tomato plant
Step-by-Step Assembly
Step 1: Make the central hole. Drill a hole in the bottom of your bucket that’s big enough for your plant’s roots but not so big that everything falls out. I always start small and make it bigger as needed. It’s like Goldilocks – you want it just right!
Step 2: Add drainage holes. Poke some smaller holes around the sides near the bottom. Nobody likes soggy roots – they’re basically plant death. I learned this the hard way with my first attempt, which turned into a swamp.
Step 3: Set up your hanging system. This is super important – make sure whatever you use to hang this thing can handle some serious weight. I’m talking 40-50 pounds when everything’s wet and full-grown. My first rope literally cut through the bucket rim during a storm. What a mess!
Step 4: Get that plant in there. This part’s a little tricky and weird the first time. You’ve got to thread the plant through that bottom hole from inside the bucket. I wrap the roots in a coffee filter to keep everything together – it’s like plant surgery but way less stressful.
Step 5: Fill it up. Use good potting soil, not dirt from your yard. Garden soil gets way too heavy in containers and doesn’t drain properly. Fill it up, but leave some room at the top for watering.
Essential Care Tips for Upside-Down Tomatoes
Taking care of these hanging beauties differs from regular tomatoes, and I had to learn some things the hard way.
Watering: The Biggest Challenge
This is where it gets real – these things dry out like crazy! I’m talking twice a day watering in summer, sometimes more if it’s really hot and windy. The whole container is exposed to air, so the moisture disappears.
I stick my finger right down into the soil to check. If it’s dry past the first inch, it’s time to water. And get yourself a watering wand thingy with a gentle setting so you don’t wash all your soil out of the bottom. Been there, done that!

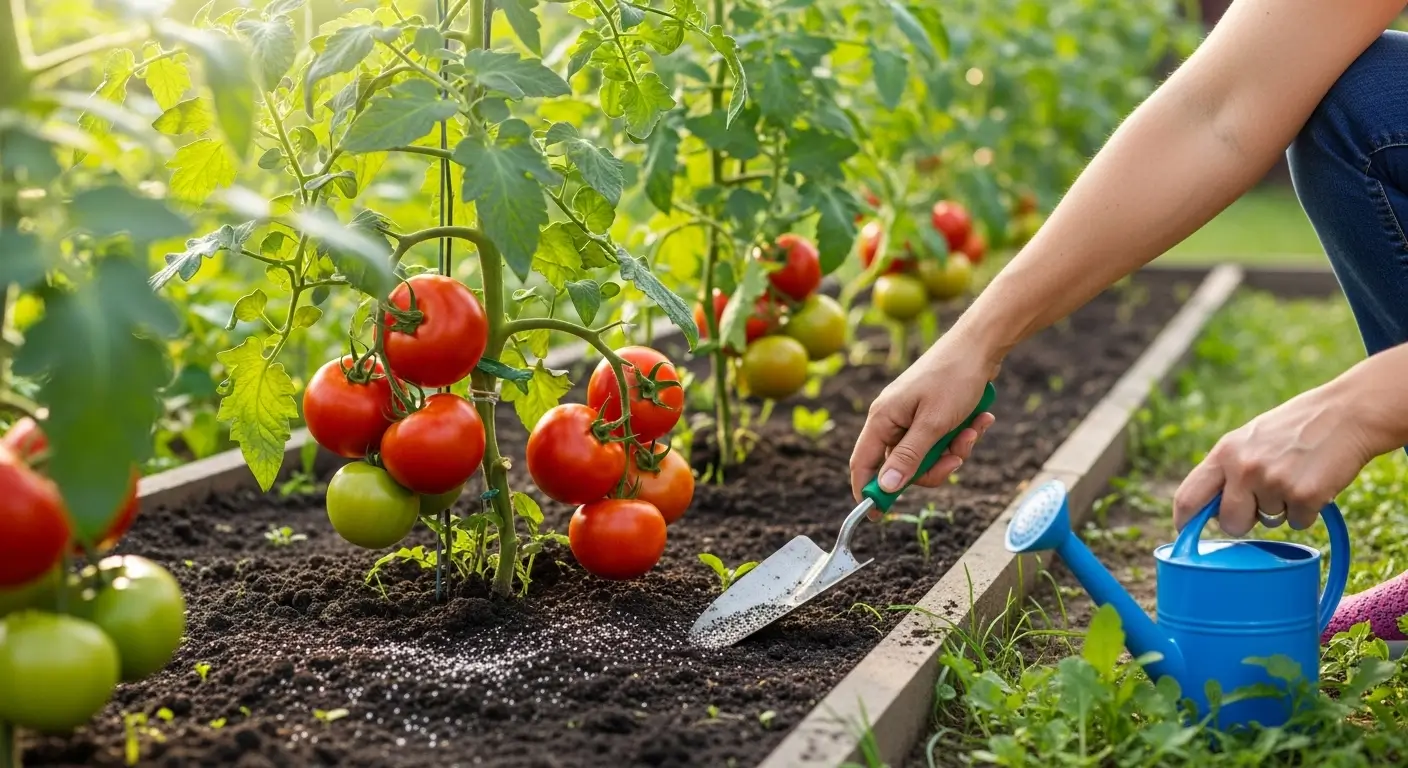
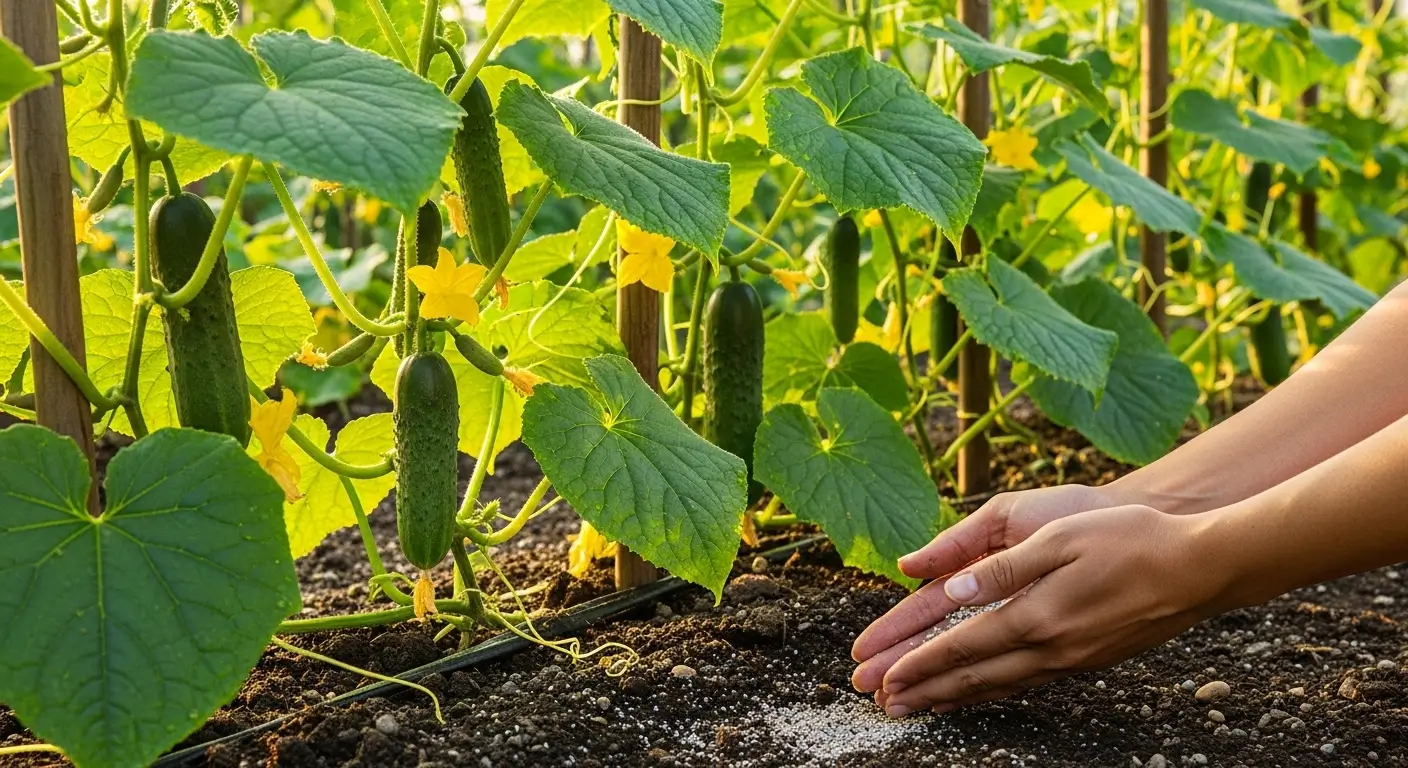
Feeding Your Hanging Garden
Since you’re watering all the time, you’re basically washing all the plant food away. I feed mine every couple of weeks with liquid fertilizer. Once they start flowering, I switch to something with more phosphorus to help with fruit production. Sounds fancy, but the bottles tell you what to use!
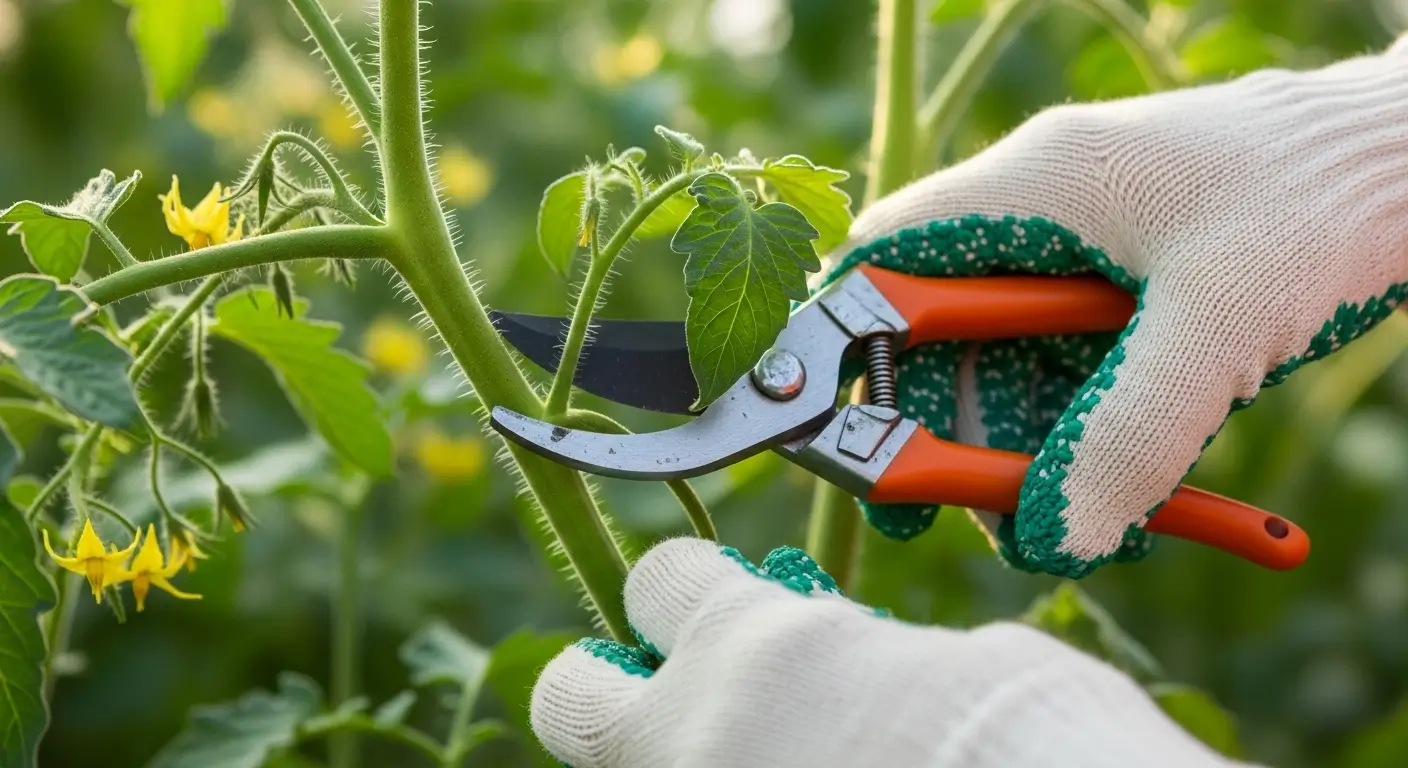
Pruning and Maintenance
Here’s something cool – pruning is easier when everything’s hanging right before you! I can see and reach everything without crawling around on the ground. I still pinch off those sucker shoots just like regular tomatoes. Still, I’m not as aggressive since the plant’s already dealing with being upside down.
Comparing Methods: Upside Down vs. Traditional Container Growing
After using both methods for a few years, there are definitely pros and cons to each. If you want to know more about growing tomatoes in containers, the regular way is worth checking out too.
Advantages of Upside-Down Growing
- You can grow tomatoes anywhere: Seriously, even on a tiny balcony
- Fewer pests: Those ground bugs can’t reach your plants up there
- Better airflow: Less chance of those gross fungal diseases
- No staking: Gravity does all the work – genius!
- Primary conversation starter: Everyone who sees it asks questions
Challenges to Consider
- You’ll be watering constantly: These dry out so fast it’s not even funny
- Size limits: You’re stuck with smaller varieties
- Setup can be fiddly: Getting everything positioned right takes patience
- Wind is not your friend: Strong storms can be a problem
Common Mistakes and How to Avoid Them
Let me save you some headaches by sharing my epic fails:
Mistake #1: Going too small with the container. I thought a 3-gallon bucket would be fine. Nope! Tomatoes need room to spread their roots, and smaller containers turn into deserts way too fast. Go with 5 gallons minimum – your plants will thank you.
Mistake #2: Cheap hanging setup. I used some random rope I had lying around, and it gradually cut through the bucket rim until the whole thing crashed down. Invest in proper hardware – galvanized wire or excellent rope that won’t fall apart in the weather.
Mistake #3: Watering panic. After struggling with bone-dry soil, I went totally overboard and kept everything soaking wet. Bad idea! Root rot is real, and your plants will hate you. Aim for consistently moist, not soggy.
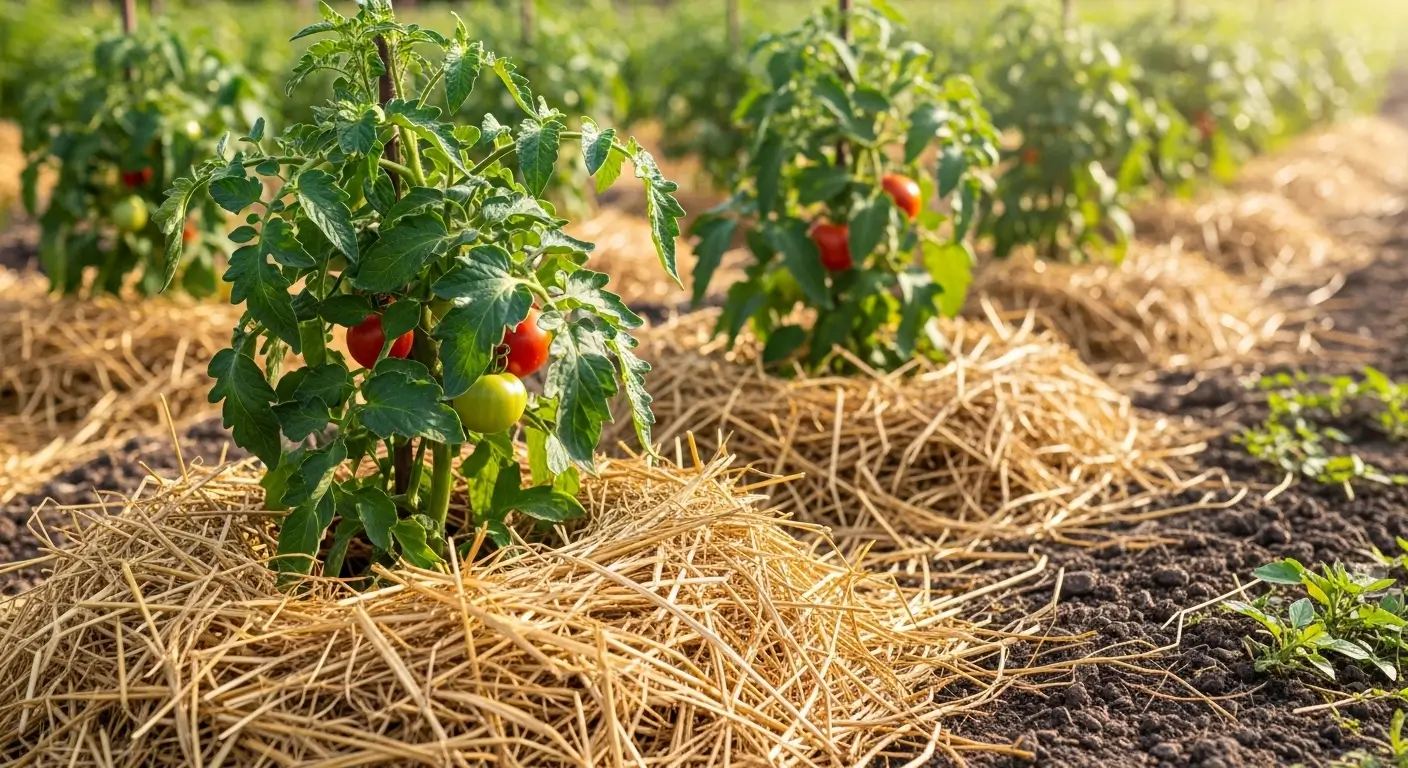
Seasonal Considerations and Timing
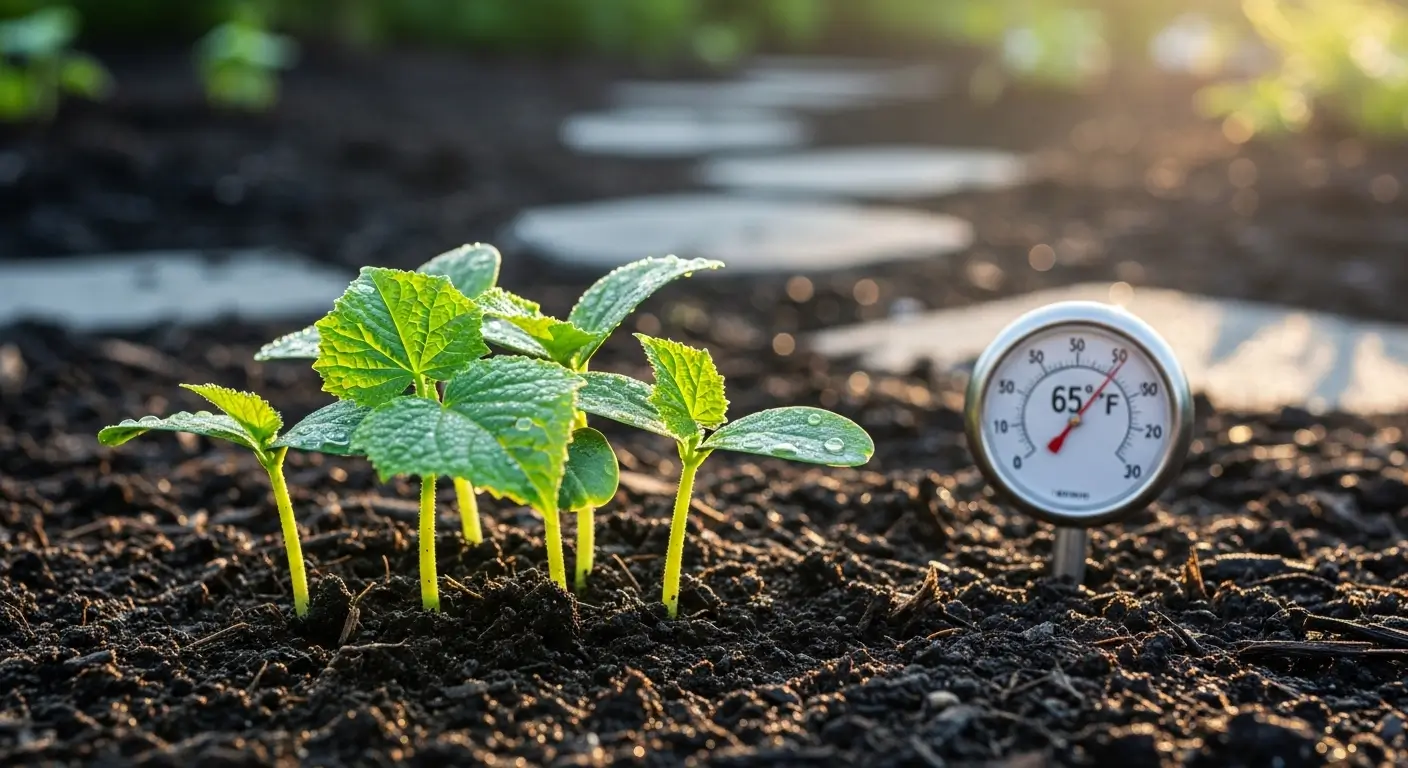
The timing for upside-down tomatoes is the same as regular ones. You’ll want to check out when to plant tomatoes in your area and how long tomatoes take to grow, so you can plan everything out.
I usually set mine up right when I’d plant regular garden tomatoes – after it’s definitely not going to freeze anymore and nights stay above 50°F. The nice thing about containers is that you can drag them inside if the weather gets weird!
Making It Work in Different Spaces
This is my favorite thing about upside-down growing – it works anywhere! I’ve helped friends set these up on apartment balconies, under covered patios, even hanging from tree branches (make sure they’re strong enough first!).
You need somewhere that gets at least 6-8 hours of sun and isn’t too windy. I learned about the wind thing when a summer thunderstorm turned my beautiful cherry tomato cascade into plant confetti all over my backyard. Not my finest gardening moment!
Harvesting and Enjoying Your Success
There’s something so cool about harvesting tomatoes that are just hanging there at eye level. No crawling around on your hands and knees, no digging through leaves – everything’s right there waiting for you. Plus, I swear the cherry tomatoes taste even better when grown this way. Maybe it’s the stress that concentrates the flavor?
My ‘Sweet 100’ plants go absolutely crazy and keep producing from July until the first frost. It’s like having a tomato vending machine right outside your door!
The Bottom Line: Is It Worth Trying?
After three seasons of doing both upside-down and regular container growing, this method has earned its spot in my garden routine. It won’t replace everything I do, but it’s a fun addition.
Is it perfect? Heck no! You’ll be out there with the watering can twice a day, and you can’t grow those massive heirloom tomatoes that make your mouth water. But for getting the most harvest out of tiny spaces while creating something genuinely cool to look at? Absolutely worth it.
If you’re dealing with limited space, terrible soil, or want to try something different this year, consider giving this a shot. Start small – maybe just one cherry tomato plant – and see what happens. I bet you’ll be as shocked as I was by how well this weird method actually works.
What’s the worst-case scenario? You learn something new and maybe have a funny story to tell. Best case? You discover your new favorite way to grow tomatoes that’ll have all your friends asking for advice. Either way, you’ve totally got this – and you’ll have fresh tomatoes hanging right where you can grab them whenever you want!