Okay, let me tell you about my first epic garlic harvest fail. Picture this: I’m out in my garden, excited about these gorgeous green shoots, and thinking, “These look amazing! Time to dig ’em up!” So I grab my shovel and… yep, you guessed it. Tiny, pathetic little bulbs that wouldn’t season a single scrambled egg. I felt like such a rookie!
But here’s the thing – that spectacular failure taught me more about when to harvest garlic than any fancy gardening manual ever could. And honestly? I’m kinda glad it happened because now I know exactly what NOT to do.
After fifteen years of growing garlic here in Illinois (and making plenty more mistakes along the way), I’ve finally figured out this whole harvesting garlic thing. And trust me, when you get the timing right, you’ll have these beautiful, plump bulbs that’ll make your homemade pasta sauce absolutely sing for months.
So, whether you’re totally new to this garlic-growing game or you’ve had some “learning experiences” like mine, I’m gonna walk you through everything you need to know about spotting those signs garlic is ready to pick and nailing the best time to dig up garlic.
Table of Contents
Understanding Garlic Growth Cycles
Before we get into the good stuff, let’s chat about how garlic grows. I know – this might sound a bit nerdy, but stick with me here. Understanding this stuff actually makes you way better at knowing when to harvest.
So garlic basically has two main phases. First, the “getting settled” phase happens in fall and early spring. Your garlic’s just chilling, growing roots and leaves, not really thinking about making bulbs yet. Then comes the exciting part – usually late spring – when something clicks and the plant’s like “Okay, time to make some serious garlic bulbs!”
Most garlic takes about 8-10 months from planting to harvest (yeah, it’s a long game), but here’s where things get interesting. The exact timing depends on what type you’re growing and where you live. Hardneck varieties – those are the ones that make those fun curly scapes – usually finish up 2-3 weeks before softneck types.
In my zone 5b garden, I plant in October and usually harvest sometime in mid to late July. But here’s what I’ve learned the hard way: don’t just circle a date on your calendar and call it done. Your plants will literally tell you when they’re ready if you know what to look for. If you not sure what zone you’re in? Check the USDA Plant Hardiness Zone Map to find your specific zone and adjust your timing accordingly.
Key Signs Your Garlic Is Ready to Harvest
After years of trial and error (and let’s be real, mostly error in the beginning), I’ve figured out the most reliable ways to tell when your garlic’s ready to party. These signs that garlic is ready to pick have saved me from many more harvesting disasters.
The Bottom Leaf Test
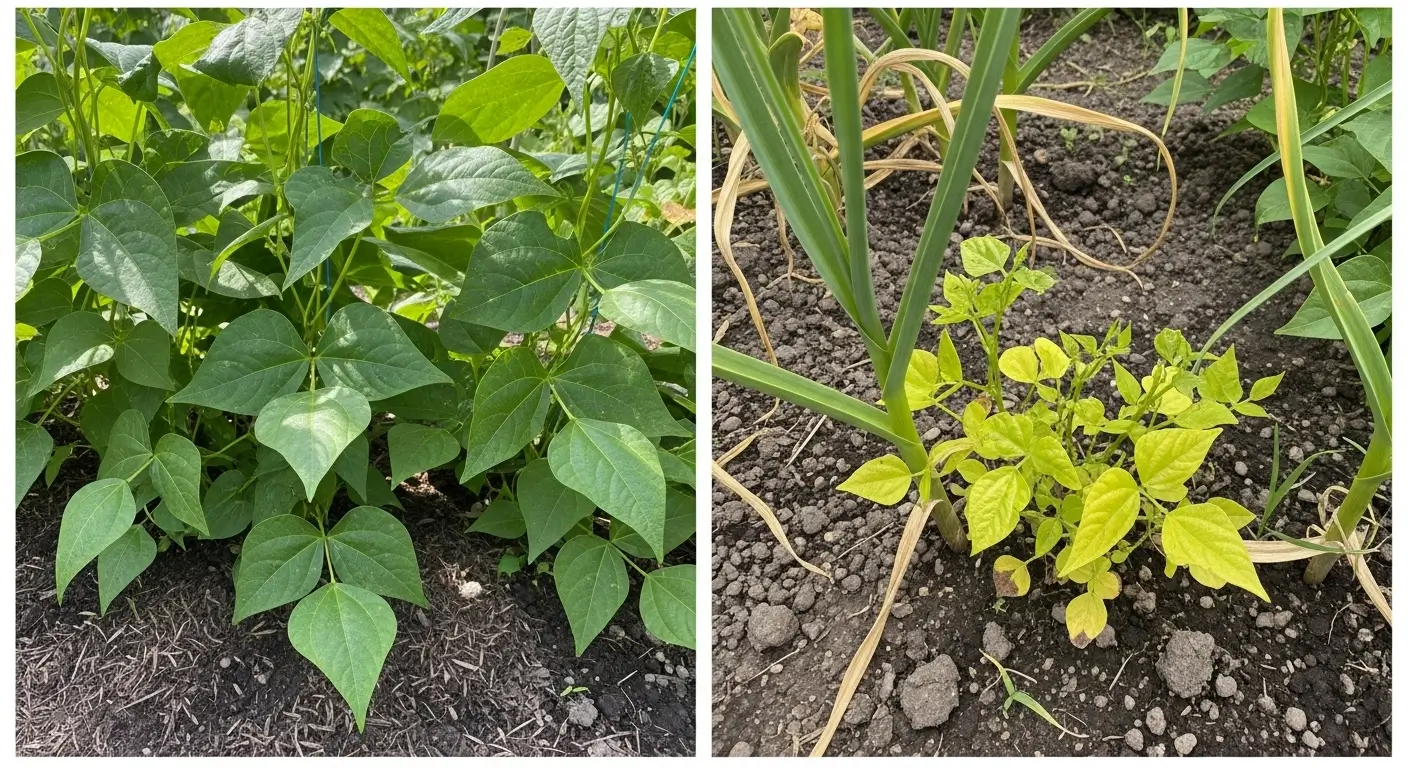
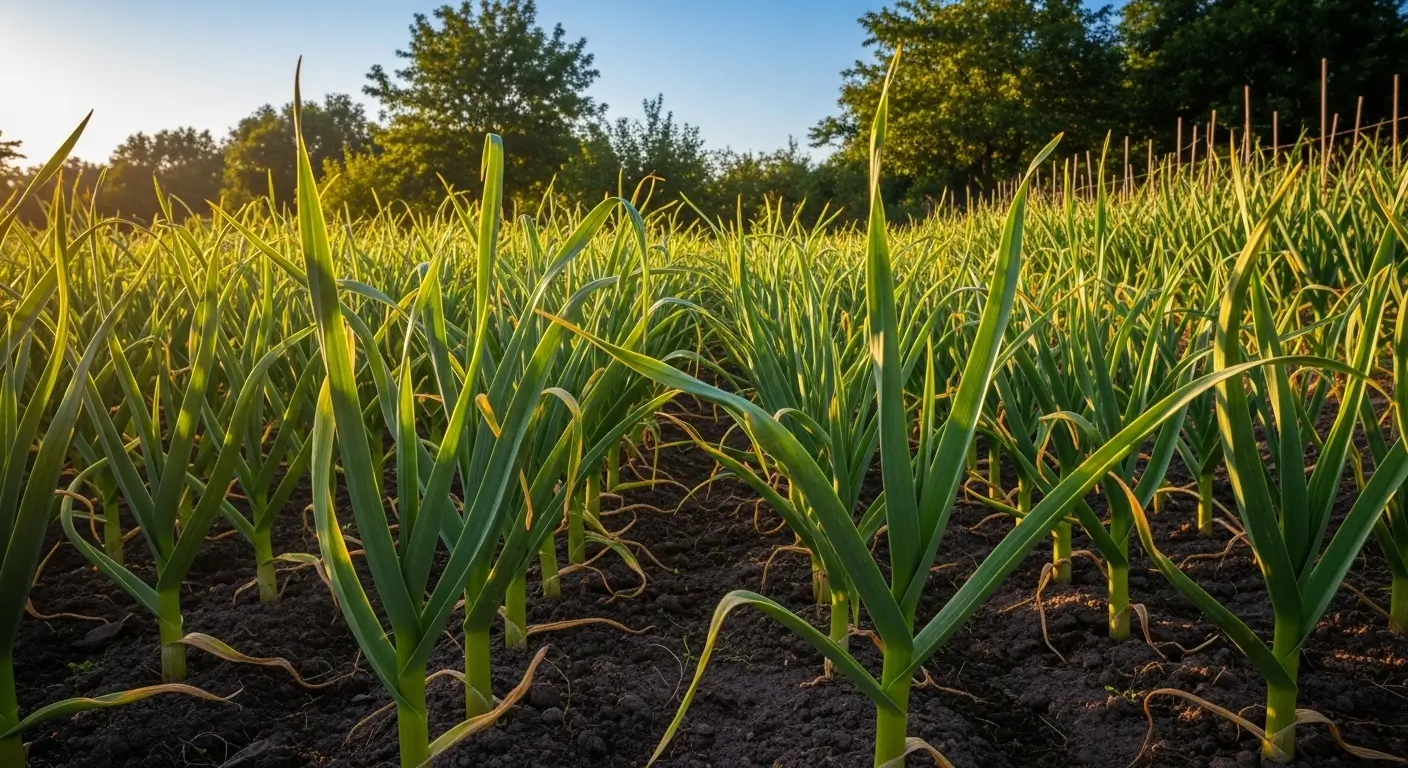
This is my absolute favorite trick, and it works like a charm. When you see the bottom 2-3 leaves have gone completely brown and crispy, but the top leaves are still lovely and green, that’s your sweet spot right there. I call it the “Goldilocks zone” – not too early, not too late, but just right.
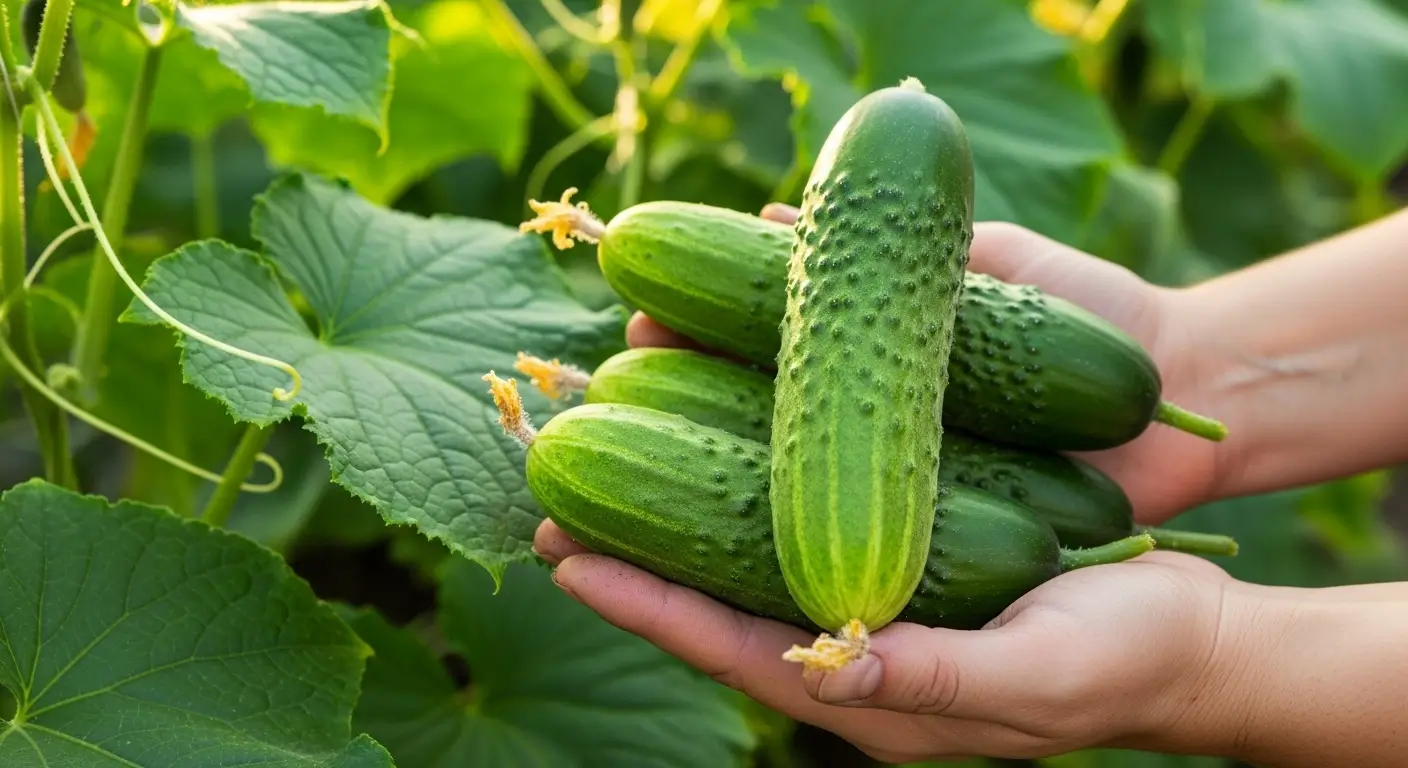
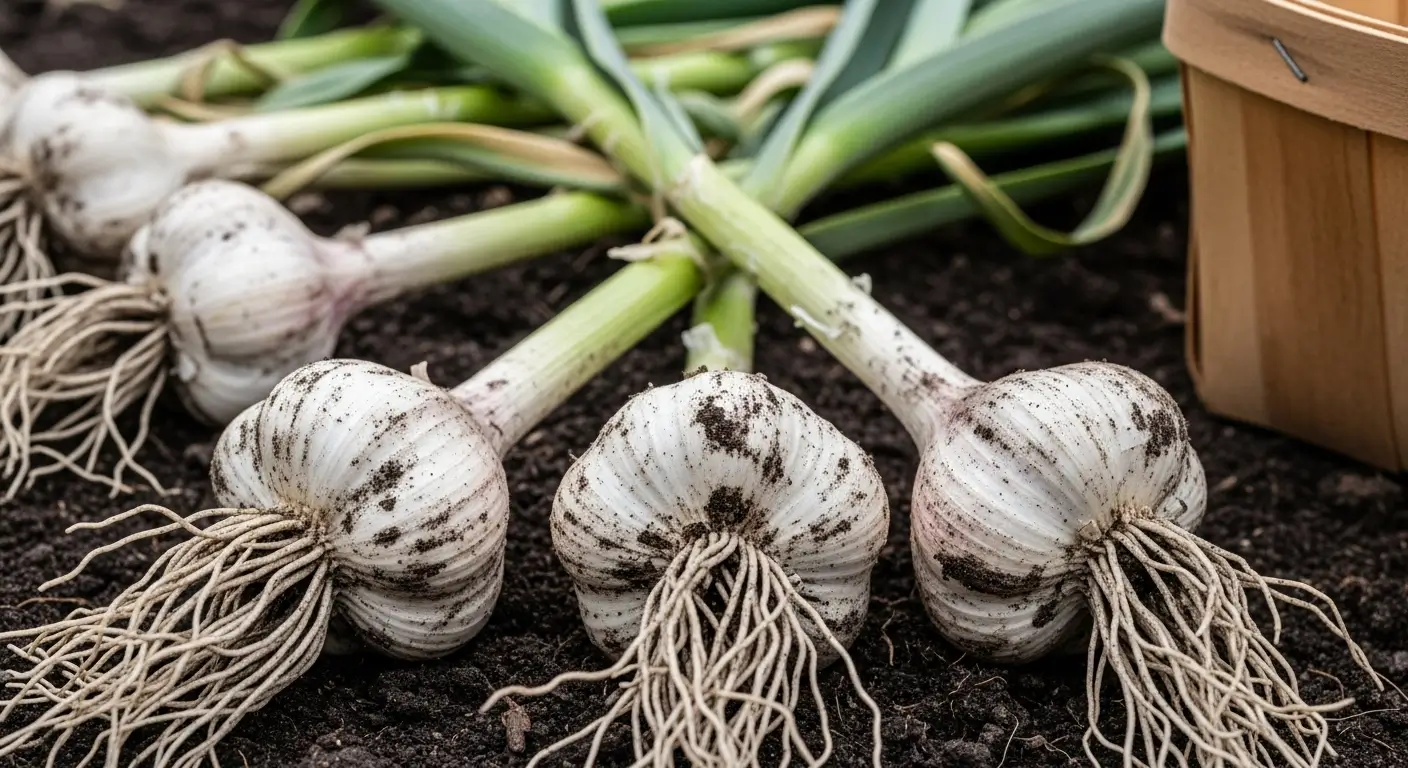
What I do is get down there and gently brush away some dirt from one bulb to take a peek. If it looks nice and plump with those papery layers starting to form around it, we’re in business!
Foliage Color Changes
Your garlic leaves are basically like a traffic light system. When about half of them turn brown or yellow, that’s your “yellow light” – start paying closer attention and checking more often. I usually see this happen over a few weeks, which gives me plenty of time to get my act together.
The cool thing about this method is that it works no matter what kind of crazy weather you’re dealing with. It doesn’t matter if it’s been super wet or dry – those leaves will give you the straight scoop.
Bulb Wrapper Development
This one took me a few seasons to really get, but now it’s one of my go-to indicators. When you brush away that soil, mature garlic bulbs should have several layers of those papery wrappers around the outside. Think of them like nature’s storage bags – they’re essential for keeping your garlic fresh.
I learned this lesson the hard way when I harvested a bunch with barely any wrappers. They looked gorgeous at first, but then they started sprouting new shoots within a few weeks instead of storing nicely through winter like they were supposed to. Not fun!
Timing Your Harvest: When Is the Best Time to Dig Up Garlic?
The best time to dig up garlic depends on where you’re gardening, but I’ve picked up some tricks that work everywhere. Generally speaking, we’re talking late June through early August, with most people hitting peak harvest time around mid-July.
Regional Timing Guidelines
Like me, I usually harvest up here in the north between July 15 and 30. My friends down south often get to dig theirs up 2-4 weeks earlier (lucky ducks!), while folks in really northern areas might not harvest until early August. The secret sauce? Watch your plants, not your calendar.
I keep notes every year (sometimes just random thoughts typed into my phone), and I’ve noticed my harvest dates can swing by up to three weeks depending on what spring throws at us. A cool, soggy spring usually pushes things back, while an early warm spring gets everything moving faster.
Weather Considerations
Here’s something I really wish someone had told me years ago: try to harvest when it’s been dry for a few days if you can swing it. Muddy soil makes everything messy and can actually increase your chances of bulb rot during curing. I always check the weather forecast and shoot for 2-3 dry days before digging.
But hey, sometimes Mother Nature doesn’t cooperate (story of my gardening life, right?). I’ve harvested in less-than-ideal conditions, and it’s totally doable – just be extra gentle and give everything more time to cure.
Best Practices for Harvesting Garlic Successfully
Let me walk you through how I do this whole harvesting thing. It’s taken me years to figure out what works, so here’s my tried-and-true method.
Pre-Harvest Preparation
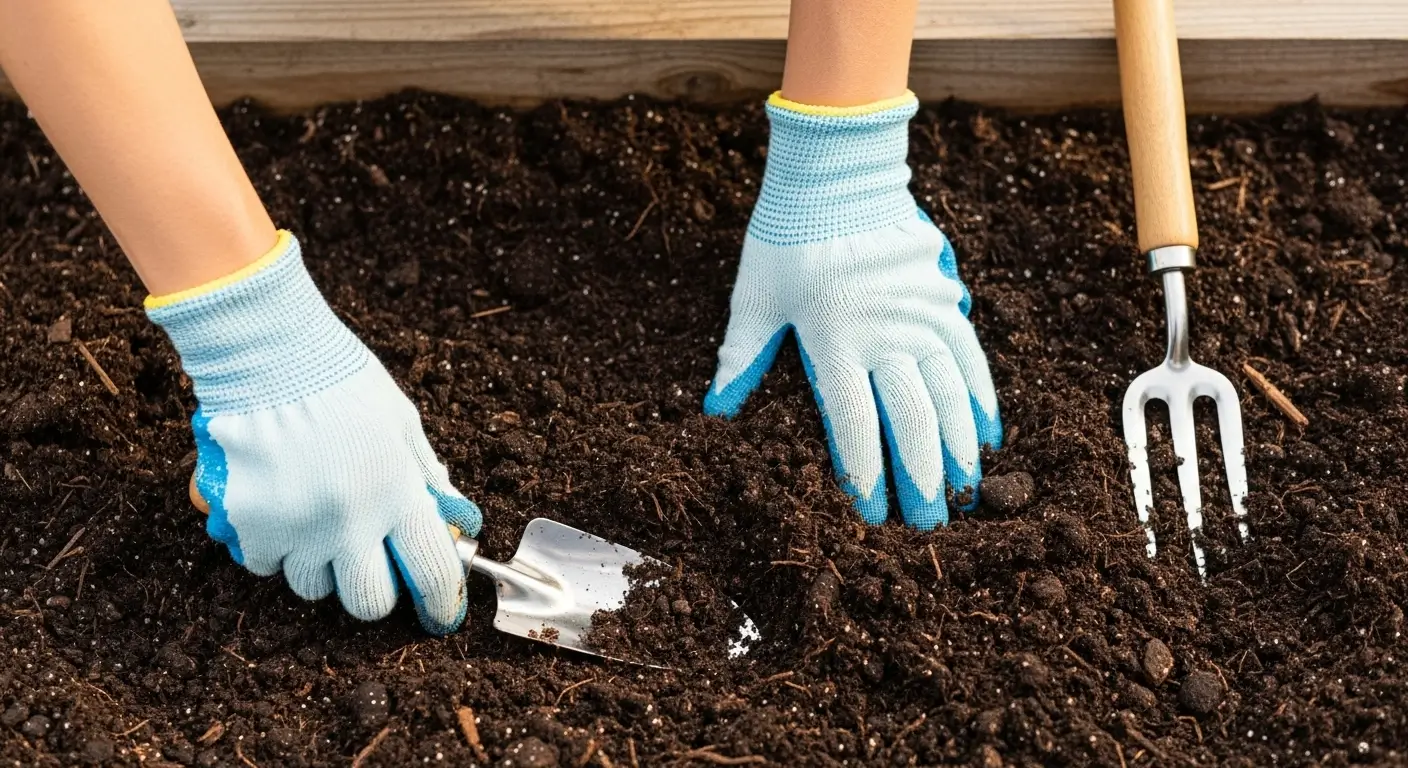
About a week before I’m planning to harvest, I stop watering my garlic beds. This helps those outer wrapper layers dry out and toughen up, which is essential for storage. I also round up my tools: a small spade or digging fork, a soft brush for cleaning off dirt, and some containers for the harvested bulbs.
The Actual Harvest
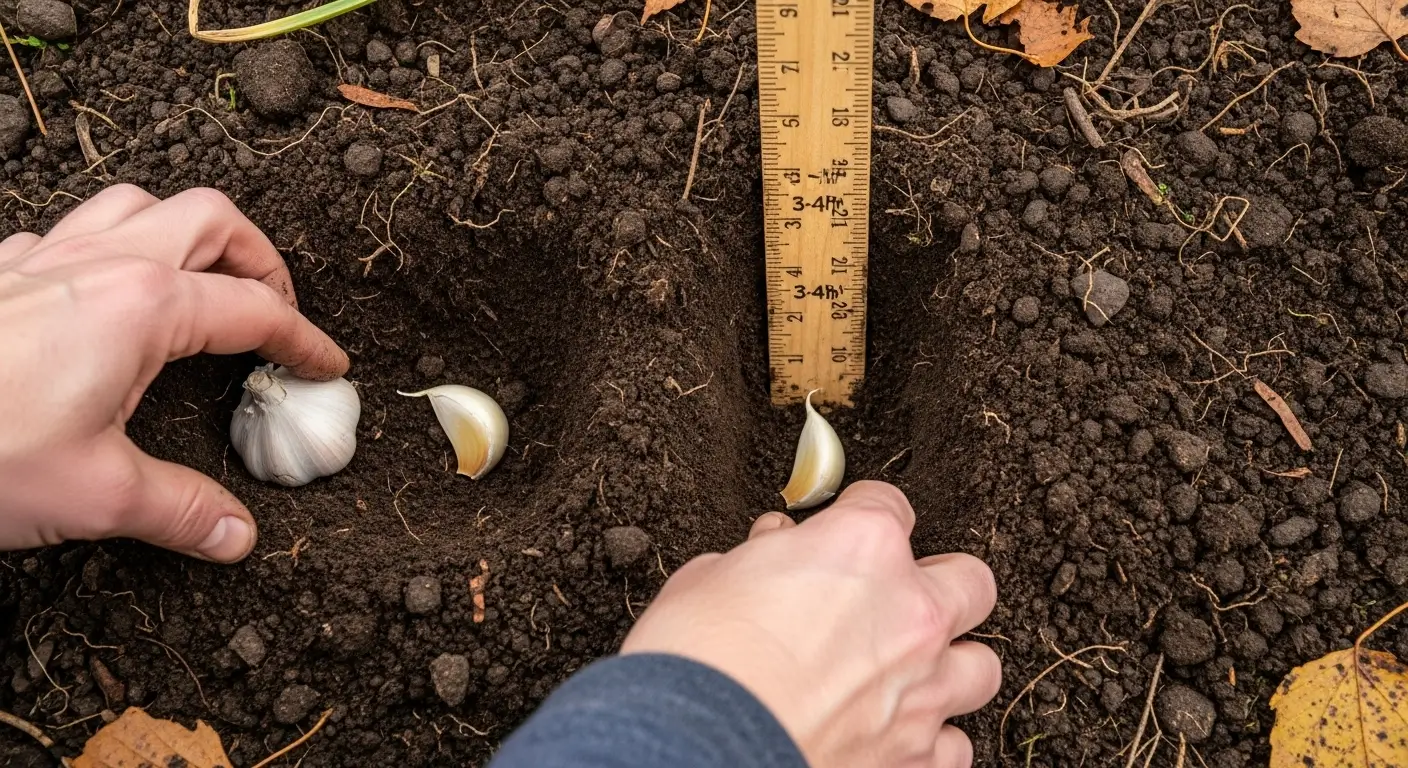
I’m always out there in the morning after the dew’s dried but before it gets crazy hot. First thing I do is loosen the soil around each bulb with my digging fork, staying about 4-6 inches away from the stem so I don’t accidentally stab my precious garlic.
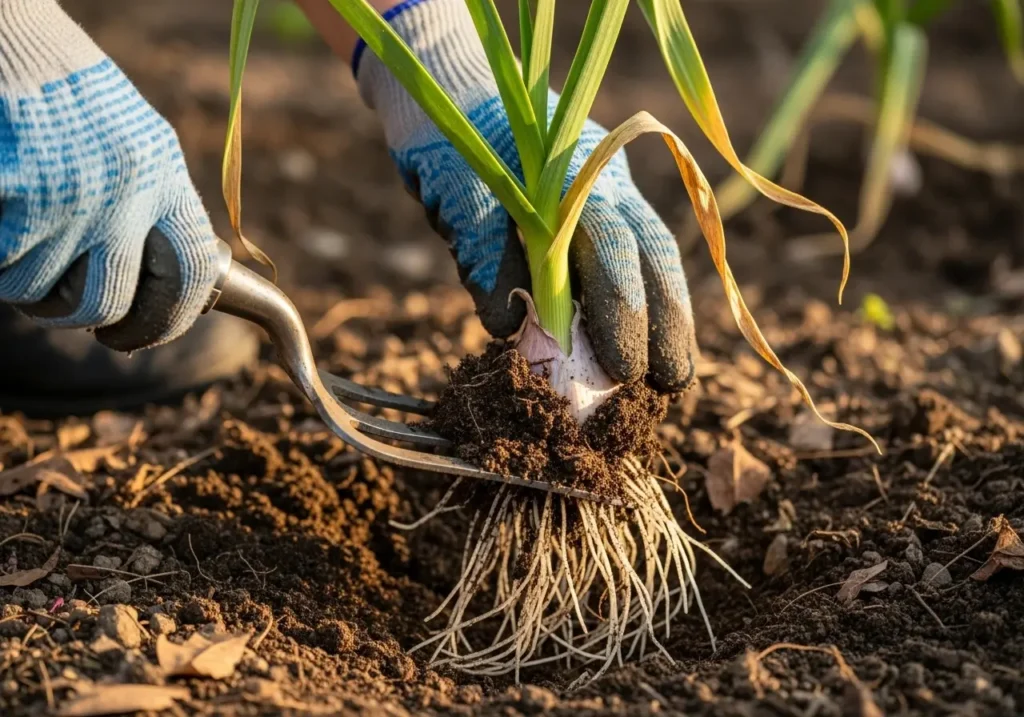
Then I gently lift each plant – and this is important – keeping those leaves attached! Don’t just yank the bulb out. Those leaves have nutrients that’ll keep moving into the bulb while curing. Just brush off the worst dirt, but don’t wash them or mess with the roots.
Handling During Harvest
Be super gentle with your garlic – treat it like the precious treasure it is! Any little cuts or bruises are open doors for rot, which’ll ruin your storage plans. I learned this after accidentally nicking several bulbs with my spade one year ago. Those poor damaged guys had to be used up within weeks instead of lasting for months like they should have.
Post-Harvest Curing and Storage
This part’s just as crucial as the actual harvest, but I see many people mess it up without even realizing it.
Proper Curing Techniques
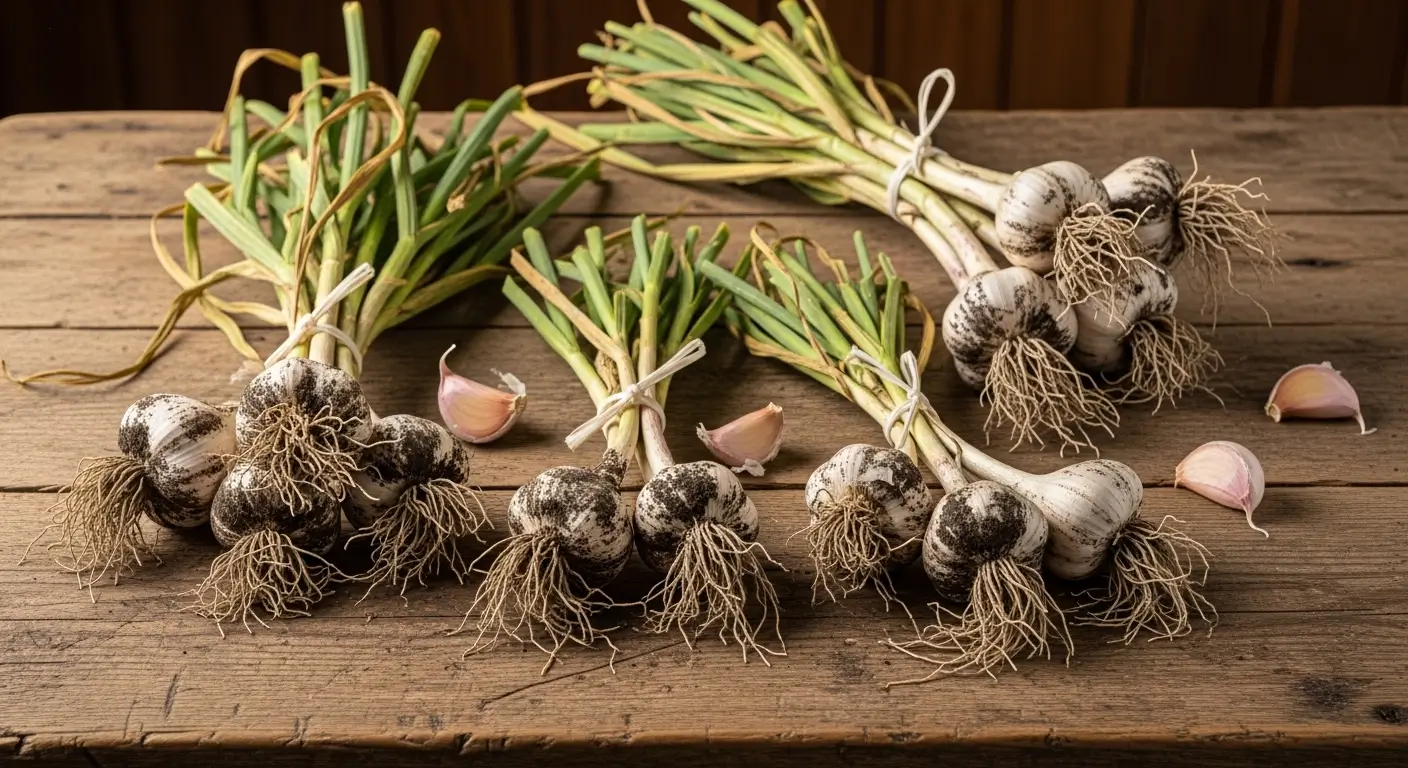
Right after harvest, I bundle my garlic in groups of 5-10 plants and hang them up somewhere with good airflow and protection from rain. My garage is perfect for this – it’s covered but gets nice cross-ventilation. Some years, I’ll prop up an old screen door on sawhorses to make a makeshift drying rack.
The whole curing thing takes 2-4 weeks, depending on how humid it is. You’ll know you’re done when those outer wrappers feel all papery and the neck area is arid to the touch.
Storage Best Practices
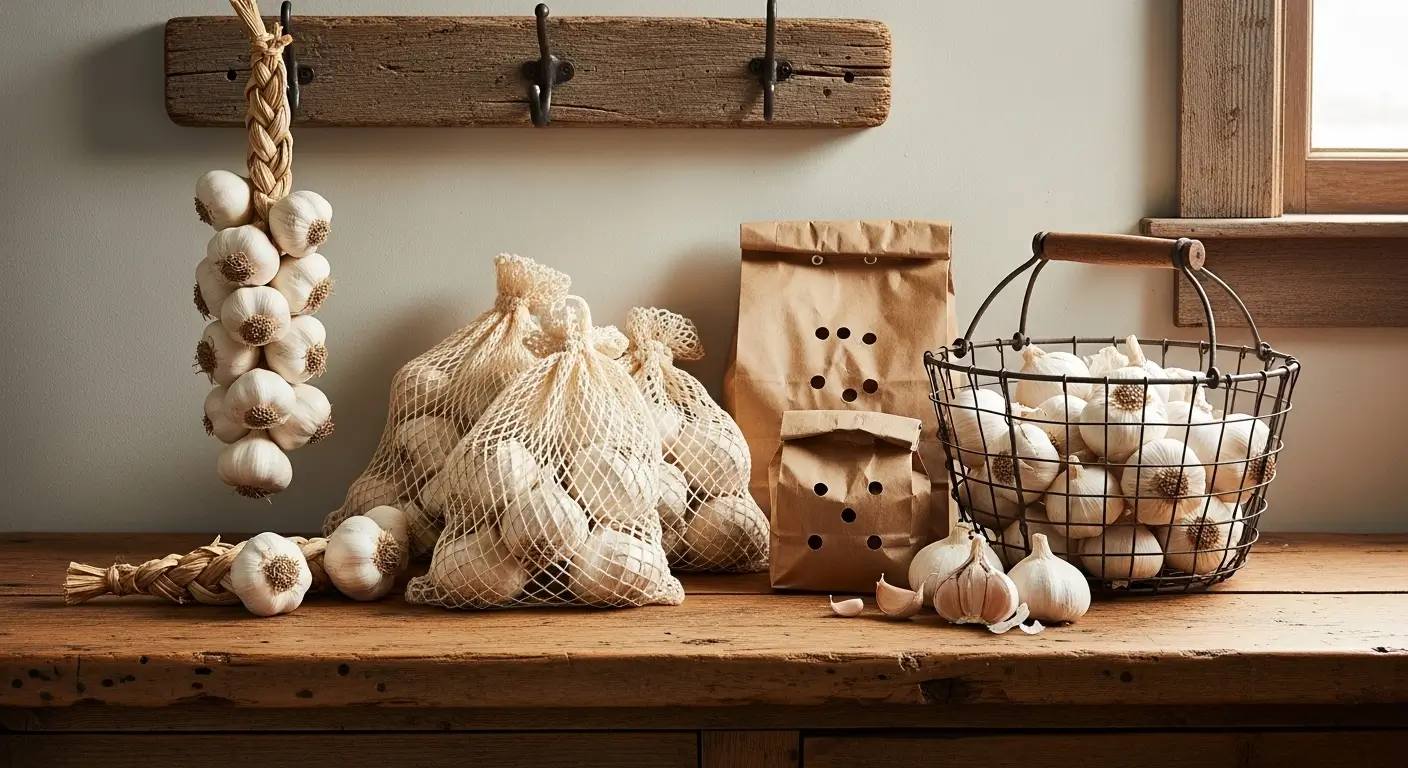
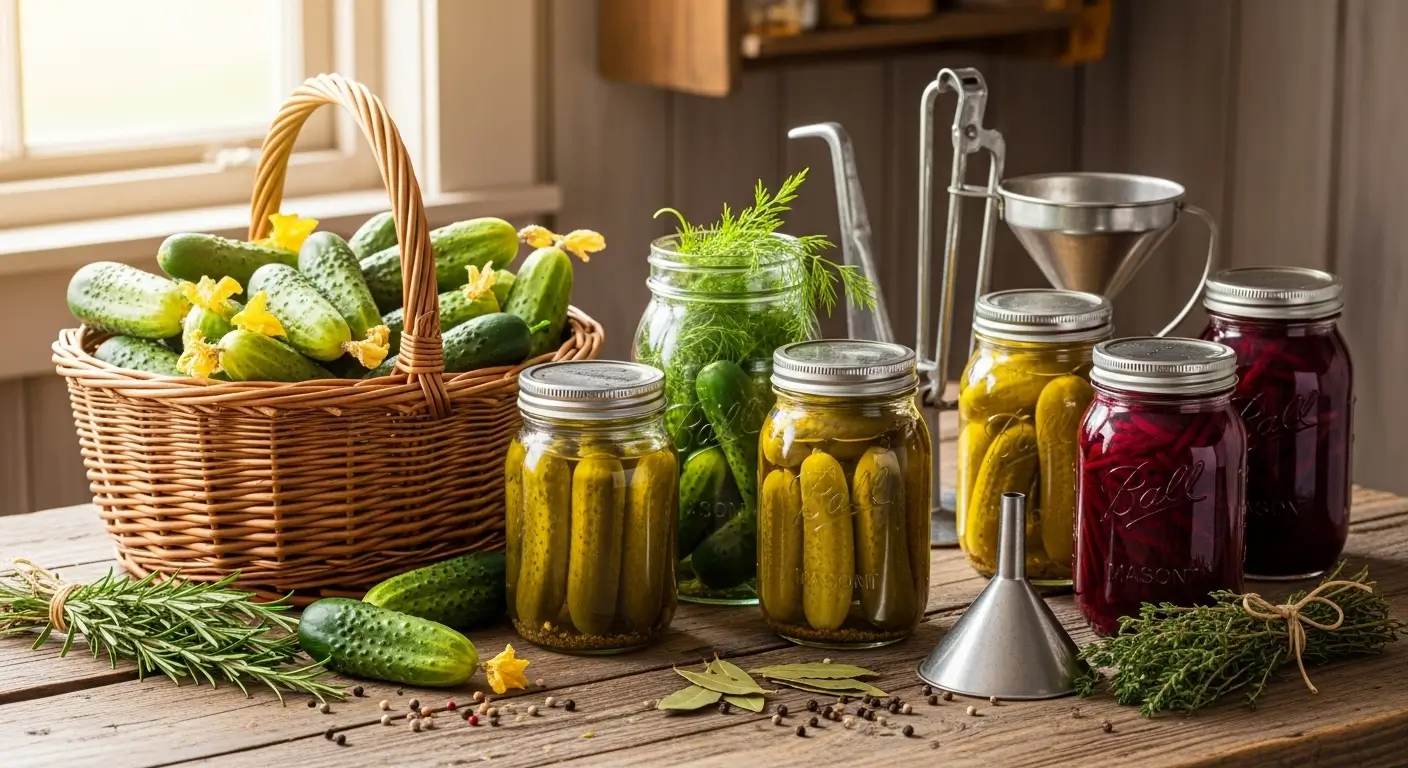
Once everything’s cured, I trim off the roots and cut the stems down to about an inch above the bulb. Then I store them in mesh bags, baskets, or sometimes I get fancy and braid them (when I’m feeling ambitious) in a cool, dry spot with good air circulation.
When you do this right, your garlic should easily keep for 6-9 months. If you’re still eating your homegrown garlic come Christmas time, you know you nailed it!
Common Harvesting Garlic Mistakes to Avoid
Let me save you from some of the bonehead moves I’ve made over the years:
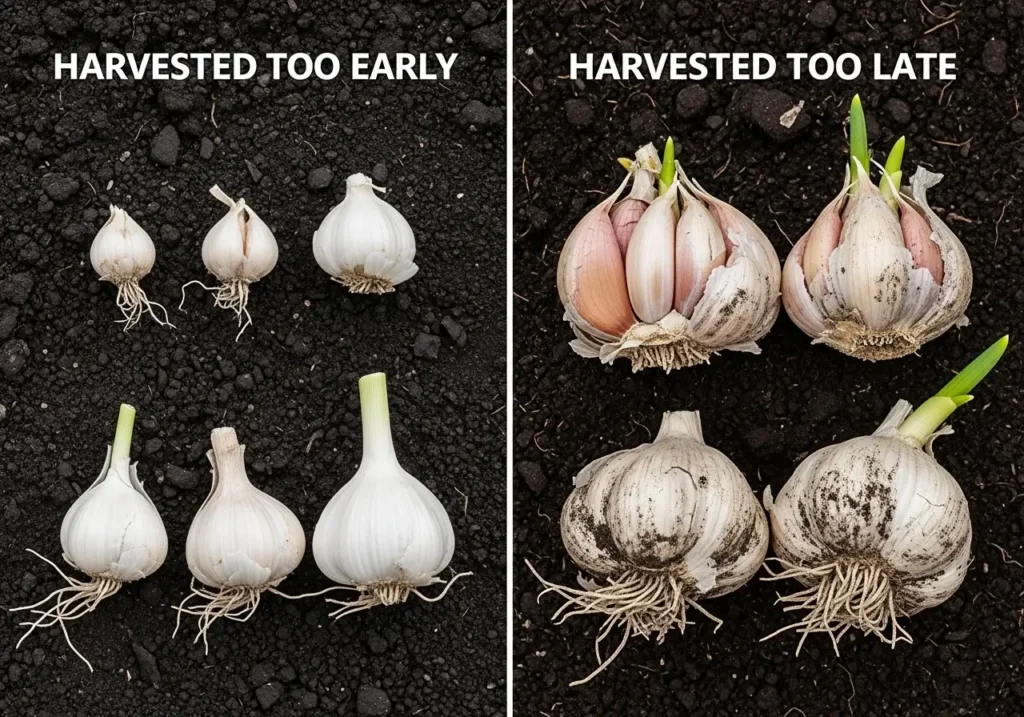
Harvesting way too early is the biggest mistake I see. Those teeny tiny bulbs are such a letdown, and they won’t store worth a darn. When you’re not sure, wait another week – seriously.
Leaving garlic in the ground forever is just as bad. If you wait too long, the bulbs might split their wrappers or start growing new shoots, and both of those things mess up storage big time.
Washing your freshly harvested garlic makes sense, but don’t do it! You’re just adding moisture that can cause rot. Just brush off the chunky dirt and let the curing process work magic.
Storing in plastic bags is a surefire way to turn your beautiful harvest into a mushy mess. Garlic needs to breathe!
Maximizing Your Garlic Harvest
Want to get the absolute most out of your garlic? Here are some tricks I’ve picked up:
Cut off those scapes (the curly flower stalks) when they first appear on hardneck varieties. This sends all that energy straight into making bigger bulbs instead of flowers. And don’t toss those scapes – they’re amazing in stir-fries!
Make sure your garlic’s getting plenty of sun all season long. Shady conditions = smaller bulbs, no matter how perfect your harvest timing is. If you want the full scoop on this, check out more about garlic sunlight requirements to really dial in your growing setup.
Be smart about what you plant near your garlic. While garlic generally gets along with most plants, some combinations can mess with bulb development. Don’t fall into the everyday companion planting mistakes with garlic trap that can limit your harvest potential.
Key Takeaways for Perfect Garlic Harvesting
- Trust the leaves, not the calendar – when 2-3 bottom leaves go brown but the tops stay green, start checking those bulbs
- Dry weather makes everything easier, so time your harvest accordingly if possible
- When in doubt, wait! Better to be a week late than too early
- Handle everything super gently – damaged garlic = short storage life
- Give it 2-4 weeks to cure properly before you do final prep for storage
- Cool, dry, airy storage is your garlic’s best friend for long-term keeping
Your Garlic Growing Journey Continues
Getting good at harvesting garlic is totally one of those things that gets better with practice. Every season’s gonna teach you something new about reading your plants and working with whatever your local weather throws at you.
If you’re starting with garlic or want to up your game overall, check out our complete how-to-grow garlic guide for all the planting and care details.
Look, even we experienced gardeners have off years – I sure do! The trick is learning something from each harvest and tweaking your approach for next time. Your future self (and your taste buds) are gonna be so grateful for all the patience and attention you put into getting this right.
So, have you tried growing garlic before? What’s been your biggest challenge with timing the harvest? I’d love to hear your stories in the comments – sharing our wins and epic fails is how we all get better at this gardening thing together!
Harvesting Garlic Frequently Asked Questions
When is the best time to harvest garlic?
The best time to harvest garlic is when the bottom 2-3 leaves turn completely brown and dried up, but the top leaves are still green. This typically happens 8-10 months after planting, usually between late June and early August depending on your region.
What are the signs that garlic is ready to pick?
Key signs garlic is ready for harvesting include: bottom leaves turning brown while top leaves stay green, bulbs developing papery wrapper layers around the outside, and bulbs feeling firm and plump when soil is brushed away. Avoid harvesting when all leaves are still green or when leaves have completely died back.
How do you properly harvest garlic without damaging it?
Use a digging fork to loosen soil 4-6 inches away from the stem, then gently lift the entire plant keeping leaves attached. Brush off excess soil but don’t wash the bulbs. Handle carefully to avoid cuts or bruises that can cause rot during storage.
How long does garlic need to cure after harvesting?
Freshly harvested garlic needs 2-4 weeks to cure properly. Bundle plants in groups of 5-10 and hang in a well-ventilated, dry area. Curing is complete when outer wrappers feel papery and the neck area is completely dry.