Okay, friends, can we discuss one of my favorite spring projects? Making sweet potato slips! I’m not even kidding when I say this little kitchen experiment excites me more than finding a twenty-dollar bill in my old jeans pocket.
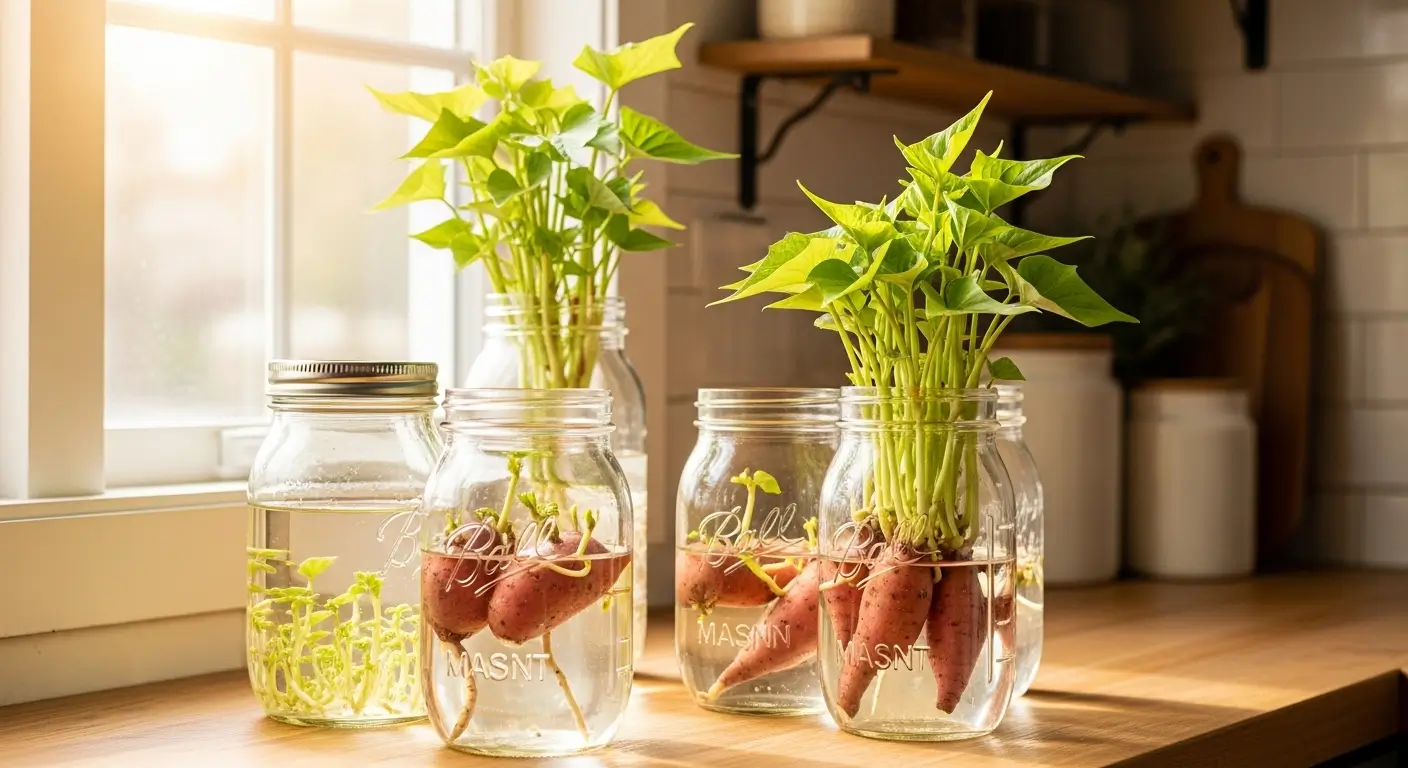
Picture this: It’s February, and everything’s still cold and dreary. I am in my kitchen with a bunch of mason jars lined up on the windowsill like some kind of science experiment. My family thinks I’ve officially lost it, but joke’s on them – by summer, I’ll have more sweet potatoes than I know what to do with!
Learning how to make sweet potato slips was honestly a game-changer for me. No more dropping serious cash at the nursery for those tiny little plants that might not even survive the trip home. Nope, now I’m the queen of slip production, and trust me, once you try this, you’ll never go back to buying them either.
Table of Contents
Key Takeaways
- Sweet potato slips are basically baby sweet potato plants that grow from the actual sweet potato
- Starting sweet potato slips in water is foolproof (even I can’t mess it up!)
- You’ll need to begin about 2 months before planting season – patience is key here
- One sweet potato can give you like 10-15 plants if you do it right
- It’s way cheaper than buying slips, and honestly, pretty fun to watch
What Are Sweet Potato Slips and Why Make Your Own?
So here’s the deal with sweet potatoes – they’re kinda weird compared to regular potatoes. You can’t just cut up a sweet potato and plant the pieces like you would with a regular spud. Nope, sweet potatoes need these things called slips, which are basically little baby plants that sprout right out of the sweet potato itself.
I used to think this was too complicated, so I bought my plants every spring. But then my wallet started crying from spending $4 per plant, and I’m standing there thinking, “There’s gotta be a better way, right?”
That’s when my neighbor Carol showed me her windowsill full of jars with sweet potatoes sprouting all these gorgeous green shoots. “Grace,” she said, “you’re literally throwing money away.” And you know what? She was totally right. Now I make dozens of slips from just a few sweet potatoes, which cost me nothing.
Plus, there’s something seriously satisfying about watching these little green shoots pop up. It’s like magic, but the kind of magic that actually works!
The Science Behind Sweet Potato Slip Propagation
Don’t worry, I’m not gonna get all science-y on you here, but it’s actually pretty cool what’s happening. Sweet potatoes have these tiny little growth buds all over them – they’re called eyes, just like regular potatoes, but they’re way smaller and harder to see.
When you give them the right setup – warmth, water, and some good light – these little buds wake up and start sending out shoots. It’s basically like the sweet potato is saying, “Oh hey, time to make some babies!” The University of Illinois Extension explains that this is why sweet potatoes must be started from slips rather than planted directly like regular potatoes.
The best part? This works with any sweet potato variety. I’ve done it with the regular orange ones, those purple beauties, and even some weird white ones I found at the farmers market. Same process, same results.
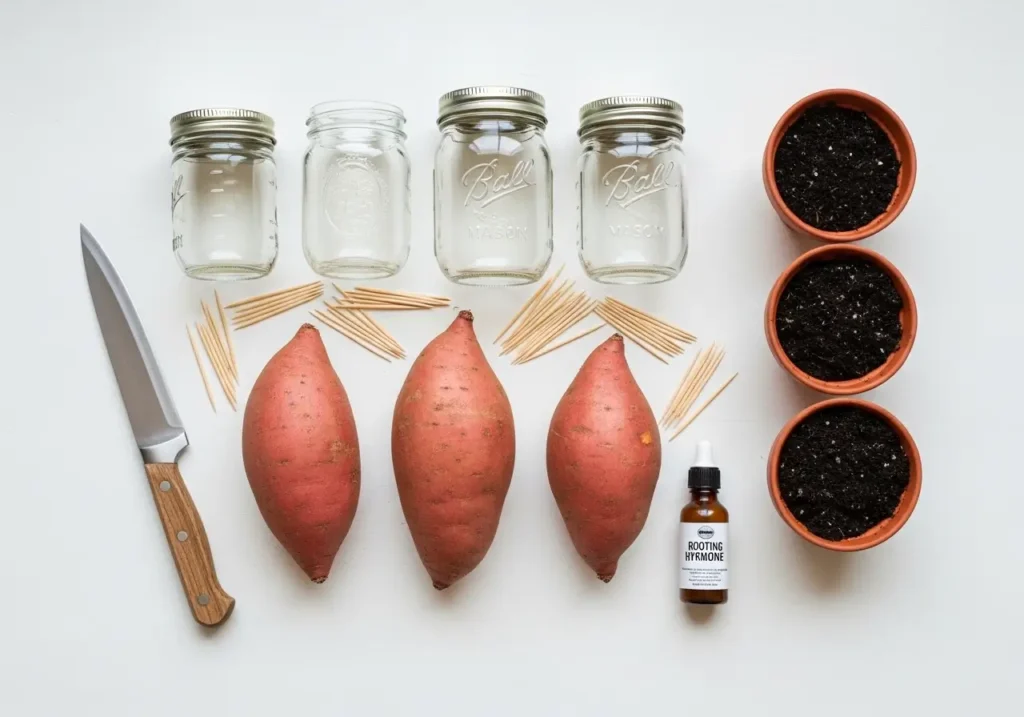
Essential Materials for Making Sweet Potato Slips
Let’s talk about what you need to start this party. Good news – you probably have most of this stuff lying around already:
Basic Supplies
- A few organic sweet potatoes (and I mean ORGANIC – more on this drama later)
- Some mason jars or any transparent containers really
- Toothpicks (get the sturdy ones, trust me on this)
- Plain old tap water
- A sharp knife
- Little pots with potting soil for later
- Rooting hormone if you’re feeling fancy (totally optional though)
Choosing the Right Sweet Potatoes
Oh boy, let me save you from my biggest rookie mistake. I was all excited my first year, grabbed some beautiful sweet potatoes from the grocery store, and then… nothing. Absolutely nothing happened for like six weeks. I’m staring at these things, thinking I must have the worst green thumb ever.
Many grocery store sweet potatoes are treated with something that stops them from sprouting. Apparently, nobody wants their sweet potatoes growing in the pantry (that’s a fair point, but it’s still annoying for us gardeners).
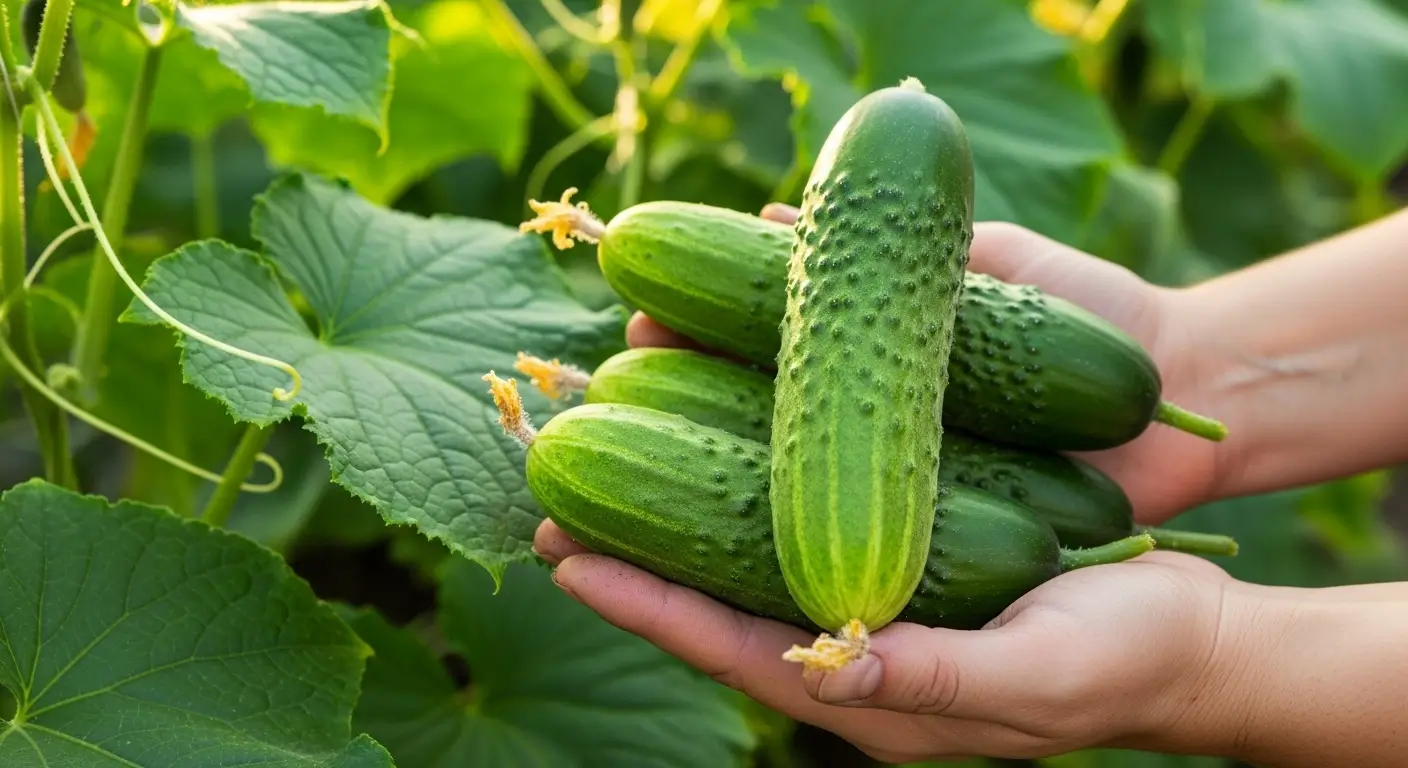
So here’s the deal – you want organic sweet potatoes. Hit up the farmers market, health food store, or find a garden center that sells them specifically for planting. They should feel pleasant and firm, no squishy spots or weird wrinkles.
I like the medium-sized ones best – about as long as your hand. The tiny ones don’t have enough juice, and the monster ones can be hard to work with.
Step-by-Step Guide: Starting Sweet Potato Slips in Water
Okay, here we go! I usually start this thing in mid-February because I’m in Illinois, and our last frost is early May. You’ll want to count backwards from your planting time and give yourself about 8-10 weeks.
Step 1: Prepare Your Sweet Potatoes
First things first – give those sweet potatoes a gentle wash. Don’t go crazy scrubbing them; get the dirt off. You don’t want to damage the skin where all those little growth buds are hiding.
Now, look at your sweet potato. See how one end is more pointed and the other end is more rounded? The pointy end usually makes more slips, but honestly, both ends can surprise you.
If you’ve got big sweet potatoes, go ahead and cut them in half. I get better results than trying to root the whole giant thing.
Step 2: Set Up Your Rooting Station
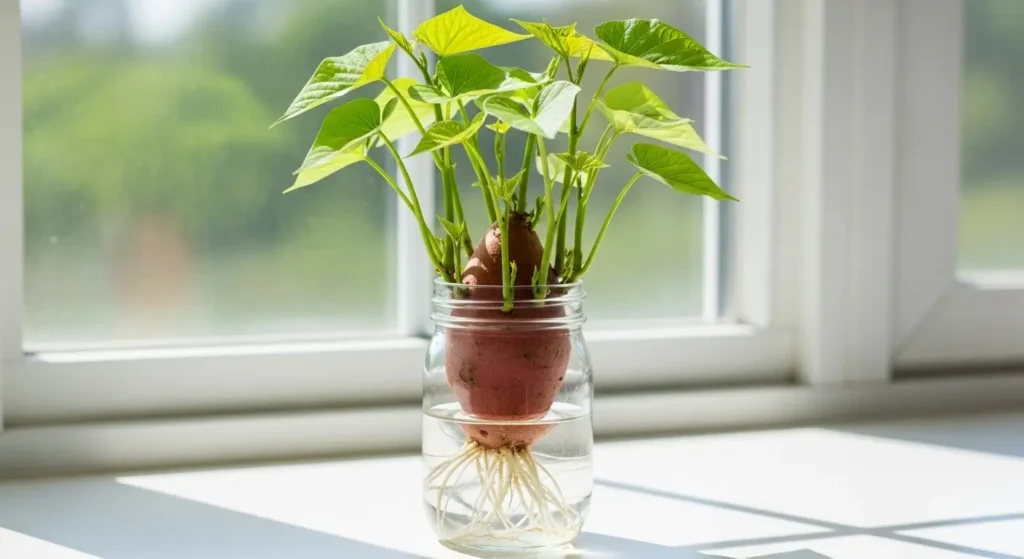
Here’s where those toothpicks come in handy. Stick 3 or 4 of them around the middle of your sweet potato, spacing them out evenly. These little guys are gonna hold your sweet potato up in the jar.
Plop that sweet potato in your jar with the pointy end down. The toothpicks should rest on the rim and hold about half the sweet potato above the water line. Fill it up with room temperature water until about a third of the sweet potato is underwater.
Step 3: Create the Perfect Environment
Location, location, location! You want somewhere warm and bright. My kitchen windowsill is perfect, but try a spot under a grow light if yours doesn’t get much sun.
Here’s a trick I stumbled on by accident – put your jars on top of the refrigerator if you’ve got room up there. The gentle warmth from the fridge is like a cozy little blanket for your sweet potatoes. Just make sure they’re still getting plenty of light!
Want to Track Your Sweet Potato Journey?
Okay, here’s the thing – I used to forget what week I was on with my slips all the time! Was I supposed to change the water or wait for sprouts? Had it been 4 weeks or 6? Trust me, I’ve been there.
That’s why I created this handy timeline tracker that’ll keep you on track throughout your entire slip-making journey. Just click through each stage as you complete it, and you’ll never wonder “what’s next?” again. Plus, it saves your progress, so you can come back to it anytime over the next 8-10 weeks.
Go ahead and bookmark this page – you’ll definitely want to reference it throughout your sweet potato adventure! And honestly? There’s something super satisfying about clicking that “Mark Complete” button and watching your progress grow.
🍠 Track Your Sweet Potato Slip Journey
Follow along as your slips grow from start to transplant!
🎉 Congratulations! 🎉
You’ve successfully grown your own sweet potato slips from start to finish! Time to enjoy your homegrown sweet potatoes in a few months.
Caring for Your Developing Slips
And now... we wait. I know, I know, waiting is the worst part. But hang in there! You'll start seeing tiny little green bumps in about 2-4 weeks, though some stubborn varieties can take up to 8 weeks. (I'm looking at you, purple sweet potatoes!)
Daily Maintenance
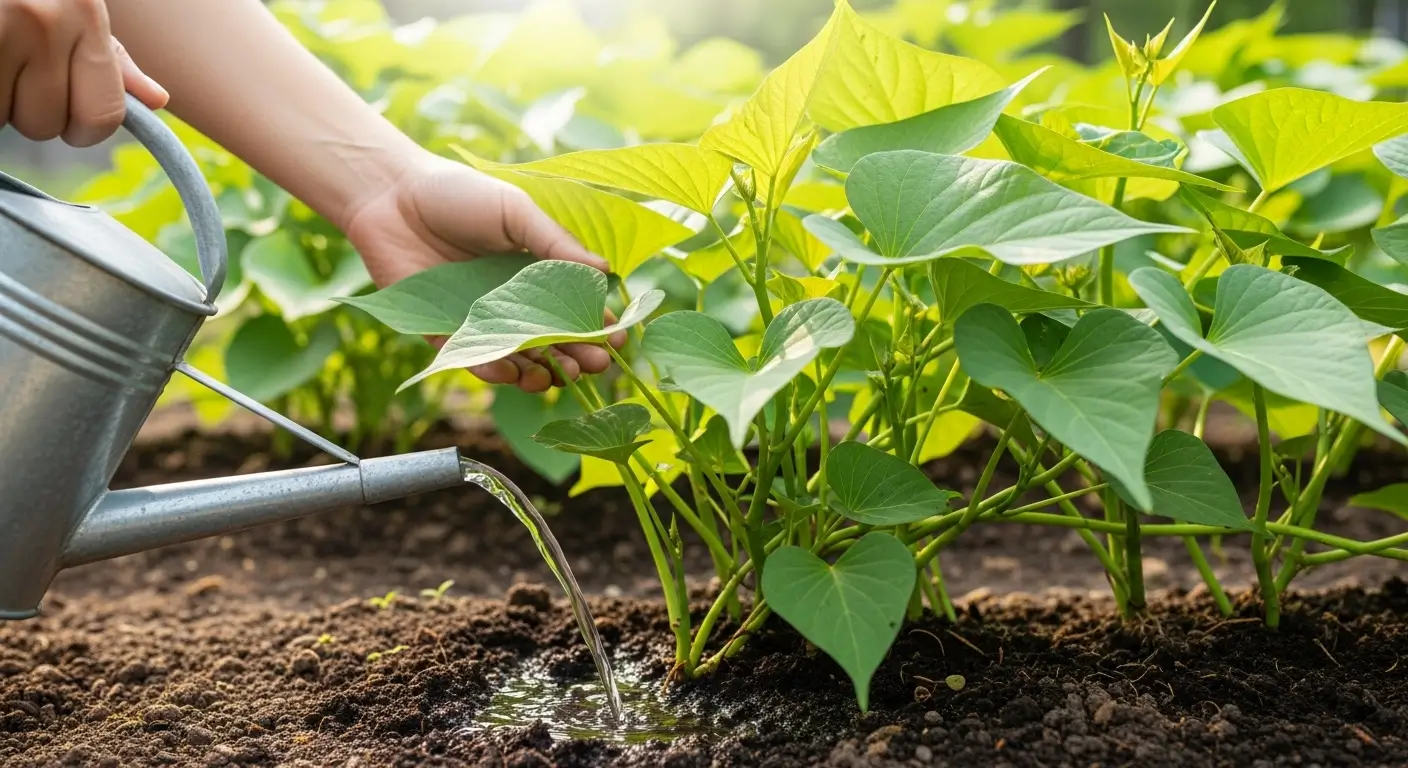
Check your water every day and top it off when it gets low. I change the whole thing out every few days to keep it fresh – nobody wants stinky sweet potato water, trust me.
If the water starts looking cloudy or funky, change it immediately. That means bacteria are having a party, and we don't want that.
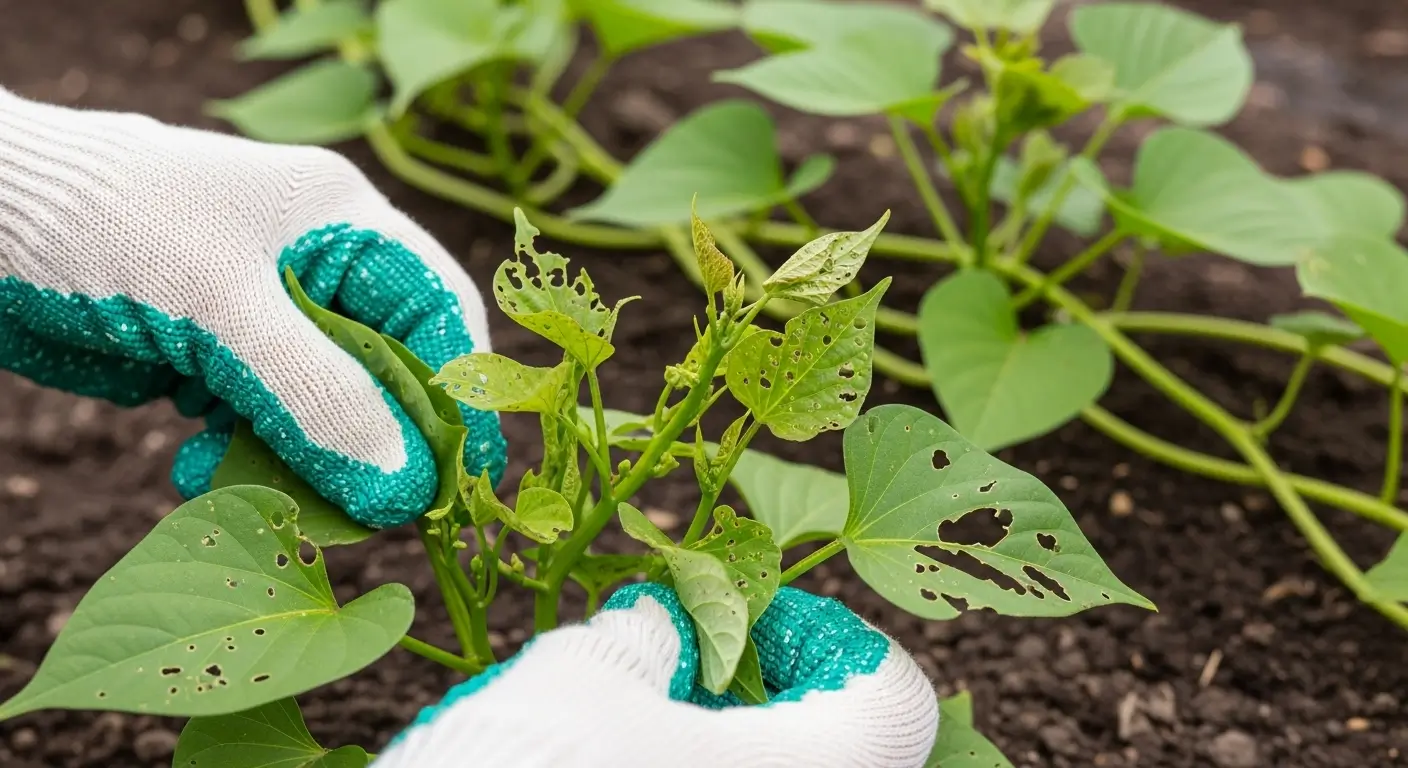
Keep an eye out for any soft or moldy spots on your sweet potato. If you see some, just cut that part off with a clean knife and change the water. Sometimes a little section goes bad while the rest keeps chugging along just fine.
Recognizing Healthy Growth
Good slips should be bright green with sturdy little stems and cute baby leaves. They start as tiny green dots that honestly look like nothing special, then slowly turn into proper little plants.
I swear, checking on these things every morning is like the highlight of my day. There's something so exciting about watching them transform from a boring old sweet potato into future garden gold!
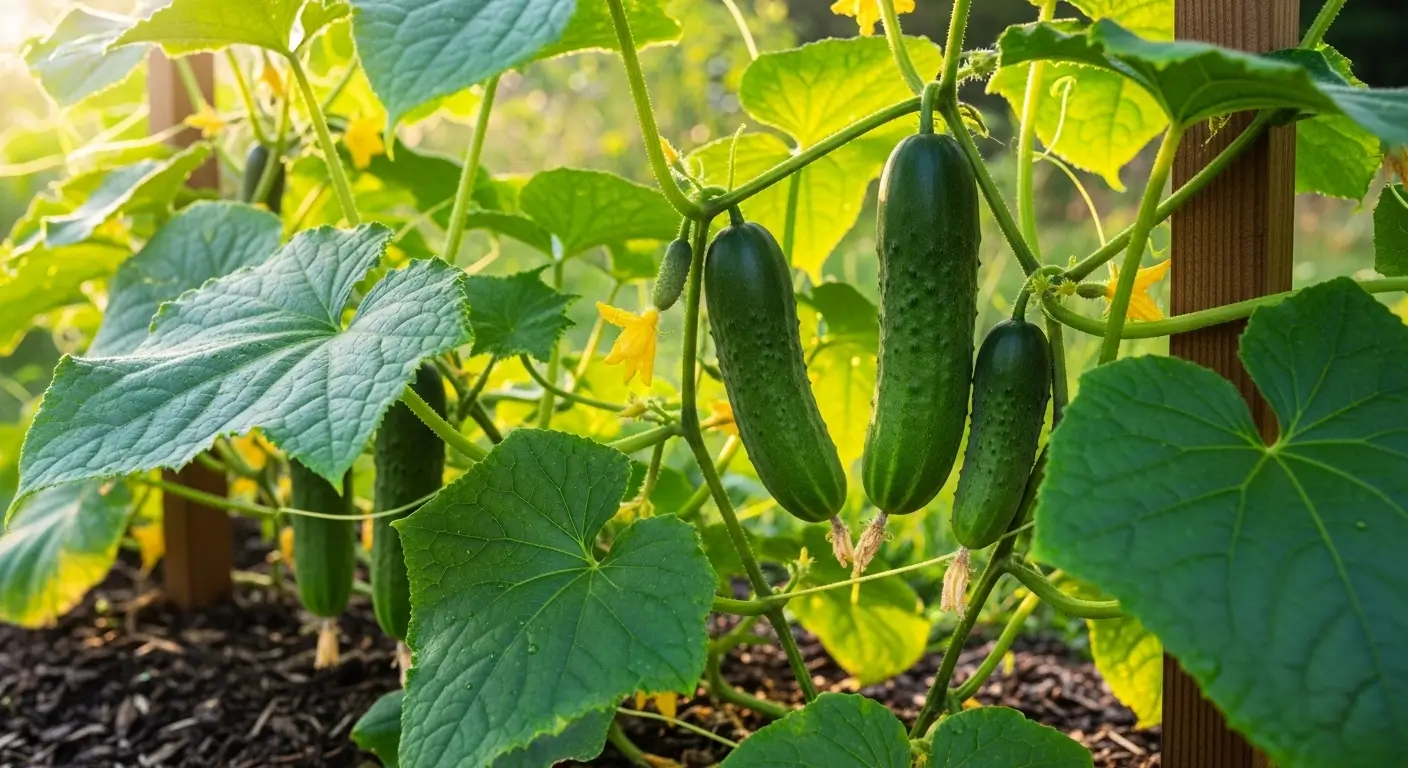
How to Make Sweet Potato Slips Ready for Transplanting
Once your slips are about 4-6 inches tall with several leaves, it's time to separate them from the mama potato and get their roots.
Harvesting Your Slips
This part's pretty straightforward. Gently twist each slip where it connects to the sweet potato, or use a clean knife to cut it off. Don't stress if some are smaller than others – even the little 3-inch guys can turn into vigorous plants.
Take a peek at the bottom of each slip. Some might already have tiny white roots starting, which is incredible! But even if they don't, they'll grow roots super fast once you get them in water.
The Final Rooting Phase
Pop your slips into glasses or jars with clean water, ensuring the bottom inch is underwater. Change the water every couple of days and keep them in that same warm, bright spot.
Within a week, you should see white roots sprout from each slip's bottom. I wait until these roots are at least 1-2 inches long before I even think about transplanting. Usually takes about 1-2 weeks.
Expert Tips for Maximum Success
Okay, after years of making slips (and making plenty of mistakes along the way), here are my best tips:
Timing Is Everything
Start your slips about 8-10 weeks before your last frost date. Sweet potatoes are total wimps when it comes to cold – they need soil that's at least 60°F to be happy. For more details on timing, check out my guide on when to plant sweet potatoes.
Temperature Consistency
I can't stress this enough – these guys love consistent warmth. If your house runs cold, maybe grab a little seedling heat mat to put under your jars. Sweet potatoes are basically tropical plants, so they're all about that steady warm vibe.
The Power of Patience
Some varieties are just naturally slower than others. Georgia Jets are usually the speed demons, while those gorgeous purple ones take their sweet time. Don't give up on a sweet potato until you've given it a full 8 weeks!
Common Mistakes and How to Avoid Them
Let me save you from some of the headaches I've dealt with:
Using Treated Sweet Potatoes
Ugh, this was my biggest fail in the beginning. Always go organic or get sweet potatoes meant explicitly for planting. That perfect-looking grocery store sweet potato might be treated to prevent sprouting, which means you'll be waiting forever for nothing to happen.
Not Enough Light
Slips need bright light to grow properly. If your windowsill is kinda dim, get a basic grow light. I use a cheap LED shop light hung about a foot above my jars, which works like a charm.
Being Too Eager
I used to get so excited to plant my slips that I'd stick them in the ground before their roots were ready. Big mistake! Now I wait for those nice, strong 1-2 inch roots, and my success rate is way better.
Hardening Off and Transplanting Your Slips
Once your slips have nice roots, they must toughen up before going outside permanently. This is called hardening off, and it's basically like sending your kids to summer camp – a little preparation goes a long way.
Start by putting your rooted slips outside in a protected spot for just an hour or two each day. Gradually increase their outdoor time over a week, and eventually leave them out overnight once it stays above 50°F.
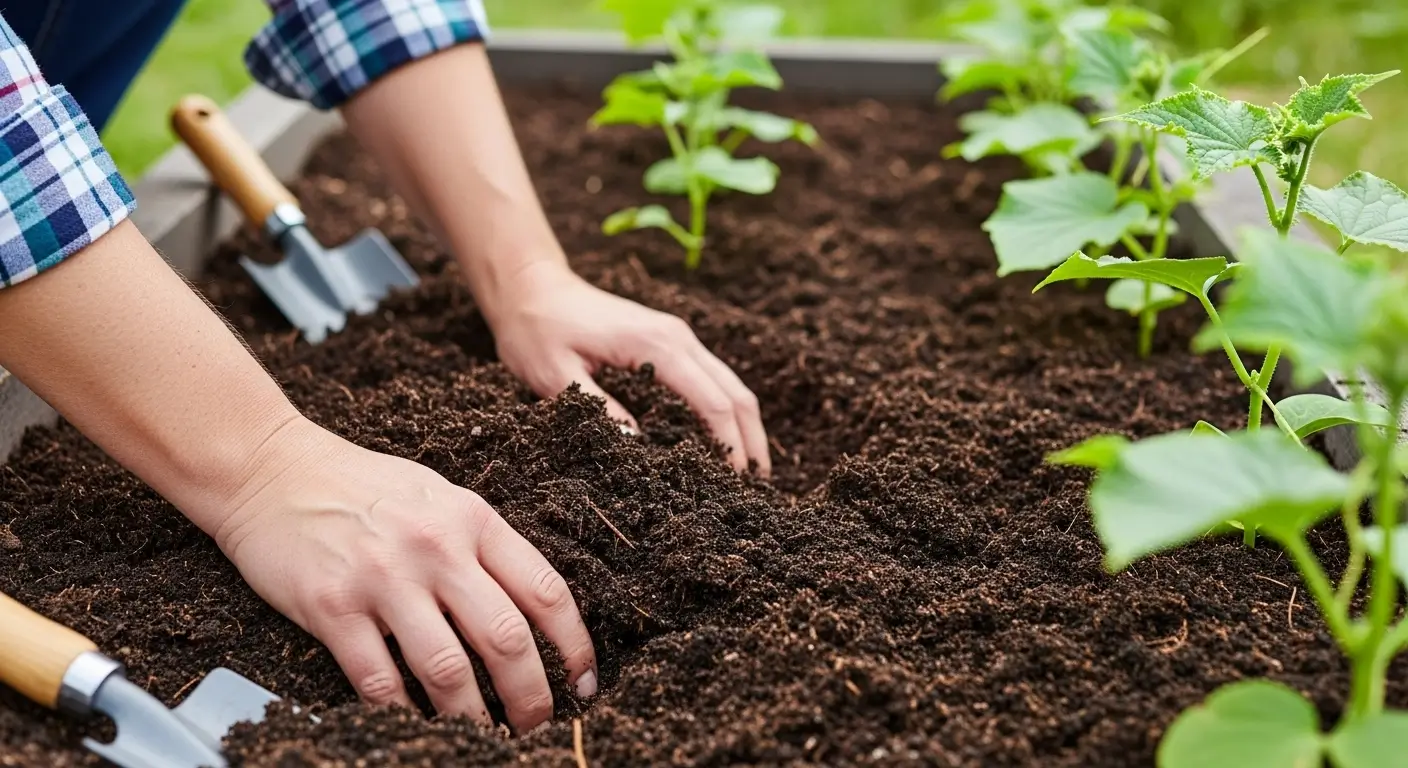
When you're ready to plant, pick a sunny spot with good drainage. Sweet potatoes like loose, sandy soil that warms up quickly. For all the details on how deep to plant them, check out my sweet potato planting depth guide.
This whole process is part of my complete sweet potato growing guide, if you want the full scoop on growing these beauties from start to finish.
Beyond the Basics: Advanced Slip Production
Once you get the hang of this, there are some fun variations to try. I've experimented with rooting slips directly in potting mix instead of water – it cuts out the transplant shock. Still, you've gotta be more careful about keeping the soil moist.
Another cool trick is what I call the "slip factory" method. Some of my best sweet potatoes will keep producing slips for months! My record holder gave me 22 slips throughout a whole growing season. Talk about bang for your buck!
Your Sweet Potato Journey Starts Now
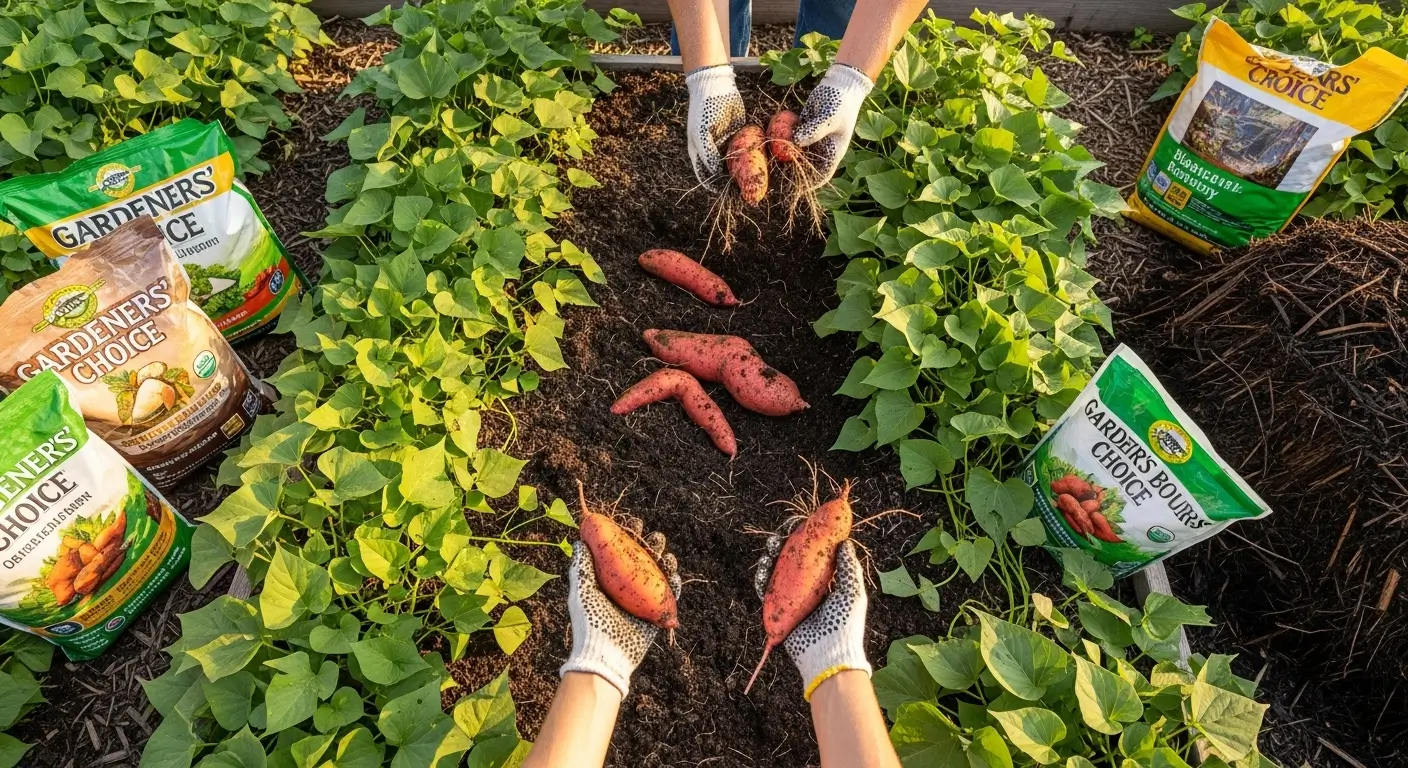
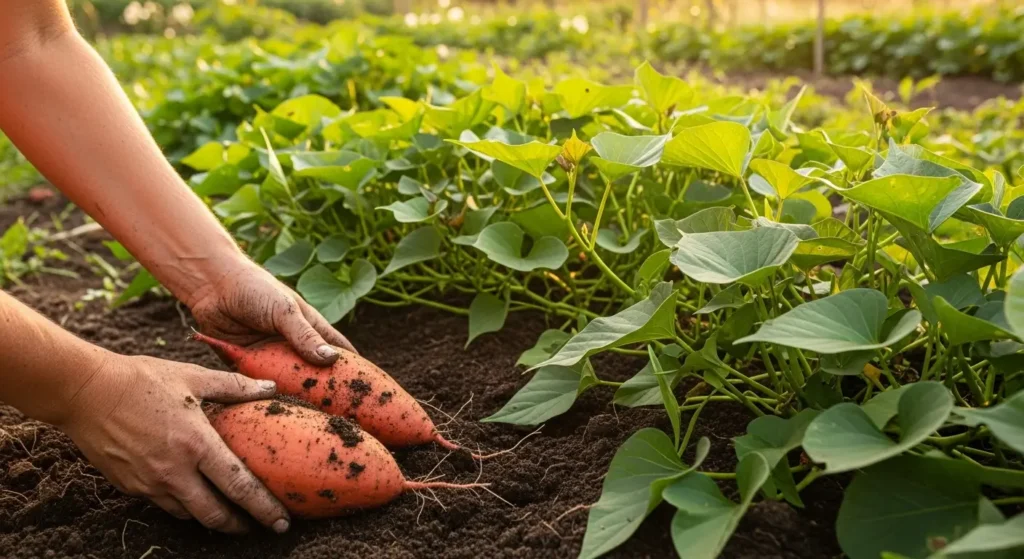
Making your sweet potato slips is like opening a door to garden independence. There's something so satisfying about starting these plants from basically nothing and watching them grow into productive vines that'll eventually give you pounds of delicious sweet potatoes.
Last fall, when I was digging up my homegrown sweet potatoes – the ones that started as tiny green shoots on my windowsill – I literally got emotional. Okay, maybe I teared up a little. But seriously, there's nothing quite like harvesting food you grew from the beginning.
The best part? Once you get this down, you'll never have to repurchase slips. Save some of your best sweet potatoes yearly to make next year's slips. It's like the circle of life, but for vegetables!
So what do you think? Ready to turn your kitchen into a slip-making factory? Do you have questions about the process, or maybe you've tried this and have some war stories to share? Drop a comment below – I love hearing about everyone's gardening adventures, both the wins and the epic fails. We're all in this crazy gardening journey together!
Sweet Potato Slip Making Frequently Asked Questions
How long does it take to make sweet potato slips?
Sweet potato slips typically take 4-8 weeks to develop from start to transplant-ready stage. You'll see first sprouts in 2-4 weeks, then need another 2-4 weeks for slips to grow 4-6 inches tall and develop strong roots.
Why aren't my sweet potatoes sprouting slips?
The most common reason is using treated sweet potatoes from grocery stores that have growth inhibitors. Always use organic sweet potatoes or ones specifically sold for planting. Also ensure consistent warmth (75-80°F) and change water every 3-4 days to prevent bacterial growth.
When should I start making sweet potato slips?
Start your sweet potato slips 8-10 weeks before your last expected frost date. This timing ensures your slips are ready to transplant when soil temperatures reach at least 60°F, which sweet potatoes need to thrive.
How many slips can I get from one sweet potato?
One medium-sized sweet potato can produce 8-15 slips with proper care. Larger sweet potatoes may produce even more, and some productive tubers can continue generating new slips for multiple harvests throughout the season.