So there I was, standing in my garden at 6 AM with my coffee (don’t judge—gardening requires caffeine), looking at my neighbor’s sad, wilted tomato plants while mine were sitting pretty like they didn’t have a care in the world.
Want to know my secret? It’s not some fancy fertilizer or expensive gadgets. Nope—it’s good old-fashioned mulch. I know, I know, sounds boring, right? But stick with me here because mulching tomatoes is a game-changer, and I wish someone had told me this when I was killing plants left and right in my early gardening days.
Let me tell you, I learned about mulching the hard way after watching half my tomato crop shrivel up from blossom end rot. My grandma used to say, “Honey, listen to what your soil’s telling you,” and man, was she onto something. After 15 years of trial and error (mostly error, if we’re being honest), I’ve figured out this whole mulching thing, and now I will share all my secrets with you.
Table of Contents
Why Mulching Tomatoes Changes Everything
Okay, confession time: I thought mulch was just for making your garden look fancy when I first started gardening. Like garden makeup or something. Boy, was I clueless!
Here’s the deal—mulching tomatoes isn’t about Instagram-worthy garden pics (though your garden will look pretty sweet). It’s about creating this awesome little microclimate that your tomatoes will absolutely love. We’re talking about moisture retention, temperature control, weed blocking, and disease prevention, all rolled into one.
I’ll never forget the summer of 2019—it was brutal here in Illinois, like surface-of-the-sun hot for weeks. My mulched tomatoes were chilling like they were on vacation. At the same time, my poor unmulched peppers next to them looked like they wanted to pack up and move to Alaska. That’s when it clicked for me—this mulch stuff is potent.
The benefits of mulching tomato plants are pretty mind-blowing when you think about it. You’re tucking your plants in with a cozy blanket that keeps them happy no matter what Mother Nature throws at them.
The Science Behind Mulching for Moisture Retention
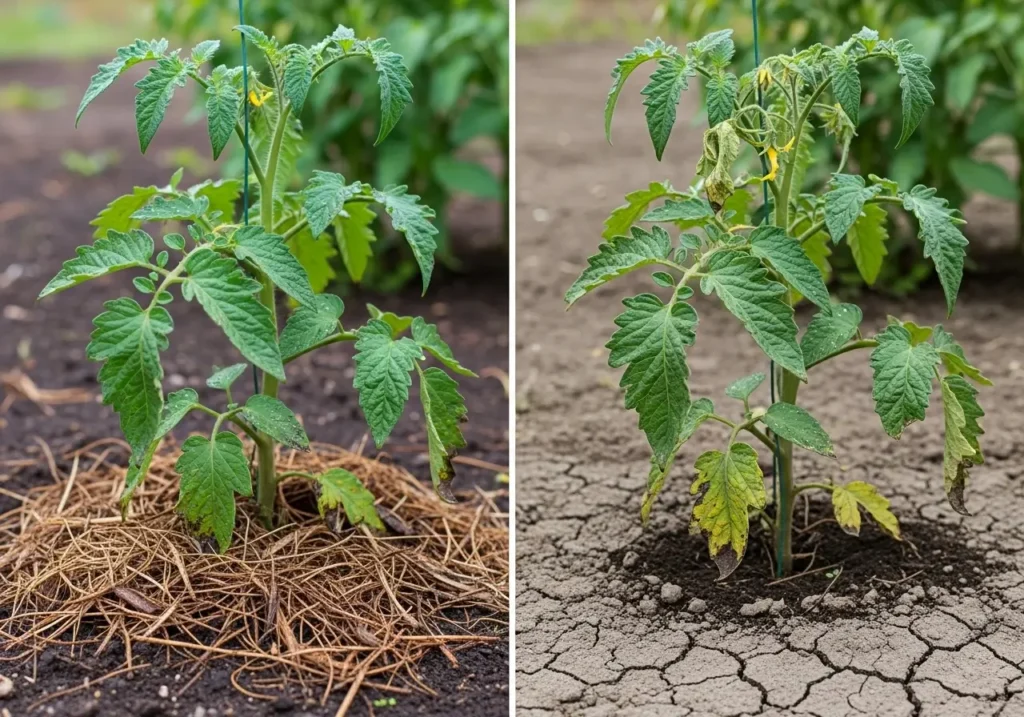
Okay, don’t worry—I’m not gonna get all nerdy on you, but here’s the cool part about how this works. When you’ve got that layer of mulch sitting on top of your soil, it’s like putting a lid on a pot. Did you work so hard to give all that water to your plants? It stays put instead of evaporating into thin air.
I’ve seen mulching for moisture retention cut down watering by about 70%. No joke! During those crazy Midwest summers, that’s the difference between watering every day (ugh) and maybe twice a week (much better).
But wait, there’s more! (I know, I sound like a cheesy infomercial.) Mulch also keeps your soil temperature nice and steady. Tomatoes are kinda picky—they want their roots between 65-75°F, and good mulch helps you hit that sweet spot without breaking a sweat.
Plus, if you’re using organic stuff, it slowly breaks down and feeds your soil. It’s like slow-release fertilizer and a water reservoir had a baby. Pretty cool.
Choosing the Best Mulch for Tomatoes
Alright, this is where things can get overwhelming real quick. There are like a million different mulch options out there, and trust me, I’ve tried most of ’em. Some worked great, some were disasters, and some were just… meh.
Organic Mulches That Actually Work
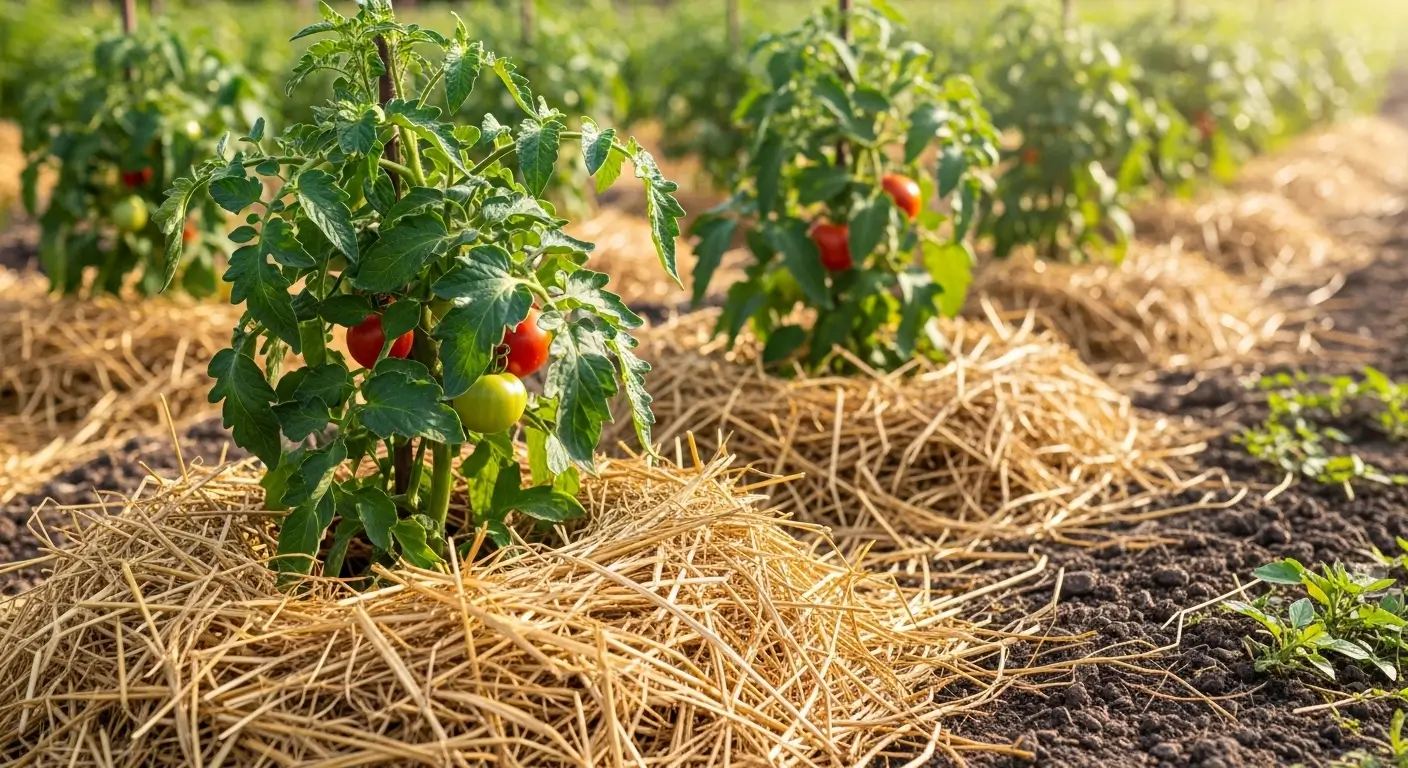
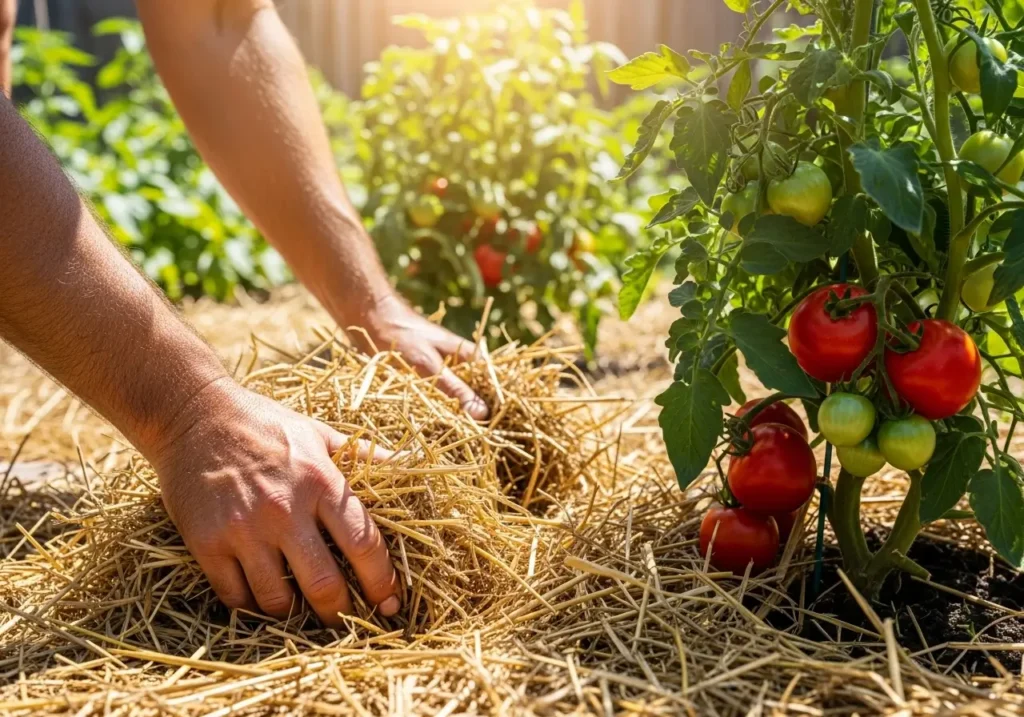
Straw is my ride-or-die choice for the best mulch for tomatoes. But here’s the thing—make sure it’s straw, not hay. I made that mistake once and basically planted a weed garden. Not my finest moment. Straw is clean, breaks down slowly, and creates these perfect little air pockets for which roots go crazy. I get mine from a local farm for about four bucks a bale, and one bale covers a ton of space.
Shredded leaves are like garden gold, especially if you’re cheap like me and hate throwing stuff away. Every fall, I run over oak and maple leaves with my mower and stash ’em in bins. Come spring, I’ve got this gorgeous, rich mulch that earthworms absolutely devour. Just don’t use fresh leaves—they’ll steal nitrogen from your plants. Been there, done that, got the yellow tomato plants to prove it.
Grass clippings work great if you follow what I call the “don’t go crazy” rule. Please keep it to two inches max, and ensure it’s from lawns that haven’t been doused in chemicals. I once made a slimy, stinky mess by piling grass clippings too thick. My husband still brings it up at dinner parties.
What About Inorganic Options?
Red plastic mulch is supposed to be this fantastic thing that boosts yields. I tried it once, and yeah, it worked, but honestly? It’s ugly as sin and not great for the environment. Consider it if you’re trying to squeeze every last tomato out of a tiny space. Otherwise, skip it.
Landscape fabric is okay for pathways, but around plants? Meh. It stops weeds but doesn’t feed your soil, so it’s one-dimensional.
My Step-by-Step Mulching Process
After years of screwing this up in creative ways, here’s what actually works:
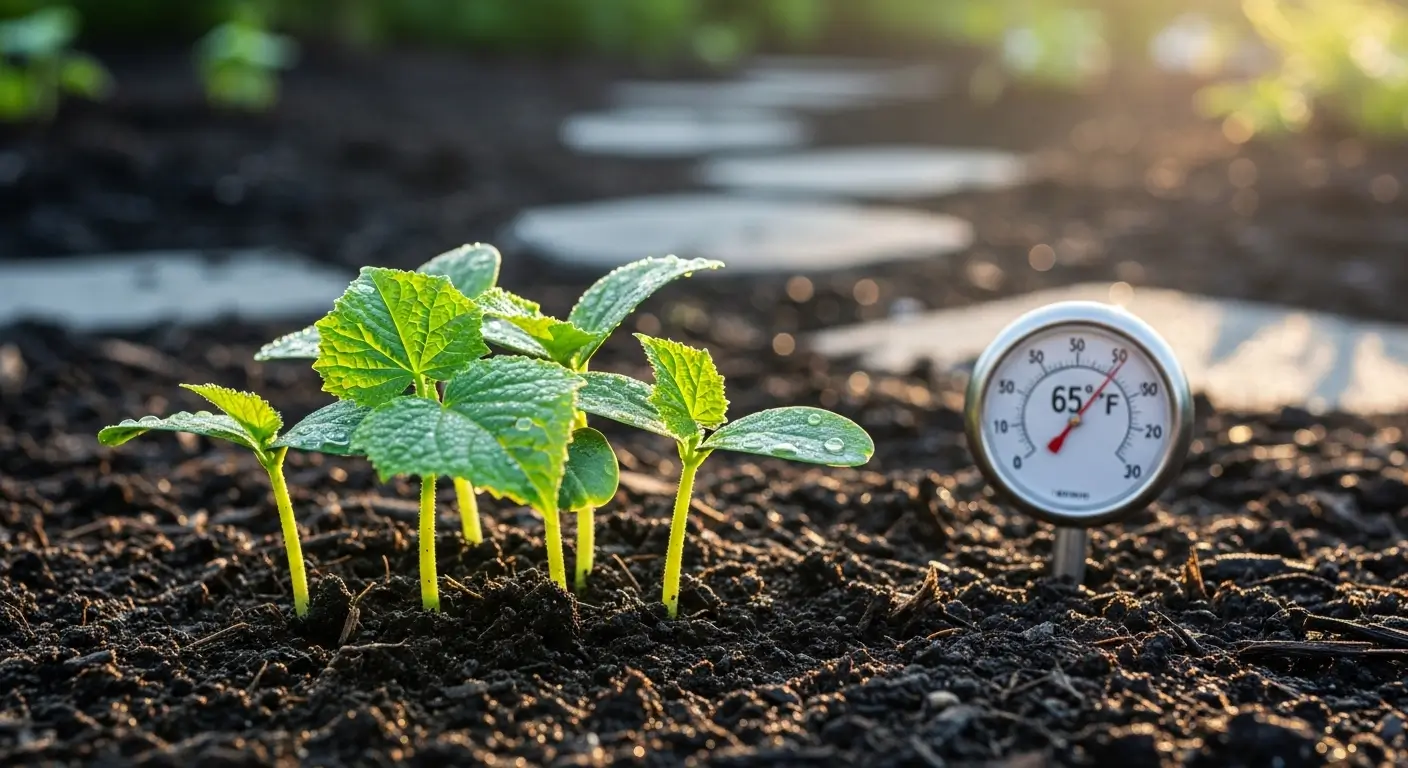
Timing Is Everything
Don’t jump the gun here! I wait until my soil hits at least 65°F before I start mulching—usually around late May in my neck of the woods. Mulch too early, and you’re basically putting a winter coat on your plants in spring. Not helpful. Get yourself a cheap soil thermometer. Seriously, ten bucks well spent.
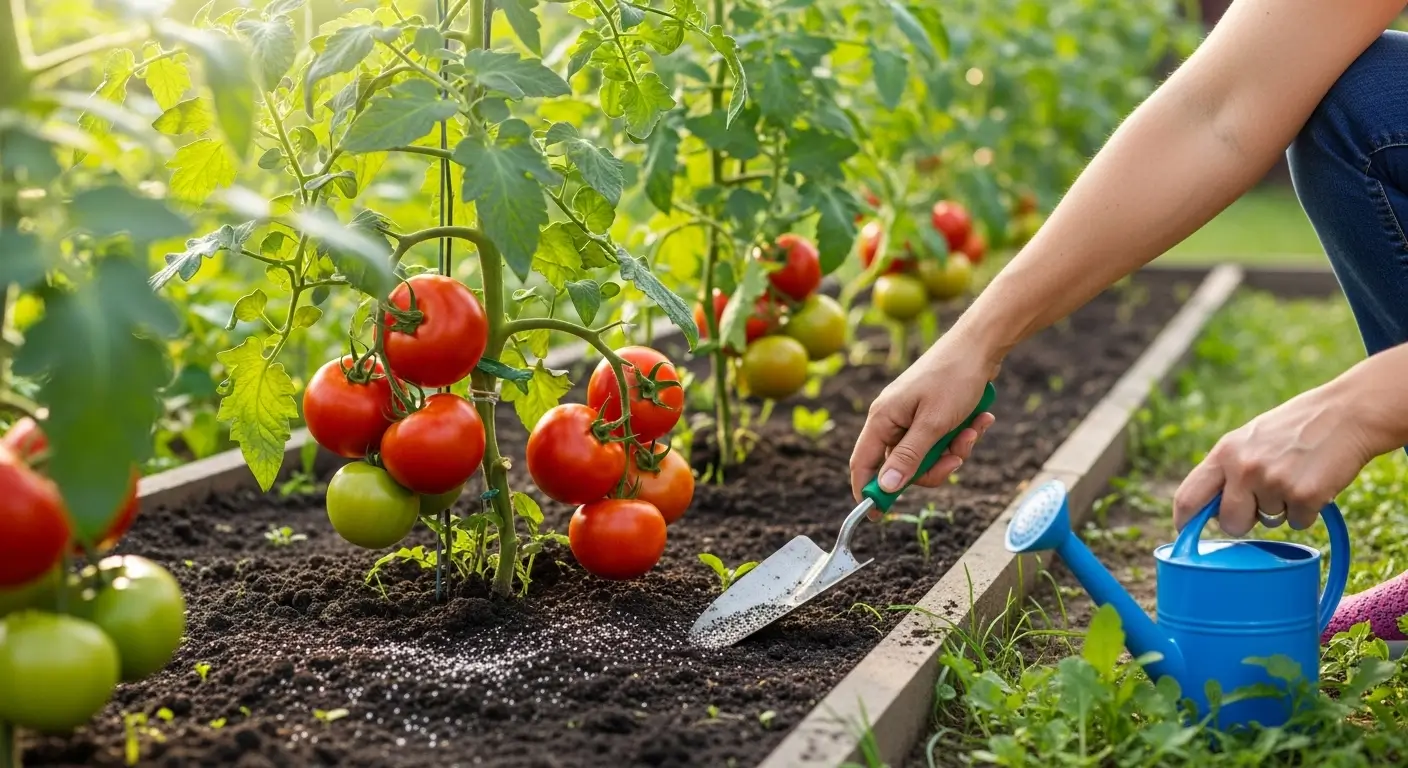
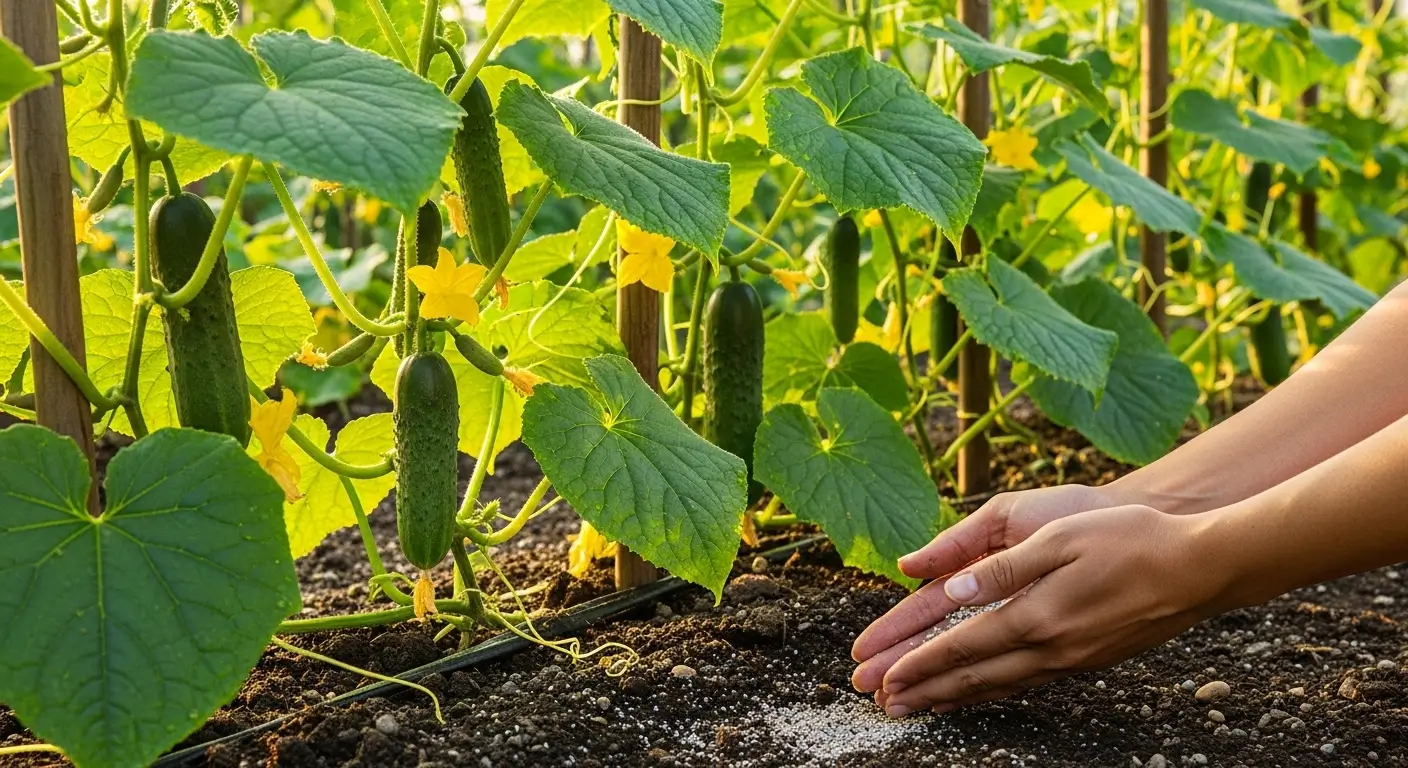
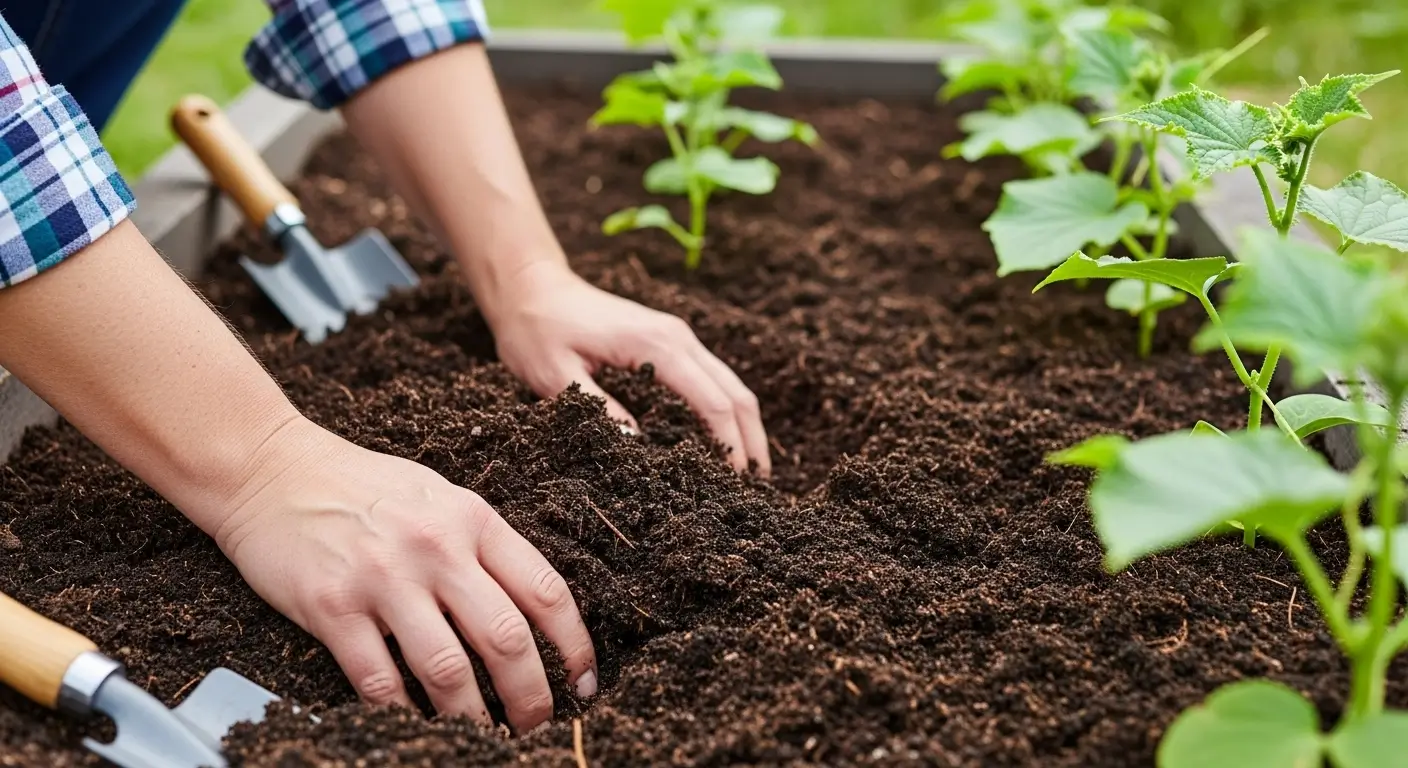
Preparation Makes Perfect
First things first—water your plants well and add any fertilizer you plan to use. There’s no point mulching bone-dry soil—you’re just locking in the drought. Also, pull those weeds! Weeds under mulch turn into super-weeds, and nobody’s got time for that.
The Application Technique
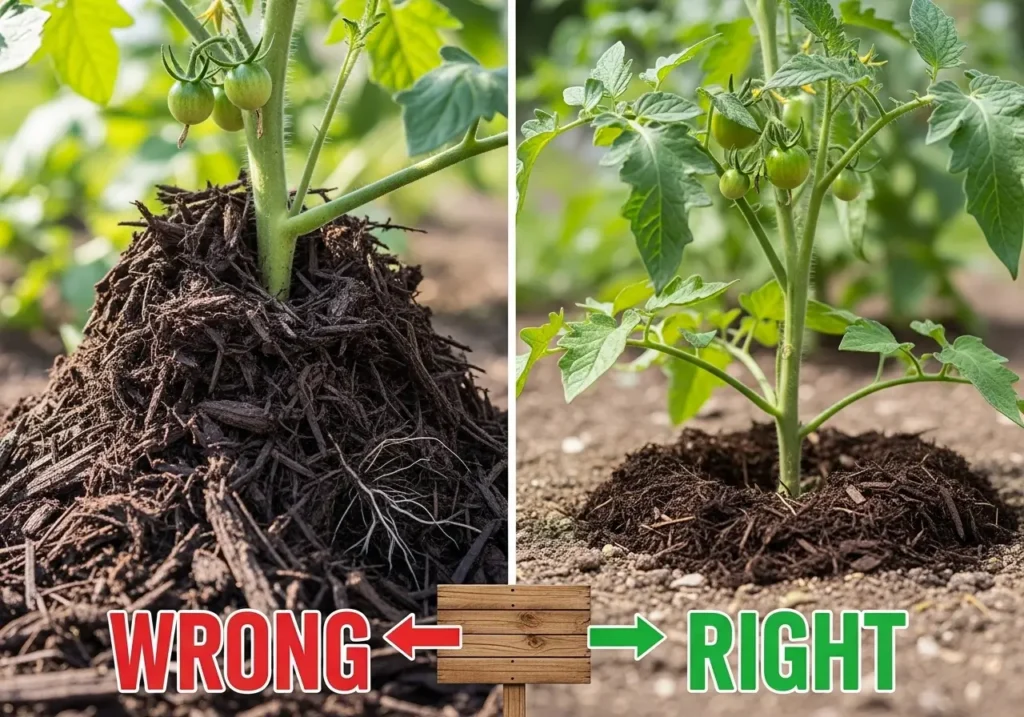
Here’s my magic formula: 3-4 inches thick, but keep it about 2 inches away from the plant stem. Think donut, not volcano. I used to pile mulch right up against the stems like little mulch mountains, and let me tell you—that’s a one-way ticket to rot city.
For my 4×8 raised beds, I usually need about 2-3 cubic feet of mulch. For bigger areas, figure roughly one cubic yard per 100 square feet. Don’t ask me why garden math is so weird—it just is.
Common Mulching Mistakes (I’ve Made Them All)
Let me save you some heartache by sharing my greatest mulching fails:
The Volcano Mistake: I already mentioned this, but it’s worth repeating because I see it everywhere. Mulch volcanoes kill plants. Just don’t do it.
Too Much, Too Soon: In my second year of gardening, I got super excited and dumped 6 inches of mulch down in April. My poor plants grew so slowly I thought they were dying. Turns out, too much mulch on cool soil is like forcing your plants to wear snow boots in summer.
The Wrong Stuff: Fresh wood chips nearly killed my garden one year. They sucked up all the nitrogen as they broke down, leaving my plants looking like they needed a good meal. Oklahoma State University Extension confirms that fresh organic materials can rob nitrogen from plants during decomposition—which is exactly what happened to me. Always use aged stuff, or stick with the safe choices like straw.
Seasonal Mulching Strategy
Spring Setup
Once soil temps hit 65°F consistently (late May around here), I lay down my first 3-4 inch layer. Usually straw or a mix of aged compost and shredded leaves.
Summer Maintenance
By mid-July, I’m out there playing mulch detective—checking for thin spots and adding more as the organic stuff breaks down. Our hot summers can really chew through mulch fast.
Fall Preparation
After I’ve picked my last tomato, I either work the leftover mulch into the soil or compost it if it’s gotten too gross. Then, fresh mulch goes down for winter protection.
Mulching Different Growing Situations
Container Tomatoes
For my patio pots, I go easy—about 2 inches of fine stuff like shredded leaves or small bark chips. Container plants dry out faster, so that moisture retention is clutch.
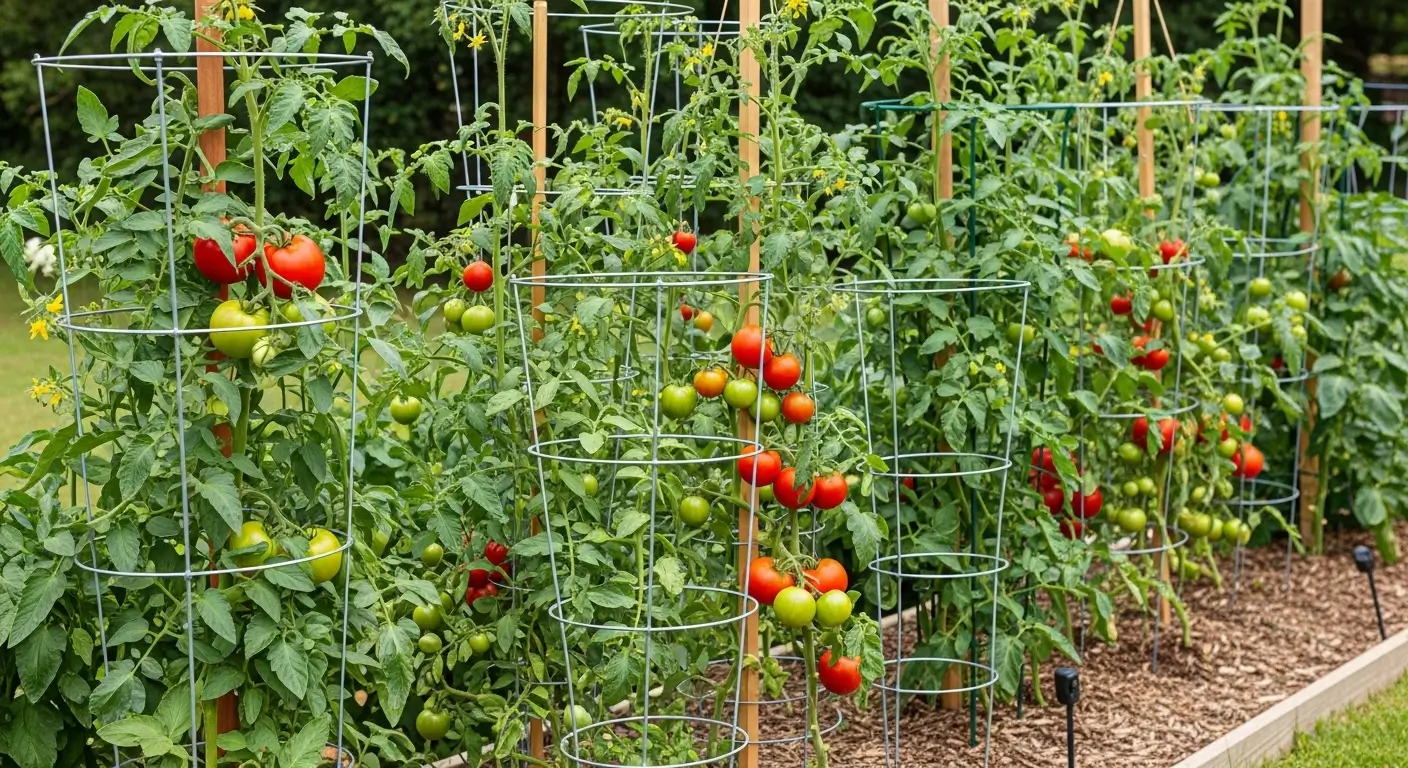
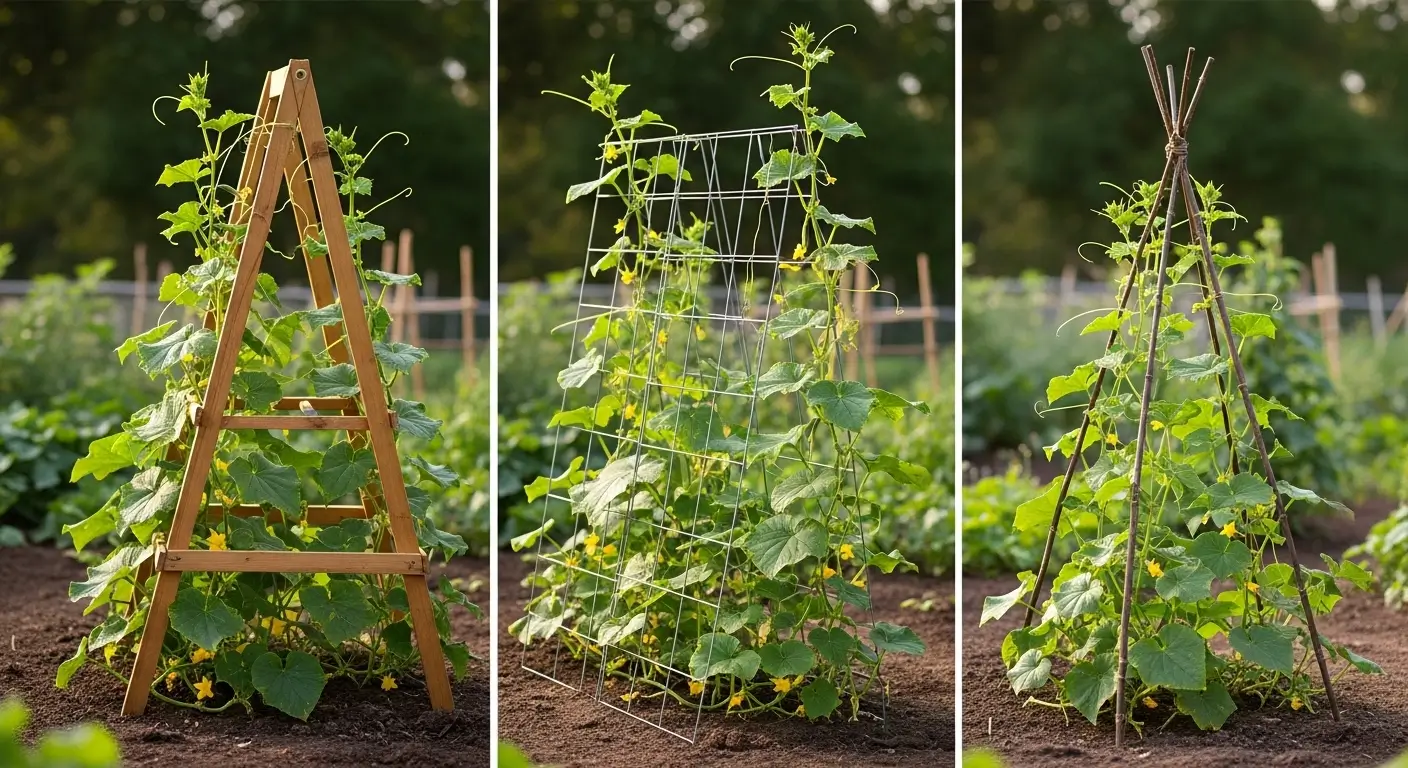
Raised Bed Systems
In raised beds, I can go heavier since drainage is usually spot-on. This is where I pile on the thick layers of straw or aged wood chips.
In-Ground Gardens
Regular garden beds get the standard treatment, but I make sure to mulch the pathways too. Nobody likes walking on compacted soil.
Troubleshooting Mulch Problems
Slimy, gross mulch: You went too thick or used something too nitrogen-heavy. Pull some back and let things breathe.
Slow-growing plants: Your mulch is probably too thick, or you put it down too early. Thin it out and check your soil temp.
Pest party: Some mulches are like five-star hotels for slugs and other creepy crawlies. If they’re getting too comfortable, try switching materials or pulling mulch back from plant bases.
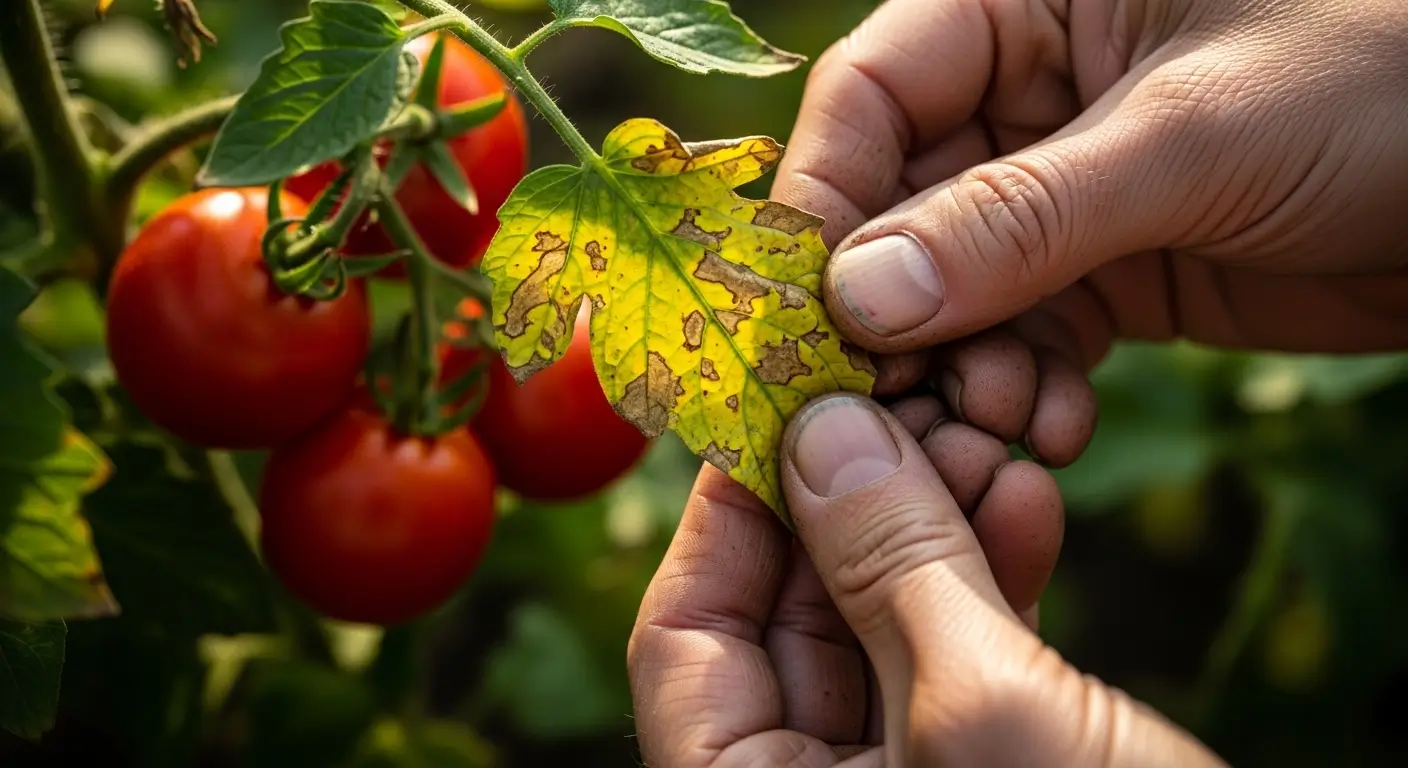
The Connection to Overall Tomato Health
Here’s the thing—good mulching plays nice with everything else you’re doing for your tomatoes. When dealing with tomato plant problems, proper mulch can head off many issues before they even start, especially those nasty soil diseases and water stress problems.
It also affects how you handle fertilizing tomato plants. Since organic mulches slowly release nutrients as they break down, you might need to tweak your feeding schedule.
For the full scoop on growing amazing tomatoes, including picking varieties and knowing when to harvest, check out my complete tomato growing guide.
My Personal Mulching Timeline
Here’s what my year looks like mulch-wise:
March: Order straw, start hoarding grass clippings April: Shred last year’s leaves, get everything ready May: Put down the first layer once soil warms up July: Top off thin spots, add more as needed September: Start collecting leaves like a squirrel prepping for winter November: Put down winter mulch, start dreaming about next season.
Key Takeaways for Mulching Success
After 15 years of growing tomatoes (and making pretty much every mistake possible), here’s what you absolutely need to remember:
- Wait for warm soil—patience is key here
- Keep mulch away from stems—no volcanoes!
- Maintain 3-4 inches throughout the season
- Go organic when possible—your soil will thank you
- Don’t forget to refresh it as the season goes on
- Plan ahead—fall prep makes spring so much easier
Your Next Steps to Mulching Mastery
Look, the best time to start thinking about this stuff is right now, whatever season you’re in. Spring? Start gathering materials and watching that soil thermometer. Fall? Time to collect leaves and plan your strategy.
Don’t feel like you have to tackle your entire garden at once. Start small—maybe just a few plants or one raised bed. I always tell folks it’s better to mulch a little bit really well than to do a half-hearted job on everything.
So what do you think? Got any mulching horror stories to share? Or you’ve discovered some excellent technique I haven’t tried yet. I’m always game to hear about other people’s garden adventures (and misadventures—those are often more fun). Please drop a comment below and let’s keep this conversation going!
Frequently Asked Questions About Mulching Tomatoes
What is the best mulch for tomatoes?
Straw is the best mulch for tomatoes because it’s clean, breaks down slowly, and creates perfect air pockets that roots love. Shredded leaves and aged grass clippings are also excellent organic options. Avoid fresh wood chips as they can tie up nitrogen and harm your plants.
When should you start mulching tomato plants?
Wait until soil temperature reaches at least 65°F consistently before mulching tomatoes, usually in late May in most regions. Mulching too early keeps the soil cool and delays root development and plant growth.
How thick should mulch be around tomatoes?
Apply mulch 3-4 inches thick around tomato plants, but keep it 2 inches away from the plant stem. This donut-shaped application prevents crown rot and pest issues while providing optimal moisture retention and weed control.
Do you need to refresh mulch during the growing season?
Yes, refresh mulch around tomatoes by mid-July as organic materials break down. Add another inch of fresh mulch to thin spots to maintain the 3-4 inch depth throughout the growing season for continued benefits.