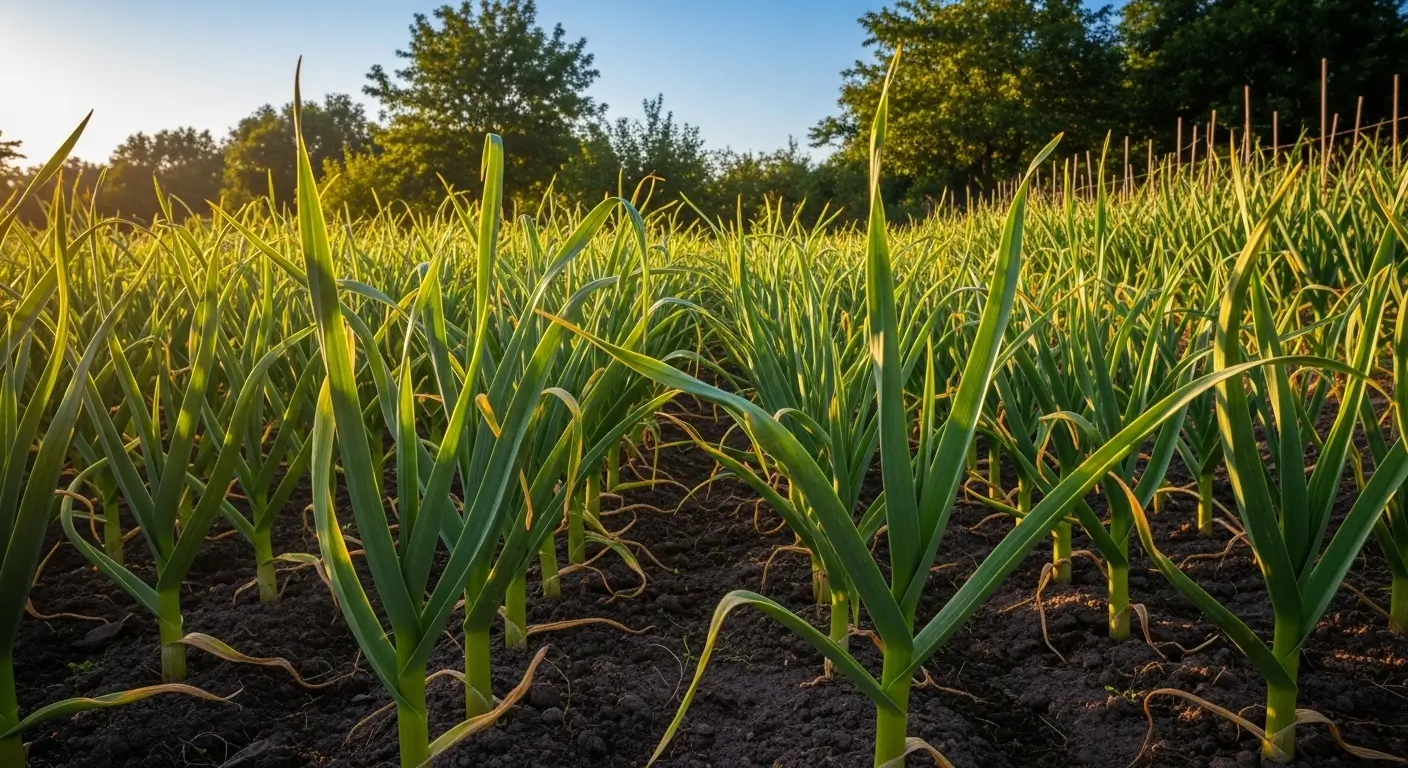
Okay, let me tell you about the time I thought I was being super bright by buying garlic in bulk. Twenty pounds of beautiful bulbs that I was absolutely convinced would last me through winter. Fast forward two months, and I’m staring at what looks like a science experiment gone wrong – sprouted, moldy, sad little bulbs that belonged in the compost, not my kitchen.
That epic fail taught me everything I know about storing garlic properly. And trust me, after 15 years of growing my own garlic (and making every mistake in the book), I’ve figured out this whole garlic storage thing. So grab a cup of coffee, and let me share what actually works – no fancy equipment required, just some common sense and a few tricks I wish someone had told me years ago.
Table of Contents
Why Proper Garlic Storage Matters More Than You Think
Here’s the deal – garlic’s not like onions, so you can toss anywhere and hope for the best. You can keep garlic fresh and flavorful for months when you nail the storage game. We’re talking 4-10 months if you do it right! But mess it up? You’ll be dealing with sprouted, mushy bulbs that smell funky and taste even worse.
My grandma always had perfect garlic hanging in her kitchen like witchcraft. It turns out it wasn’t magic – she understood that garlic needs three things: good air flow, the right amount of moisture, and cool (but not cold) temps. Who knew?
The Science Behind Successful Garlic Storage
Don’t worry, I’m not gonna bore you with a chemistry lesson here. But here’s what you need to know: garlic bulbs are still alive after you harvest them. They’re sitting there, breathing and doing their garlic thing. Give them too much moisture, and they’ll get moldy. Too little, and they’ll shrivel up like raisins. Too hot, and they’ll sprout like crazy. Too cold, and… well, they’ll also sprout. Picky little things!
The four things that’ll ruin your garlic faster than you can say “garlic breath” are heat, too much humidity, bright light, and stuffy air. Remember those four villains, and you’re halfway to garlic storage success.
Preparing Your Garlic for Storage Success
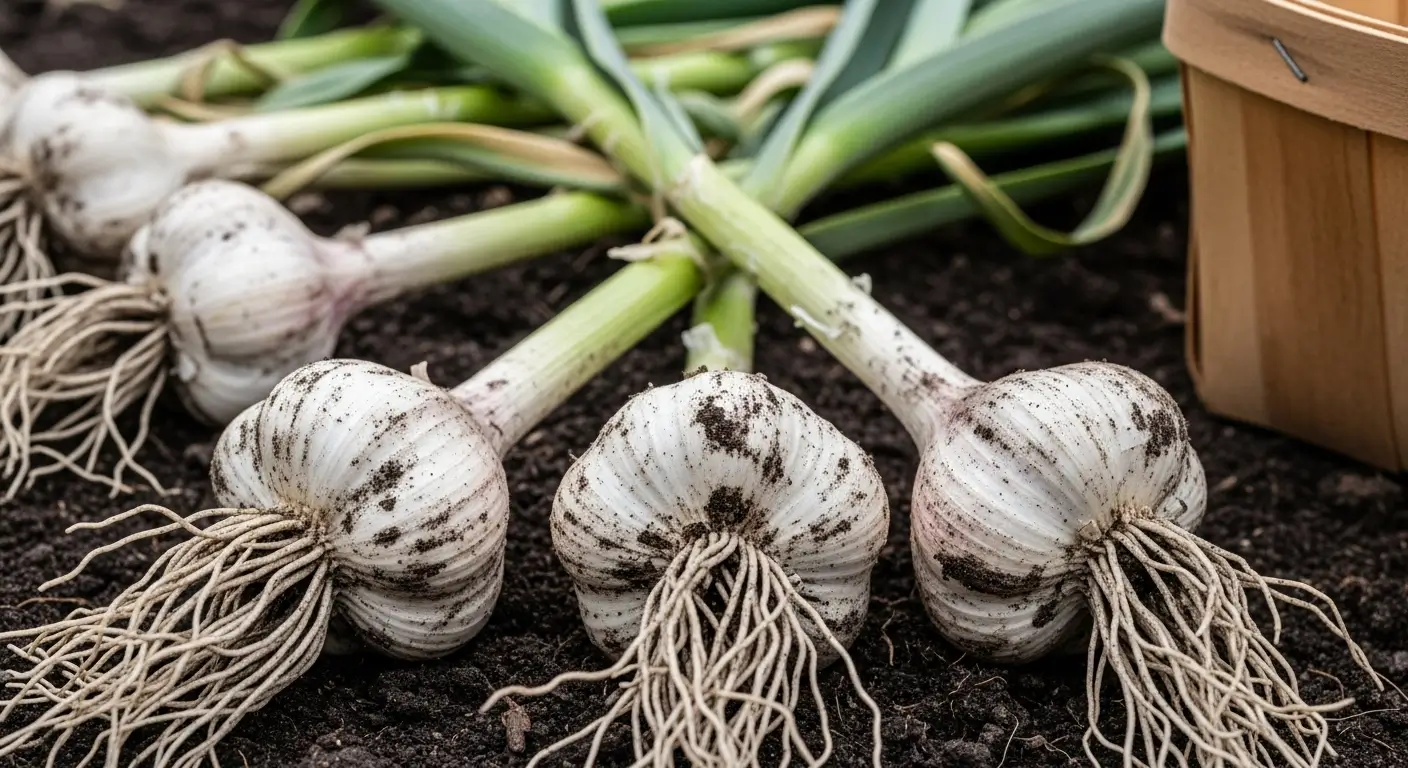
Start with Quality Bulbs
This one’s huge – you can’t turn crappy garlic into storage gold, no matter what you do. Whether you’re harvesting your own garlic or picking through bulbs at the store, look for firm ones with tight, papery skins. If it feels squishy or looks sketchy, walk away. Your future self will thank you.
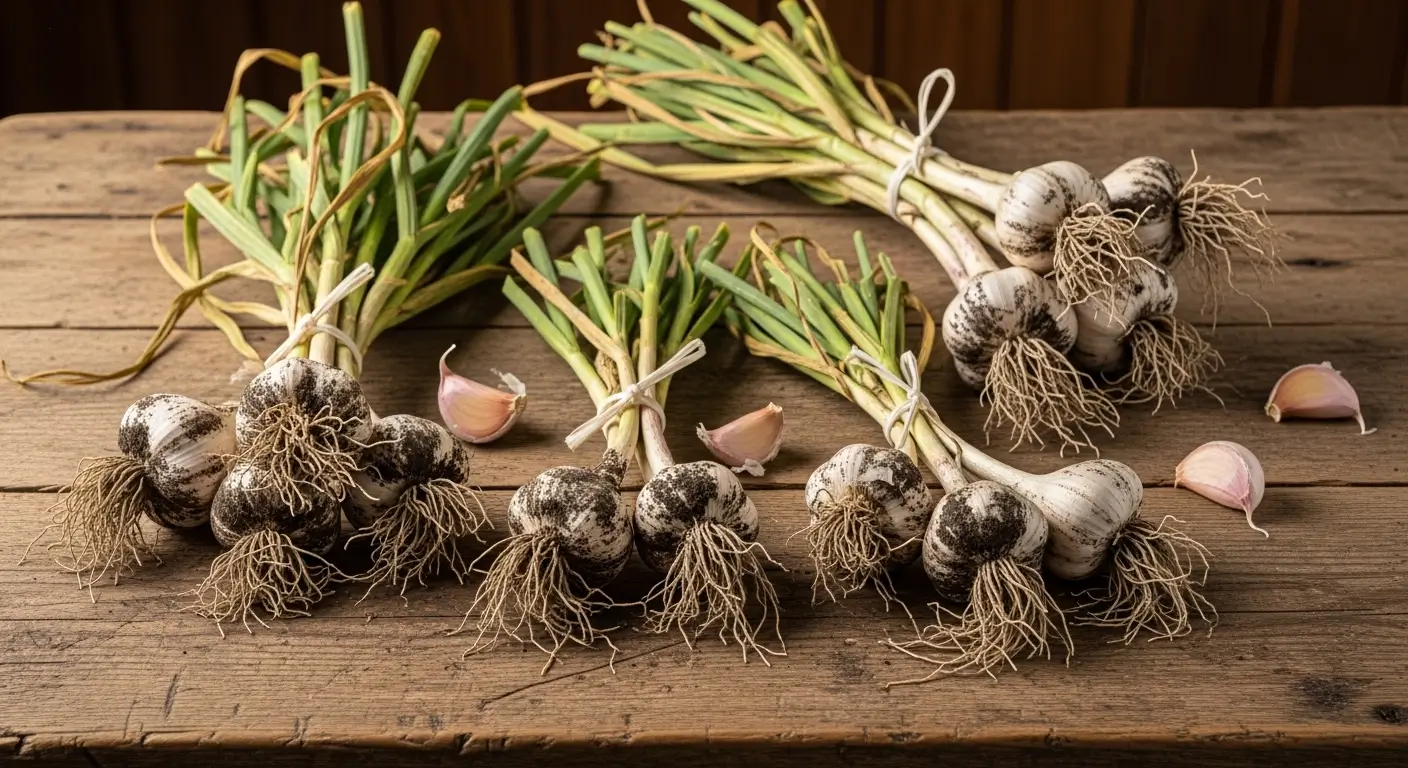
The Curing Process is Non-Negotiable
If you grew your own garlic, listen up – you absolutely cannot skip the curing step. I tried it once, thinking I could outsmart the process. Spoiler alert: I couldn’t. Proper curing is like giving your garlic a protective suit of armor. It takes 2-4 weeks, but it’s totally worth it.
Store-bought garlic? They’ve already done this step for you. Lucky you!
Clean But Don’t Strip
Once your garlic’s cured, brush off the dirt and any loose, flaky bits. But don’t go crazy removing the papery layers – they’re like garlic’s natural raincoat. I learned this the hard way when I went overboard with the “cleaning” and ended up with naked bulbs that didn’t store worth a darn.
The Best Methods for Long-Term Garlic Storage
Whether you’re working with freshly harvested garlic or maximizing store-bought bulbs, these storage techniques will help you enjoy fresh garlic for months. But here’s the thing – with so many methods to choose from, how do you know which one’s right for your situation?
Don’t worry, I’ve got you covered! Before we dive into all the different techniques, let me help you figure out exactly which method will work best for your specific setup. Trust me, this little tool has saved my readers tons of trial and error:
🧄 Find Your Perfect Garlic Storage Method
Answer a few questions to discover the best way to store your garlic!
Now that you know which direction to head, let’s dive into each method so you can see exactly how to make it work. Even if the calculator recommended something specific, I’d still suggest reading through all the options – you might find a backup method you love even more!
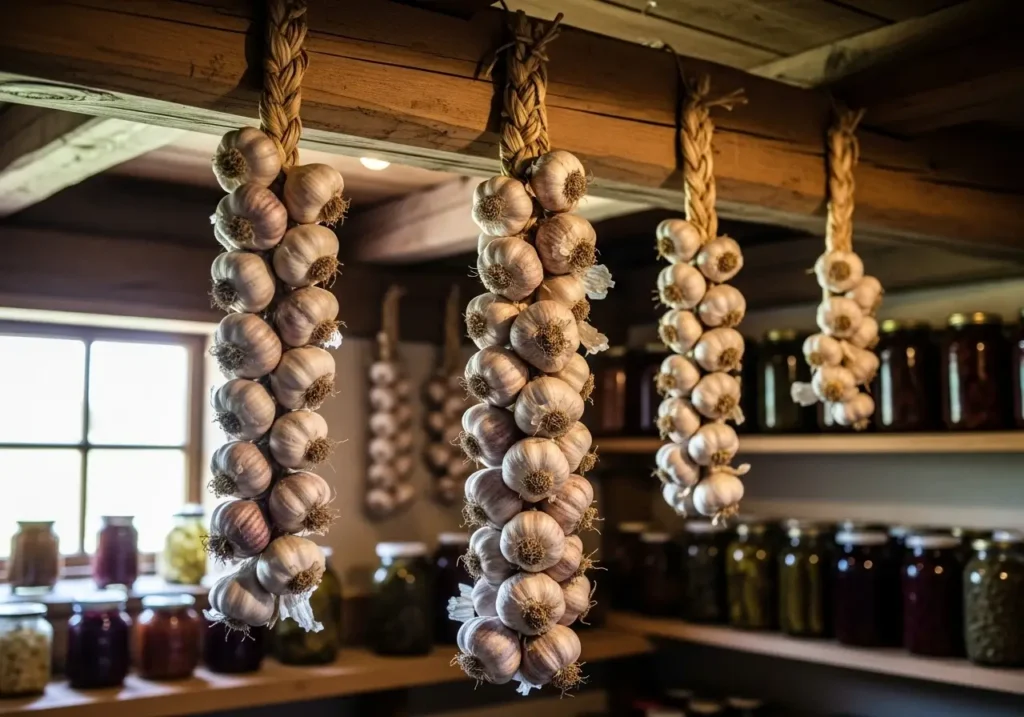
Method 1: The Traditional Braid (My Personal Favorite)
Okay, I’ll admit it – I love braiding garlic partly because it looks so dang pretty hanging in my kitchen. But it’s also convenient! This works best with softneck garlic (the kind without the hard stem in the middle), though I’ve managed to braid hardnecks when I’m feeling patient.
How to create garlic braids:
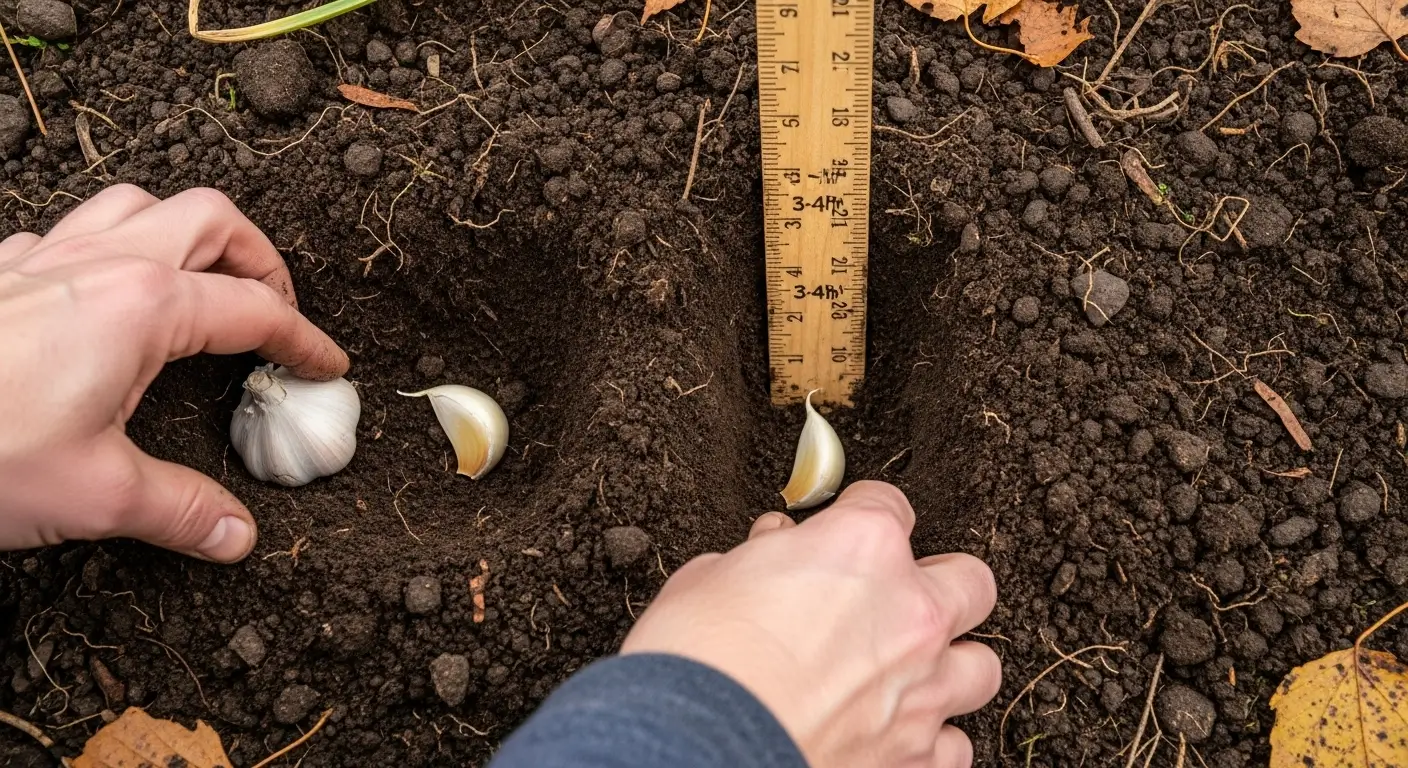
- Leave about 6-8 inches of stem when you harvest
- Start with three bulbs and braid the stems like you’re doing someone’s hair
- Keep adding bulbs as you go
- Tie off the end with some twine
- Hang it somewhere cool and dry with decent air flow
My kitchen pantry braids usually last 6-8 months and look way fancier than my actual cooking skills deserve!
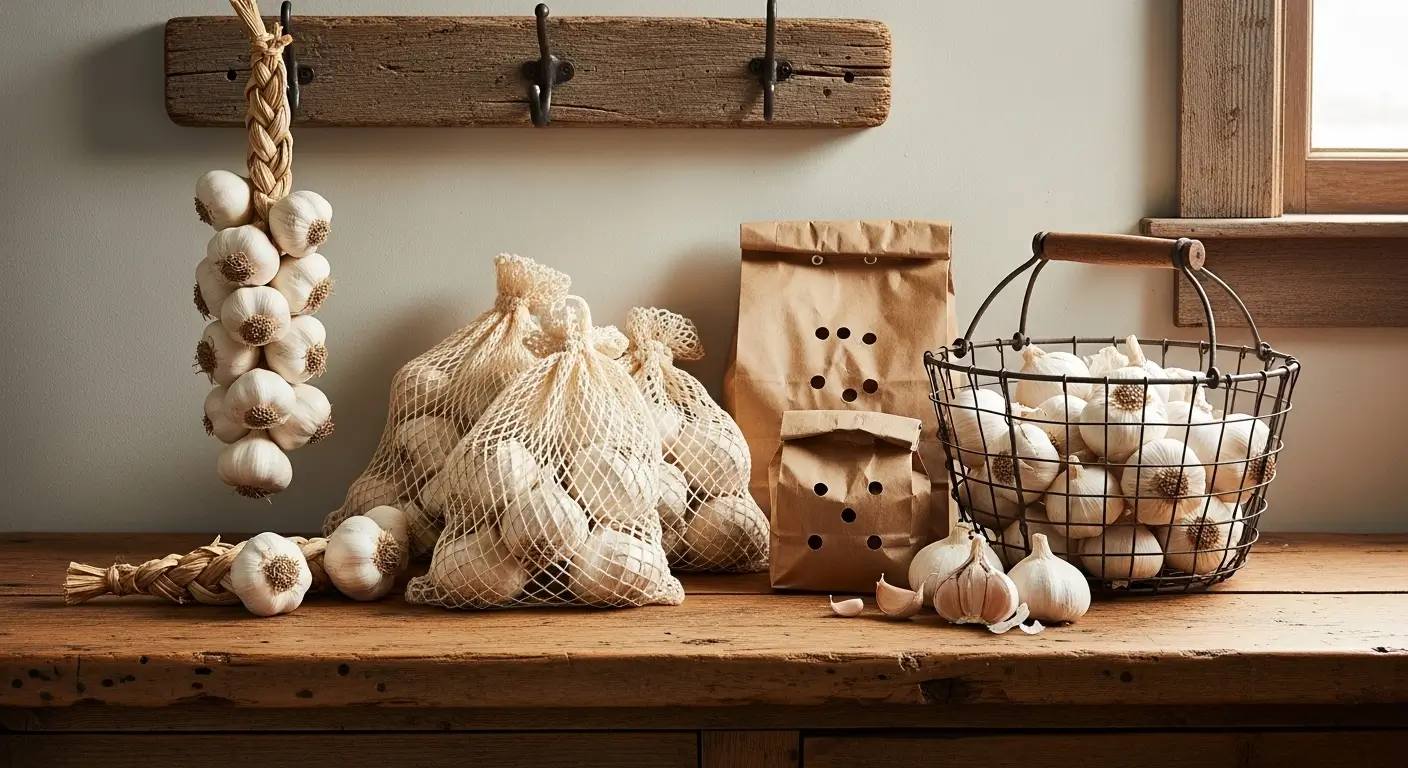
Method 2: Mesh Bags or Pantyhose Storage
Don’t laugh – pantyhose are amazing for garlic storage! Drop a bulb in, tie a knot, add another bulb, tie another knot. When you need garlic, just cut below a knot. The stretchy material lets air circulate while keeping bulbs from touching each other.
If pantyhose full of garlic seems too weird for your pantry (I get it), mesh bags work great too. Less entertaining, but equally effective.
Method 3: Paper Bag Storage
For smaller amounts, plain old brown paper bags with some holes punched in them are surprisingly good. I keep a backup stash in my basement this way – super simple and great for preventing sprouting in storage.
Method 4: Wire Baskets
Wire baskets are perfect if you like to see what you’ve got. I use shallow ones in my pantry, spreading bulbs out in single layers so they’re not all piled on top of each other. This method gives me solid results for about 4-6 months.
Creating the Perfect Storage Environment
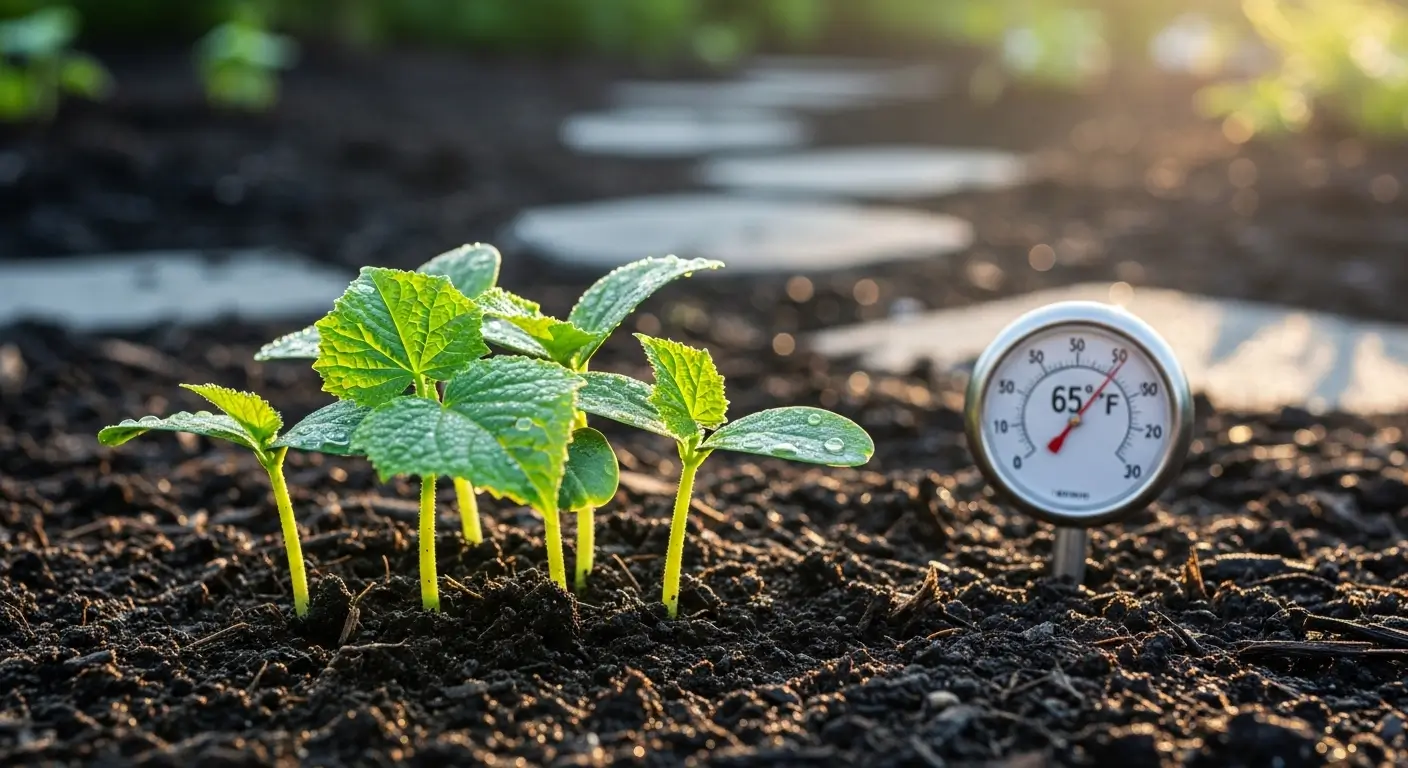
Temperature: The Goldilocks Zone
Your garlic wants it just right – not too hot, not too cold. We’re talking 60-65°F, which is probably somewhere between your living room and your basement. Now, if you want to get really technical about it, Oregon State Extension guidelines say the absolute ideal is 32-38°F – but honestly, unless you’ve got a root cellar or really cool basement, that’s pretty tough to maintain at home. Too warm and you’ll get sprouts everywhere. Too cold (like in the fridge) and you’ll actually trigger sprouting. Yeah, I know, it doesn’t make sense, but that’s garlic for you!
Humidity Control
Aim for somewhere around 45-50% humidity. I bought a cheap little humidity gauge from the hardware store – best $10 I ever spent for my garlic game. Too humid and you get mold. Too dry, and your bulbs turn into garlic jerky.
Air Circulation is Everything
Stagnant air is like kryptonite for stored garlic. Whatever storage method you choose, make sure air can move around. I’ve even put small fans on timers in my storage areas during really humid summers. Overkill? Maybe. Effective? Absolutely.
Keep It Dark
Light makes garlic want to grow, so keep your storage areas dark. My pantry works great, but a closet or a cabinet works fine too.
Troubleshooting Common Storage Problems
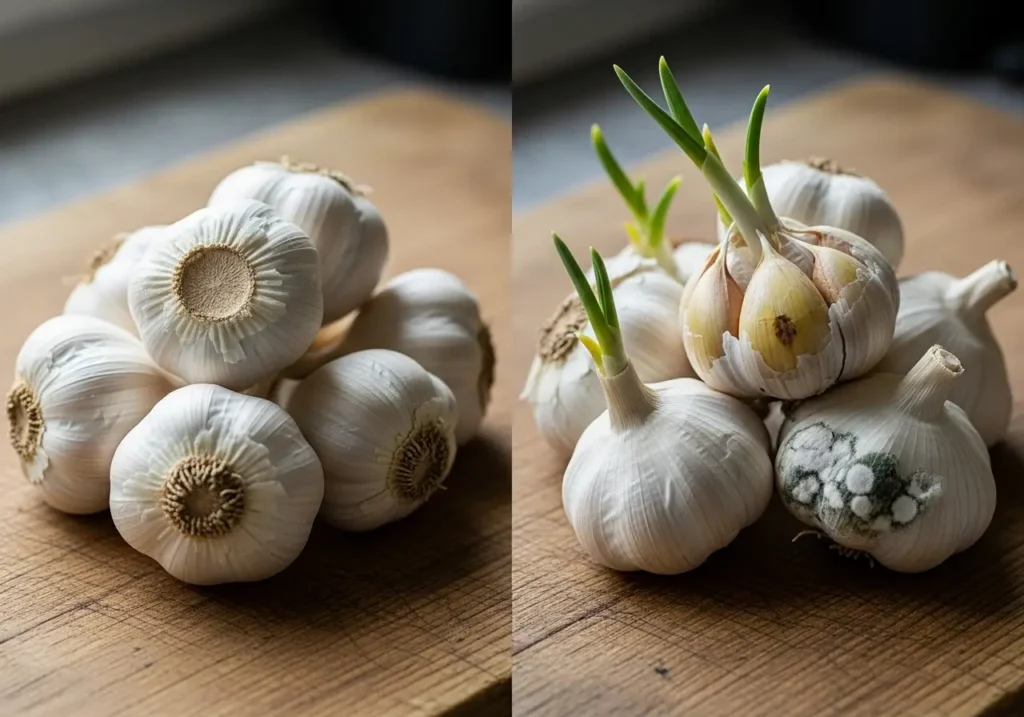
When Garlic Starts Sprouting
Don’t panic! Sprouted garlic isn’t ruined – pull out that green shoot (it tastes bitter anyway) and use the rest of the clove. But sprouted garlic won’t last much longer, so bump it to the front of the cooking line.
Dealing with Soft or Moldy Bulbs
As soon as you spot trouble, get that bulb out of there before it spreads its funk to the good ones. Check the neighbors too – sometimes the damage hides inside where you can’t see it.
Managing Different Varieties
Here’s something I wish I’d known earlier – hardneck garlic (the kind with the stiff stem) typically lasts 4-6 months, while softneck varieties can go 6-10 months. Store them separately and use the hardnecks first. Learn from my mistakes!
What NOT to Do: Storage Mistakes to Avoid
Never store garlic in plastic bags – they’re like little moisture traps that create perfect mold-growing conditions. Just don’t.
Don’t put whole bulbs in the fridge – I know it seems logical, but cold temps make garlic more likely to sprout. Weird but true.
Keep them away from heat sources like your stove, heating vents, or that sunny windowsill that gets hot in the afternoon.
Don’t try to store damaged bulbs – they’ll go bad fast and take their neighbors down with them.
Special Storage Considerations for Different Types
Storing Peeled Garlic
Once you peel garlic, the rules change. Pop those cloves in the fridge in something that breathes (not airtight!) and use them within a week. I just use a small bowl with a paper towel over the top.
Green Garlic and Scapes Storage
Young green garlic and those curly scapes should be treated more like herbs. Wrap them in slightly damp paper towels and stick them in the fridge. They’ll be happy for a week or two.
Storing Garlic Paste and Minced Garlic
Homemade garlic stuff needs to live in the fridge and gets used up pretty quick – within a few days. A thin layer of olive oil on top can buy you a little extra time.
Extending Storage Life: Pro Tips from Years of Experience
Use the old stuff first – rotate your stock and check on things monthly. It’s like grocery shopping in your own pantry!
Don’t wash garlic before storing – water is the enemy of long-term storage. Keep it dry!
Handle with care – bruised garlic spoils faster, so don’t toss bulbs around like basketballs.
Keep notes if you’re a garden nerd like me – I track which varieties store best so I know what to grow more of next year.
Key Takeaways for Garlic Storage Success
- Pick your method based on your space and how much garlic you’ve got – braids look cool, bags are practical
- Get the environment right – 60-65°F, moderate humidity, good air flow, and keep it dark
- Start with good bulbs – garbage in, garbage out, as they say
- Check on things regularly – monthly inspections catch problems before they spread
- Different garlic, different rules – know what type you’re dealing with
Conclusion: Your Path to Garlic Storage Mastery
After years of spectacular failures and happy accidents, I can honestly say that proper garlic storage isn’t rocket science – it just seems that way until you get the hang of it. Once you understand that garlic’s basically a living thing with opinions about its living conditions, everything clicks into place.
Whether you’re growing your own following our complete garlic growing guide or just trying to make those grocery store bulbs last longer, these storage tricks will change your garlic game. Start with whatever method seems doable for your situation, then experiment from there.
I’ve killed more garlic through bad storage than I care to admit, but that’s how I learned what actually works. It is essential to start somewhere – your garlic (and your wallet) will thank you for it.
So what’s your garlic storage disaster story? Or you’ve got a method that works great for you. Drop a comment below – I love hearing about other people’s garlic adventures (and misadventures). We’re all just figuring this out together, one bulb at a time!
Frequently Asked Questions About Storing Garlic
What temperature is best for storing garlic long-term?
The best temperature for storing garlic is 60-65°F (15-18°C), which is typically somewhere between your living room and basement temperature. Too warm and you’ll get sprouts everywhere, while too cold (like in the refrigerator) will actually trigger sprouting and create moisture problems.
How long can properly stored garlic last?
When stored correctly, softneck garlic varieties can last 6-10 months, while hardneck varieties typically store for 4-6 months. The key is proper curing, ideal temperature and humidity conditions, and good air circulation.
What should I do when my stored garlic starts sprouting?
Don’t panic if you see green shoots emerging – the garlic is still usable! Simply remove the green germ (it tastes bitter anyway) and use the remaining clove. However, sprouted garlic won’t store much longer, so prioritize using it quickly in your cooking.
Can I store garlic in plastic bags or the refrigerator?
Never store garlic in plastic bags as they trap moisture and create perfect conditions for mold and rot. Also avoid refrigerating whole bulbs – cold temperatures actually encourage sprouting and can create moisture problems. Instead, use breathable storage methods like braids, mesh bags, or wire baskets.