Oh my gosh, do I have a story for you! So picture this: I was three years ago, standing in my backyard in Naperville like some sad garden detective, staring at what were supposed to be gorgeous sweet potatoes. Instead, I’m looking at these pathetic, stringy things that honestly looked more like something I’d pull out of my shower drain than food. Yikes!
You know what my problem was? Everything, really—but it all started with me being utterly clueless about sweet potato soil requirements. I mean, I thought soil was just… dirt, right? Wrong! So, so wrong.
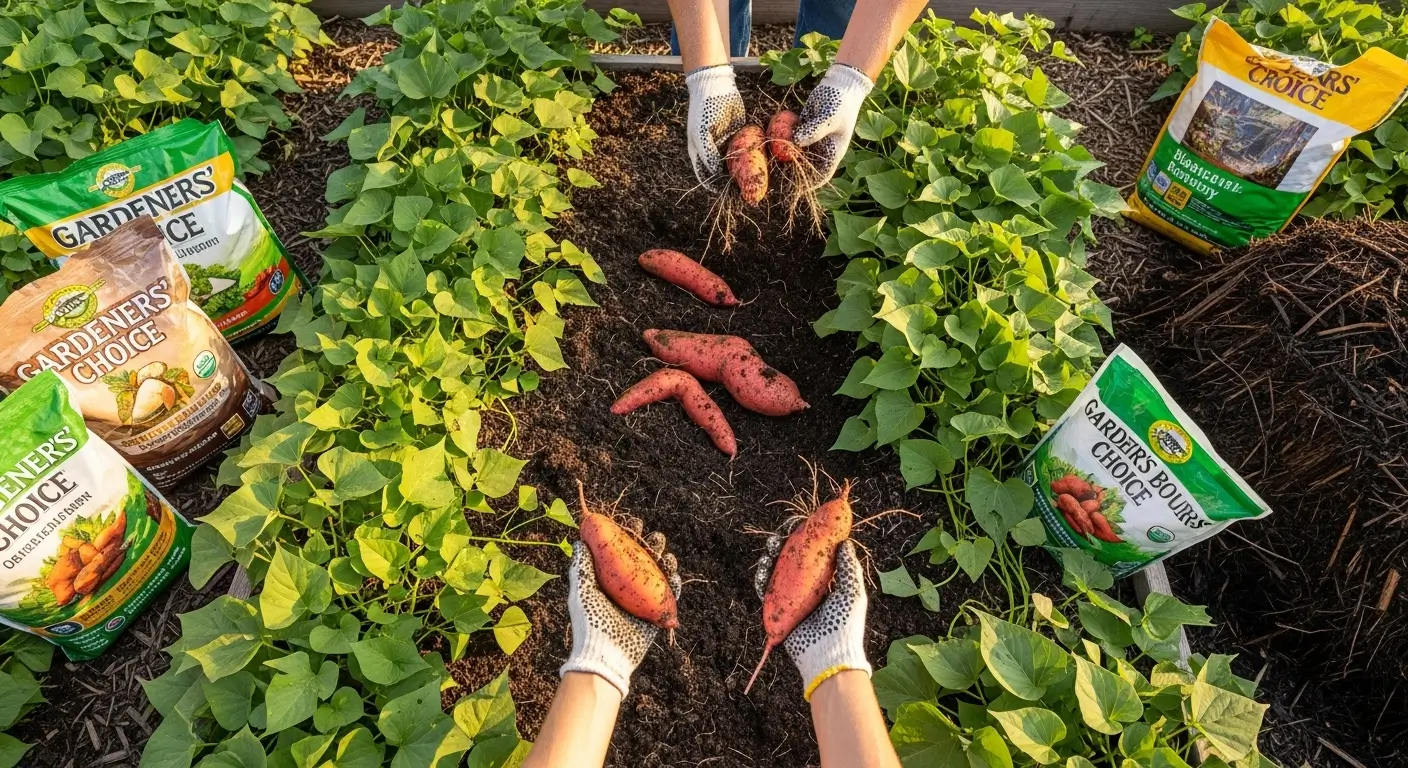
But here’s the good news: after totally bombing that first year and then spending the next decade actually figuring this stuff out, I can tell you that once you get the soil thing down, sweet potatoes are gonna blow your mind. Seriously, your neighbors will think you’ve got some green magic happening in your yard.
Table of Contents
Why Soil Matters More Than You Think
Okay, confession time: I used to be that person who thought “dirt is dirt.” I literally said those words out loud. My grandmother would’ve smacked me with her garden glove if she’d heard that nonsense!
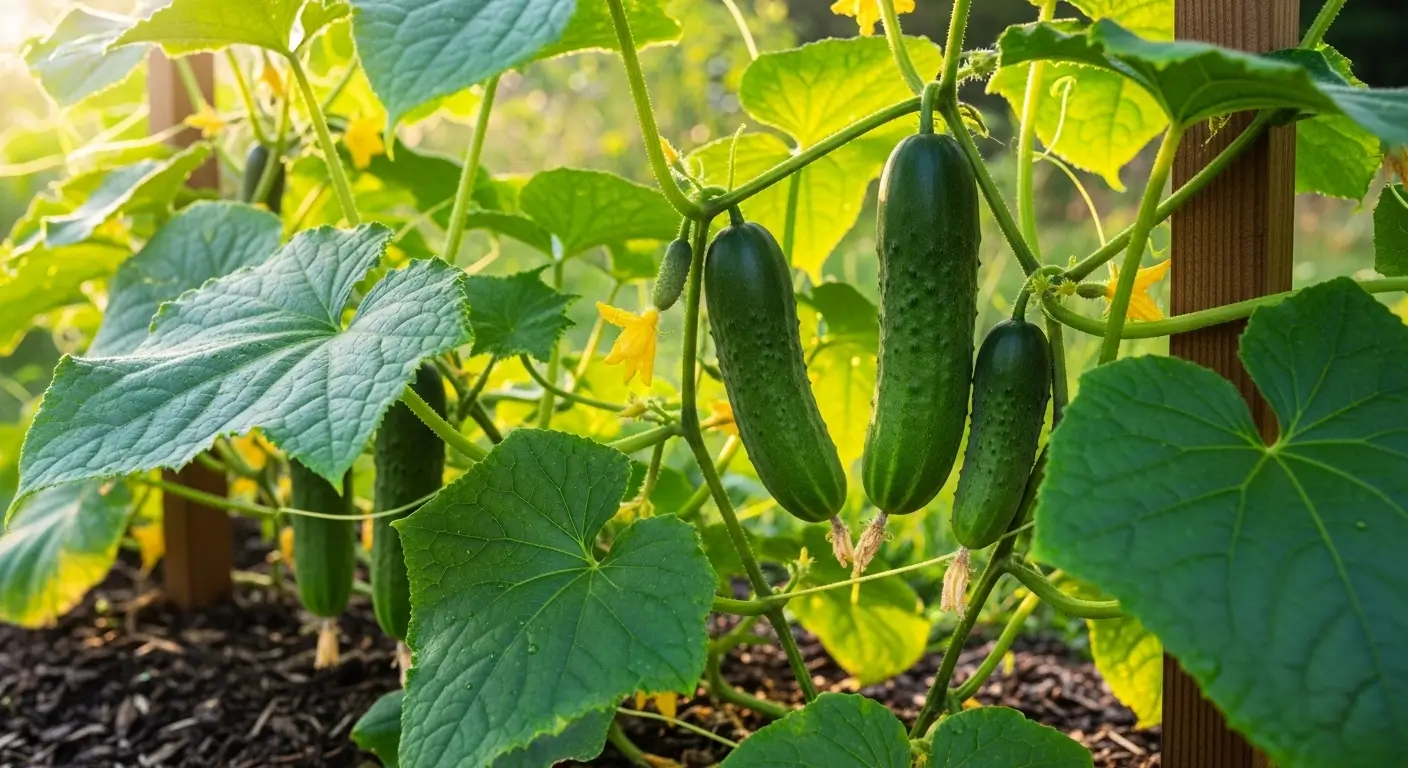
But here’s the deal with sweet potatoes—they’re basically living underground for months, doing their thing, growing into those beautiful orange treasures we’re all after. If their soil home isn’t comfy, they’re gonna let you know by giving you sad, wimpy tubers that’ll make you question your life choices.
Think about it this way: would you want to live in a cramped, soggy basement with no air circulation? Yeah, neither do sweet potatoes! They need space to stretch out, good drainage so they don’t get all moldy, and just the right amount of food—not too much, not too little.
The Perfect Sweet Potato Soil Profile
Alright, so after years of messing this up (and I mean YEARS), here’s what actually makes sweet potatoes happy campers:
Soil Type and Texture
Sandy loam is like the sweet potato’s dream home. I learned this hard when I tried cramming them into my clay soil. Oh man, that was a disaster! The poor things couldn’t push through that concrete-like stuff, and I ended up with these weird, twisted roots that looked like they’d been arm-wrestling underground and lost.
Here’s what sweet potatoes actually want:
- About half sand (for drainage and easy digging)
- Some silt mixed in (keeps things from getting too dry)
- Just a little clay (for nutrients and holding it all together)
If you’re stuck with heavy clay like I was, don’t panic! Amending soil for sweet potatoes saved my garden, and I promise it’s not as scary as it sounds.
The Magic of Proper Drainage
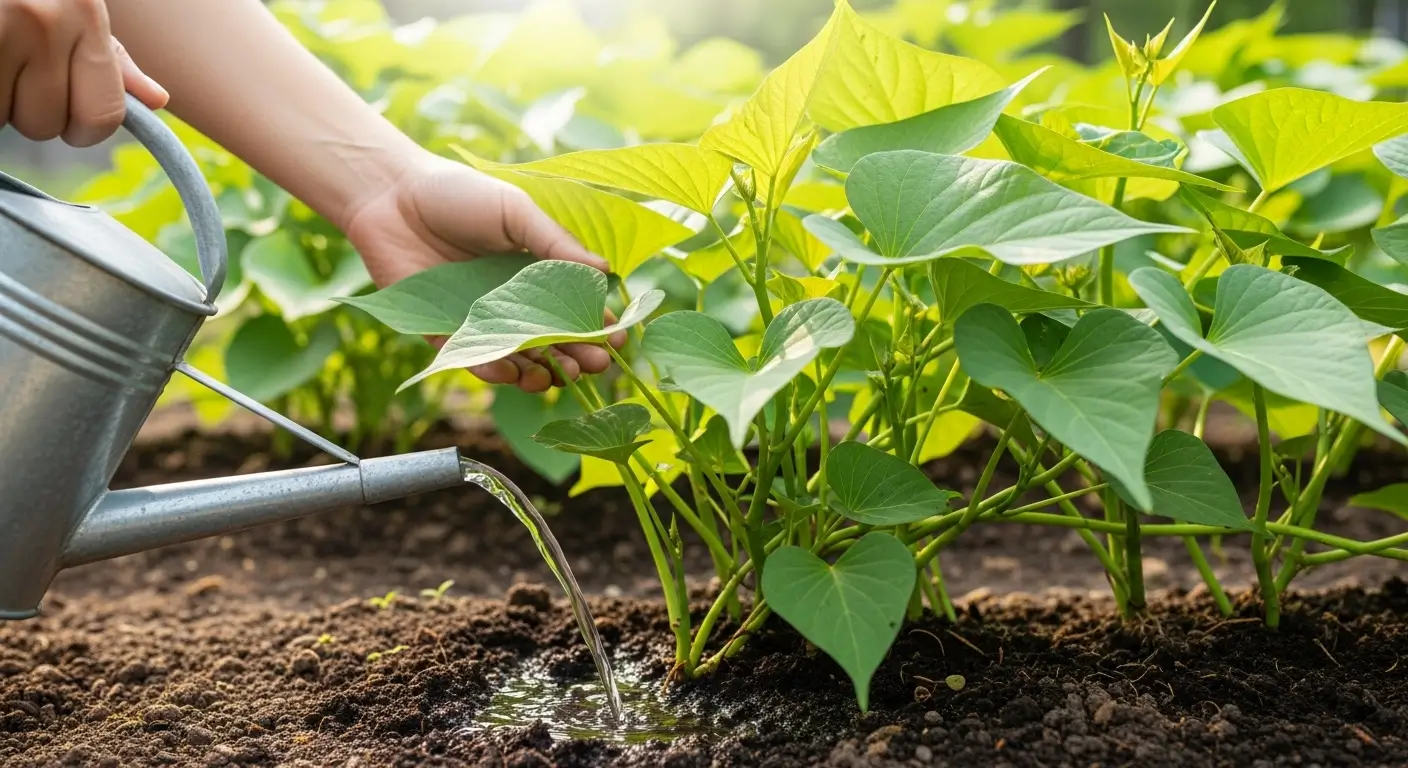
Oh boy, here’s something that took me way too long to figure out—sweet potatoes absolutely HATE wet feet. They’ll throw a total fit if their roots sit in water.
My first year, I planted them in this low spot that turned into a mini lake every time it rained. Let’s say I became an expert at identifying root rot that season. It was not fun and definitely not what I was going for!
Good drainage basically means water doesn’t stick around being all soggy. If you dig a hole and fill it with water, it should be gone within a few hours. If it’s still there the next morning, you’ve got some work to do, my friend.
Getting Your Soil pH Just Right
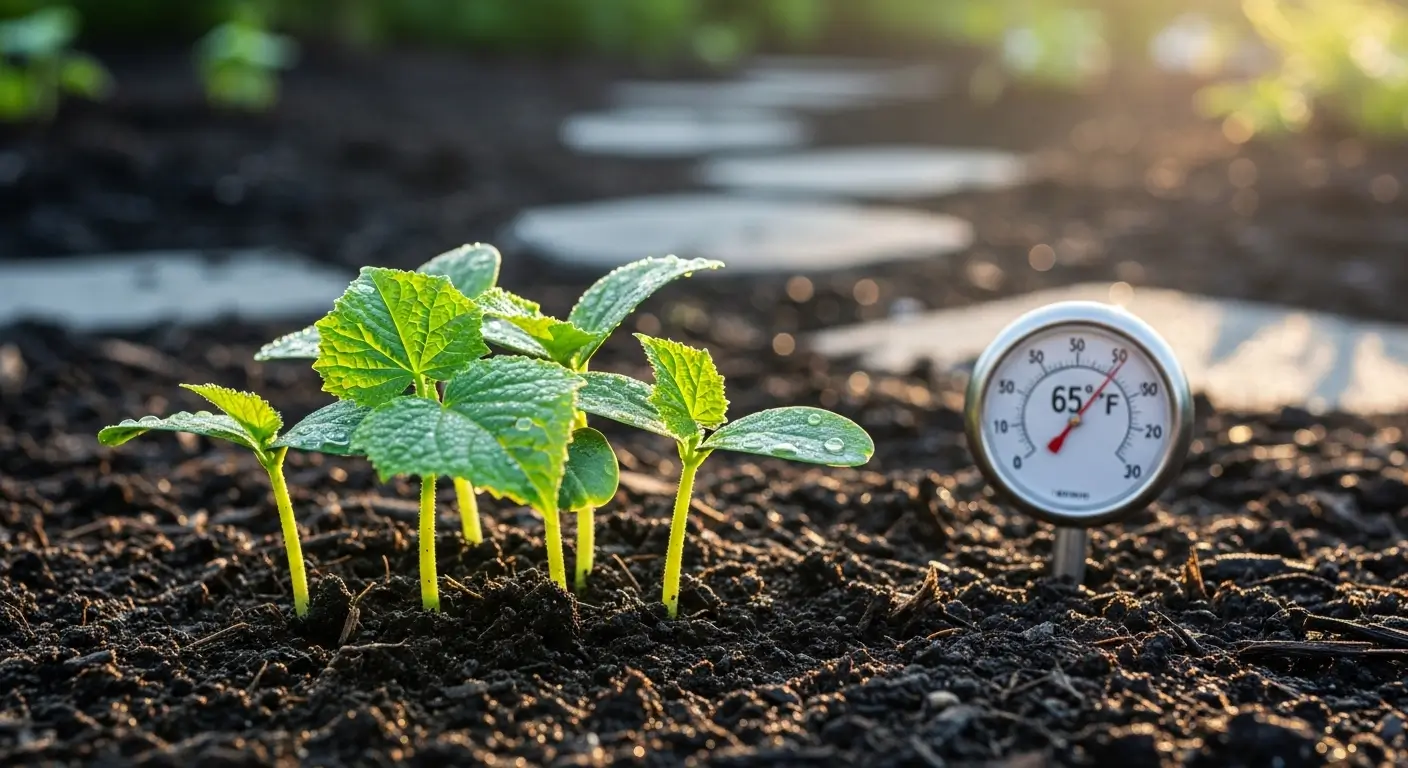
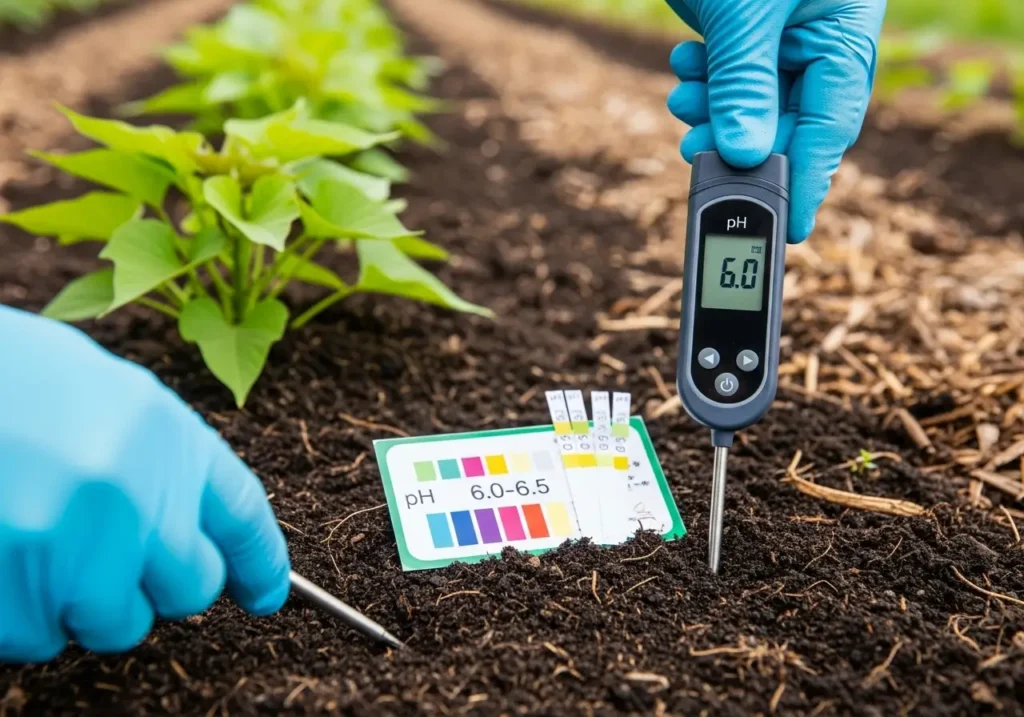
Okay, please don’t roll your eyes at me when I mention pH! I know it sounds all science-y and boring, but getting the best soil pH for sweet potatoes is super important. Trust me on this one.
The Sweet Spot: pH 5.8 to 6.2
Sweet potatoes like their soil just a tiny bit acidic—somewhere between 5.8 and 6.2 on the pH scale. I know, I know, more numbers! But stick with me here.
When I first tested my soil, it was sitting at 7.2, which is way too alkaline. No wonder my poor plants looked stressed out! When the soil’s too alkaline, sweet potatoes can’t grab essential nutrients, and you end up with yellow, sad-looking plants and disappointing harvests.
How to Test and Adjust pH
Testing pH is easier than it sounds. I use this little digital meter I got online for about fifteen bucks. Still, you can also get those strip thingies or send samples to your local extension office if you want to get all fancy about it.
If your soil’s too alkaline (like mine was):
- Sprinkle some sulfur around—about a pound per 100 square feet
- Mix in acidic stuff like pine needles or coffee grounds (yes, really!)
- You can use aluminum sulfate if you’re impatient, but I like the gentler approach
If your pH is too low:
- Add a little agricultural lime
- Work in some wood ash (just a tiny bit!)
- Test again in a few weeks—patience, grasshopper!
For a deeper dive into understanding soil pH and the science behind why it matters so much for plant nutrition, the University of Connecticut Extension has an excellent comprehensive guide on soil pH management that explains exactly how pH affects nutrient availability in your soil.
Sweet Potato Soil Preparation: My Step-by-Step Method
Okay, here’s where I spill all my secrets! This is my tried-and-true sweet potato soil preparation method that I’ve been perfecting for years.
Step 1: Start in Fall (Yeah, I’m Serious!)
I know what you’re thinking—”Grace, it’s October, why are you talking about sweet potatoes?” But hear me out! Fall prep is like getting a head start on the best garden ever.
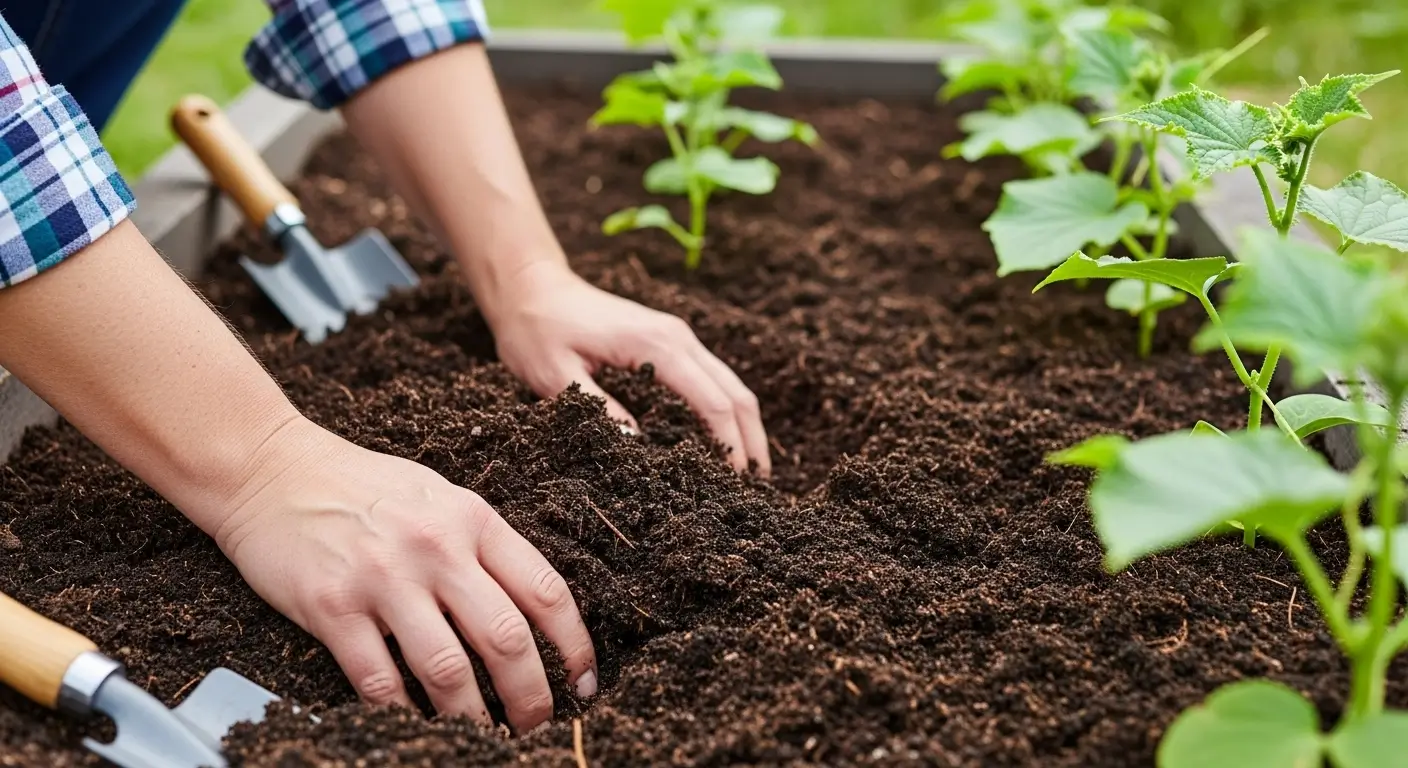
I dump a bunch of compost on my beds (2-3 inches thick) and work it into the soil. If I’m dealing with stubborn clay, this is when I also mix in some coarse sand and perlite. It’s like giving your soil a spa treatment over the winter!
Step 2: Spring Tune-Up
Come springtime, about a month before I want to plant, I check on my beds like they’re old friends. This is when I test the pH and add anything else they might need.
My go-to spring recipe for a 4×8 bed:
- A few bags of good compost
- Some coarse sand if the drainage still looks iffy
- Perlite mixed throughout (makes everything fluffy!)
- A gentle organic fertilizer (we’ll talk about this in a sec)
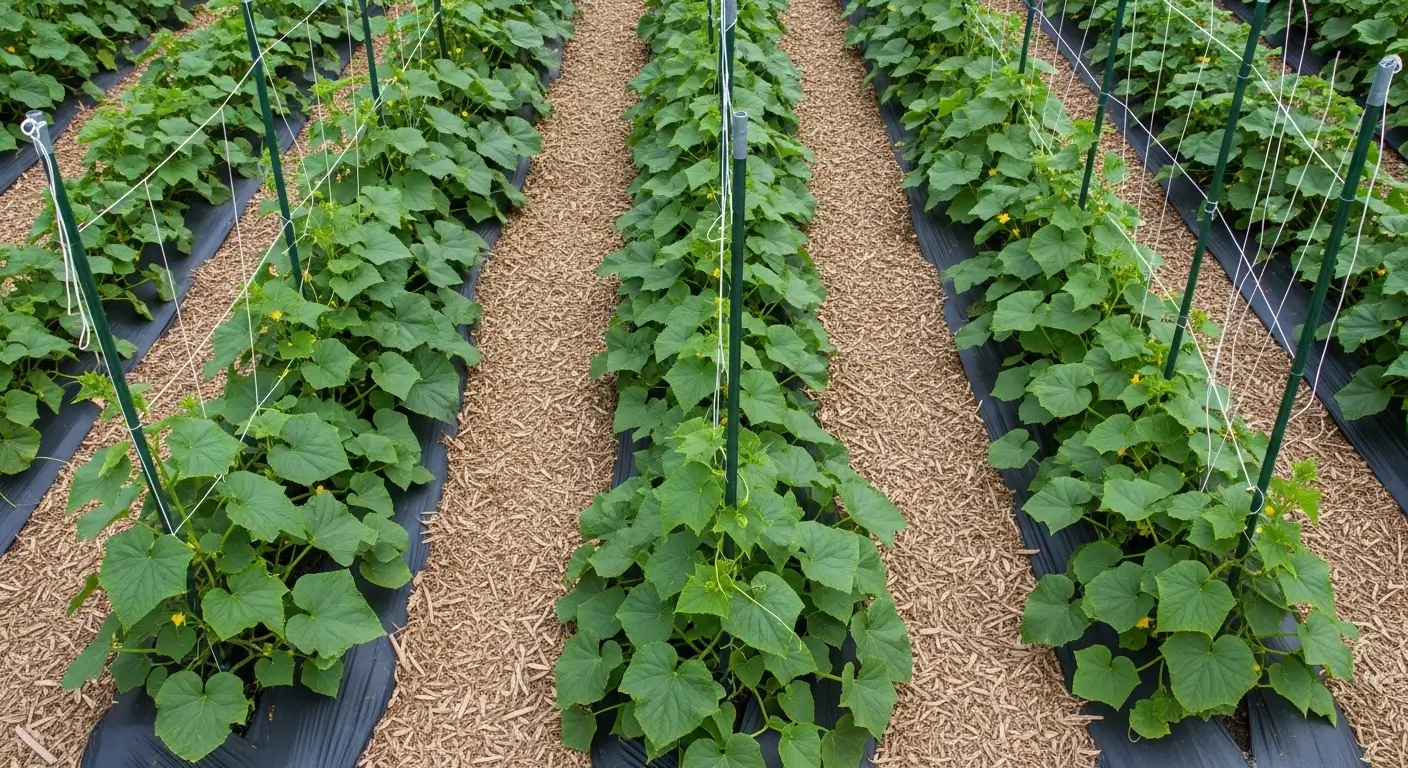
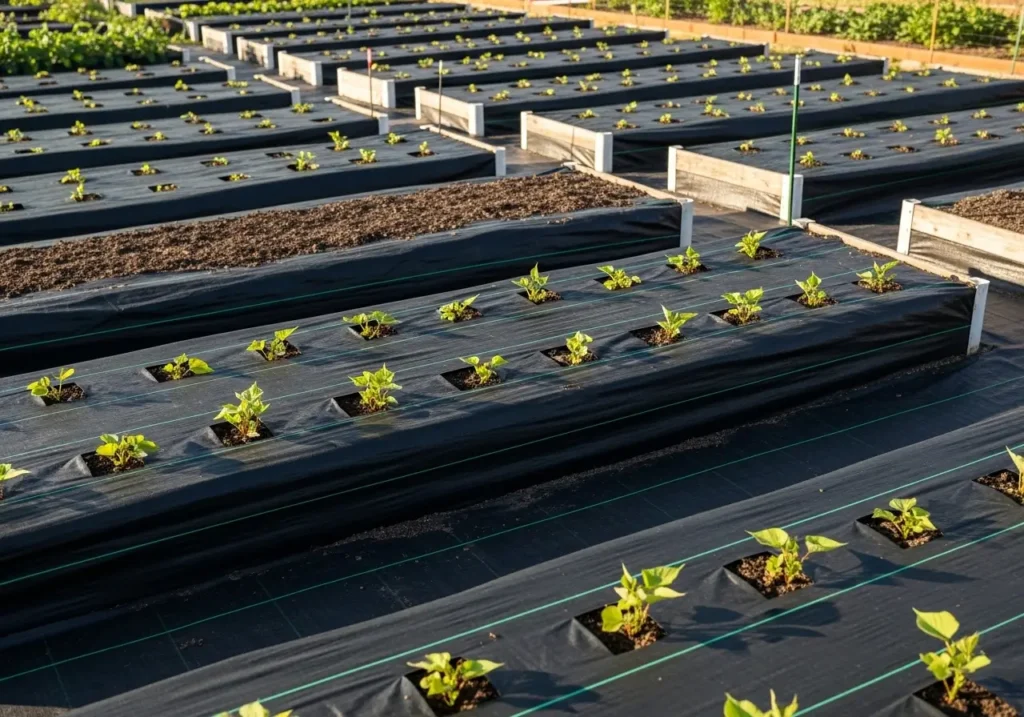
Step 3: Creating Raised Rows
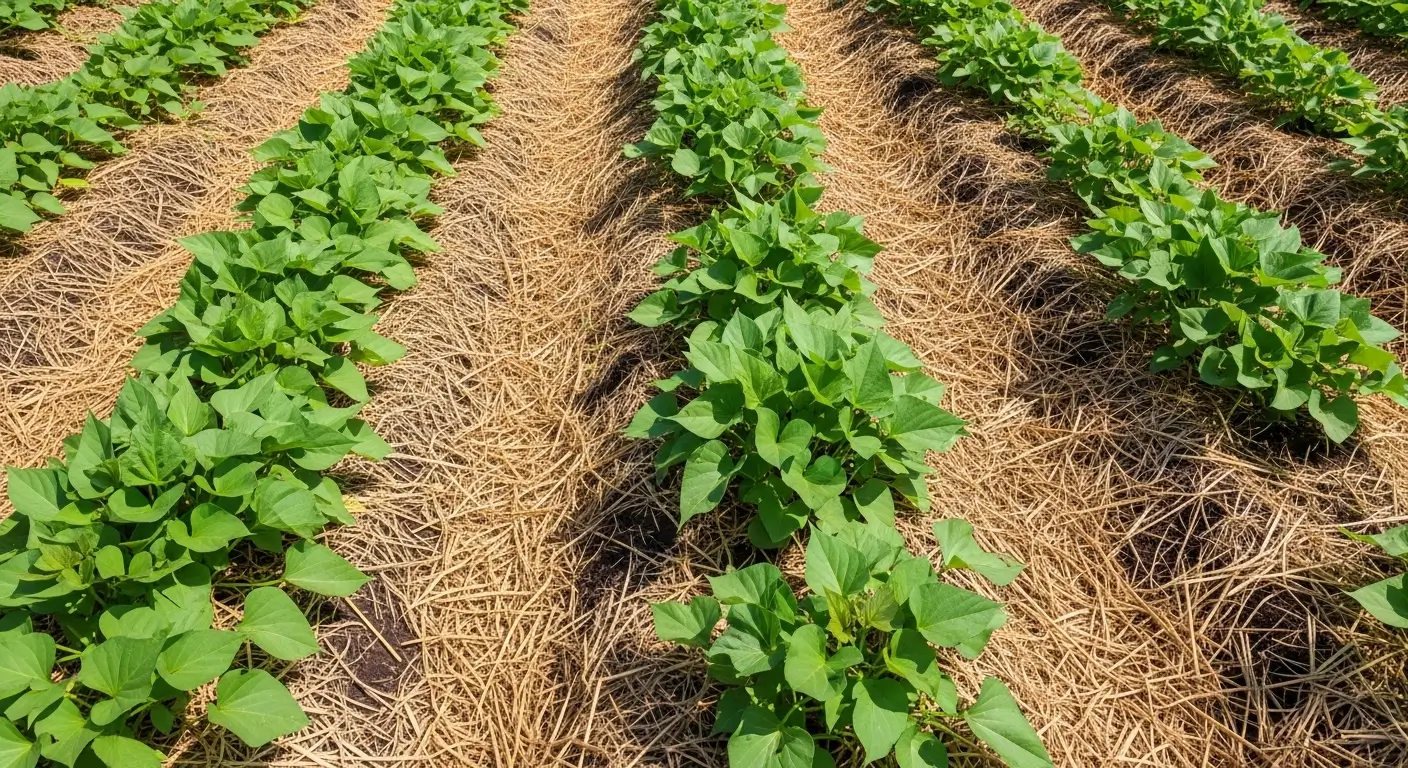
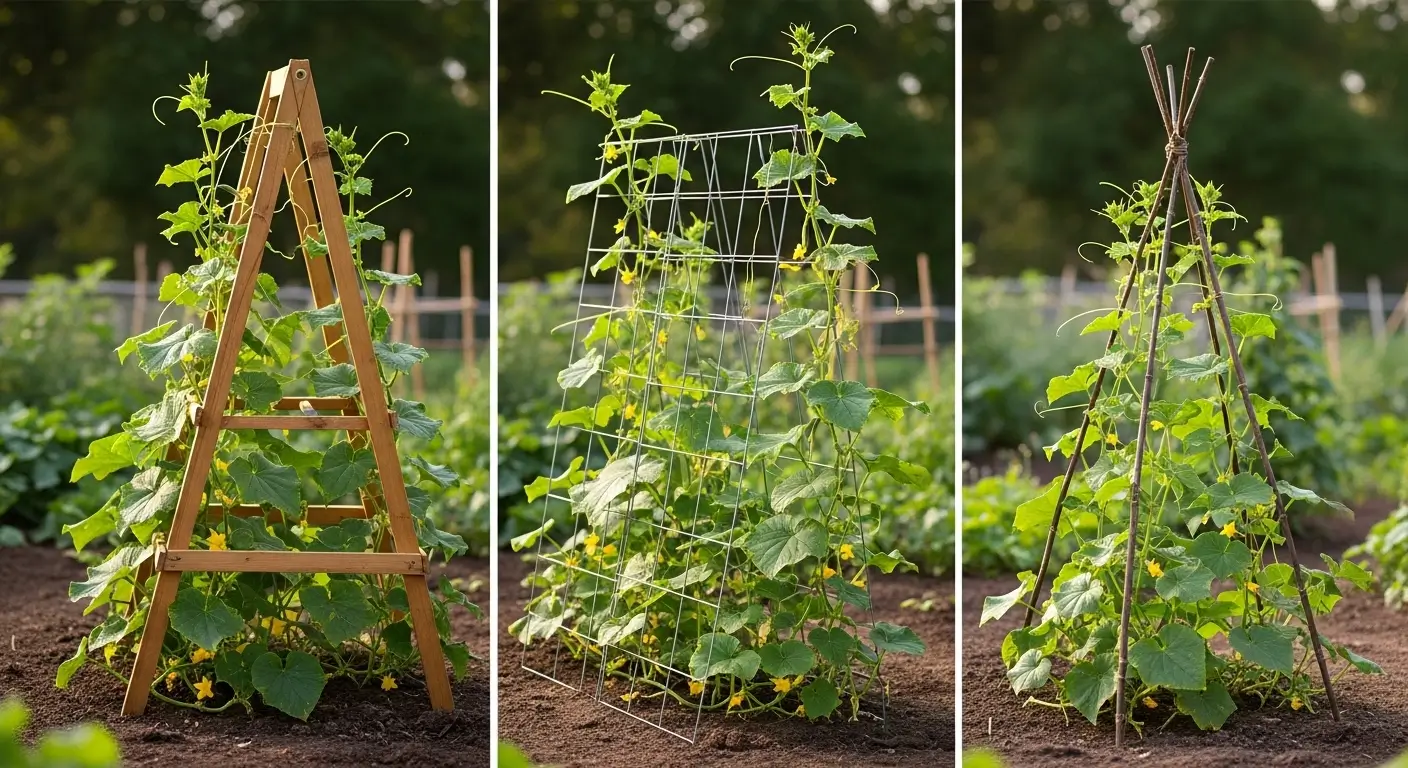
This was seriously a game-changer! Even when my soil was finally decent, I started making these raised rows about 8-10 inches high. It’s like giving your sweet potatoes a penthouse apartment!
I shape these with my hands (it’s pretty therapeutic), then cover them with black landscape fabric. The black stuff warms up the soil faster and keeps weeds from being total jerks all season long.
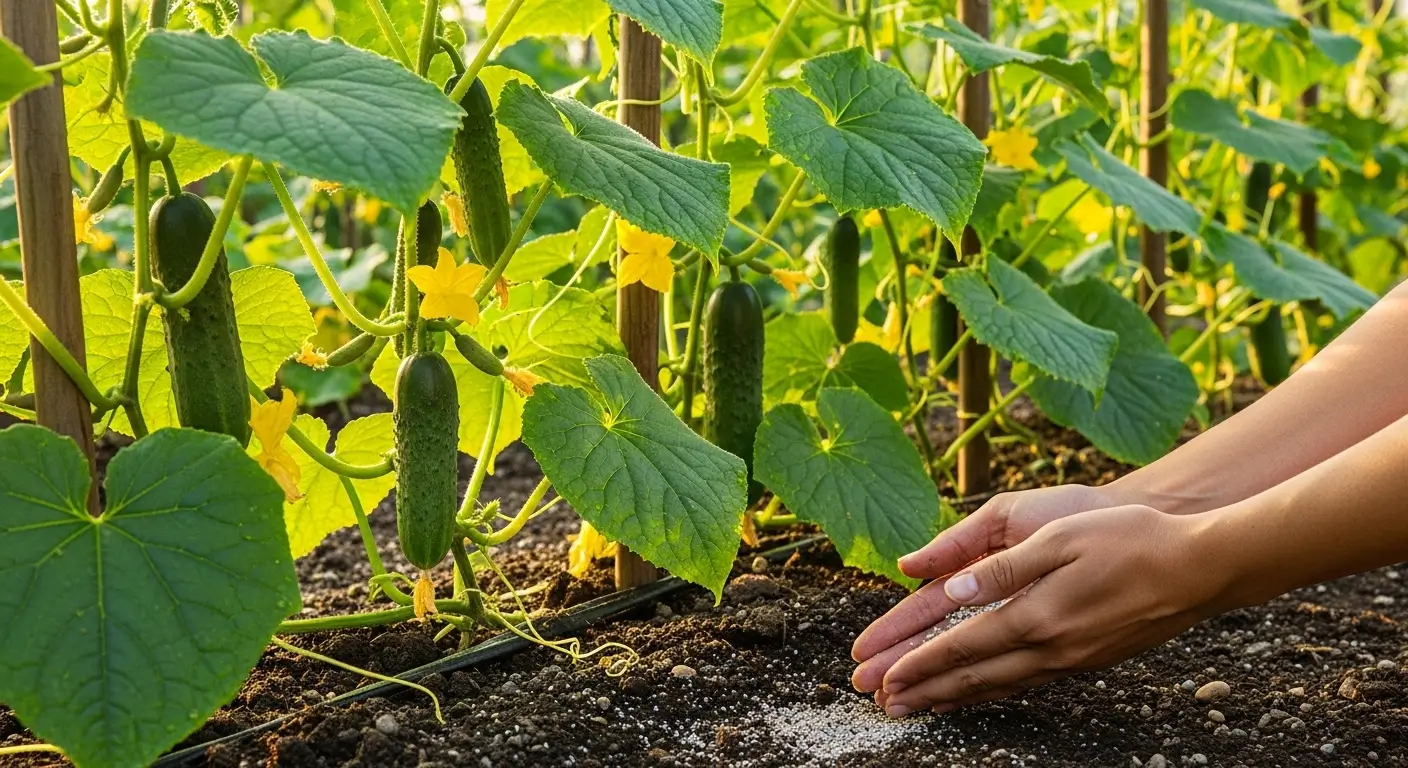
Fertility: The Goldilocks Approach
Here’s where I made some epic mistakes early on. More fertilizer = bigger sweet potatoes, right? WRONG! Sweet potatoes are pretty chill about fertilizer, and too much can backfire on you.
The Nitrogen Trap
Oh man, let me tell you about my second-year disaster. I went absolutely nuts with compost and high-nitrogen fertilizer, thinking I was being the world’s most helpful gardener. What did I get? These absolutely gorgeous, sprawling vines that took over half my yard but gave me pathetic little tubers that weren’t even worth digging up.
When there’s too much nitrogen floating around, sweet potatoes put all their energy into making pretty leaves instead of those delicious roots we actually want!
My Fertilizer Strategy
Now I keep things simple with a balanced organic fertilizer—something like 5-10-10 or 8-8-8. Nothing too crazy!
Here’s my routine:
- At planting: Mix some balanced fertilizer into the soil
- Halfway through: Side-dress with compost or worm castings
- Fall: Leave ’em alone to focus on making tubers
Meeting Sweet Potato Soil Requirements in Any Garden
Not everyone’s blessed with perfect soil (I sure wasn’t!), so let’s talk about how to work with what you’ve got when you’re amending soil for sweet potatoes.
Heavy Clay Soil
Don’t throw in the towel if you’re dealing with clay like I was! Clay holds nutrients well, so sweet potatoes can be surprisingly happy once you loosen them up.
My clay-fighting strategy:
- Add tons of chunky organic stuff every year
- Mix in coarse sand (never fine sand—that makes concrete!)
- Consider raised beds if you’re feeling fancy
- Be patient—clay takes forever to change, but it’s worth it
Sandy Soil
Sandy soil drains great (sweet potatoes love this!), but it’s like a sieve—water and nutrients wash right through. The trick is bulking it up with organic matter.
For sandy soil:
- Add compost religiously
- Mulch like your life depends on it
- Maybe throw in some coconut coir for moisture
- Plan on feeding more often, but lighter amounts
Rocky or Compacted Soil
I’ve helped tons of neighbors deal with soil that’s basically concrete. It isn’t enjoyable, but it’s totally fixable if you’re willing to work.
Breaking up tough soil:
- Get yourself a broadfork (best tool ever!)
- Add organic matter and let the earthworms do their magic
- Maybe try double-digging if things are terrible
- Plant cover crops in the off-season—they’re like soil mechanics!
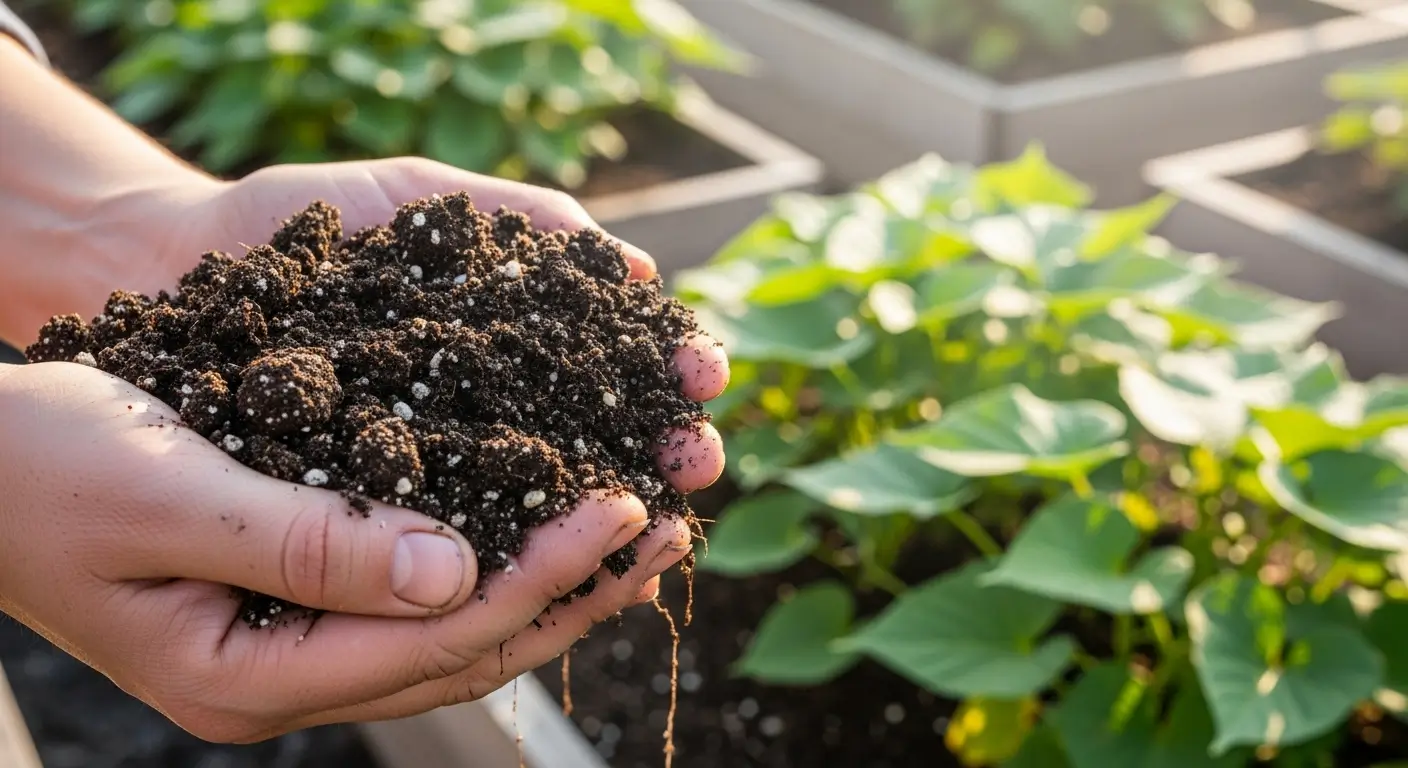
The Organic Matter Game-Changer
Let me tell you about the year everything clicked! I’d been adding compost occasionally, but I wasn’t committed. Then I started getting horse manure from this local farm (yes, horse poop is garden gold!), and holy cow, everything changed!
Types of Organic Matter That Work
Compost: This is my ride-or-die. I make my own, but buying good stuff works too.
Well-aged manure: Horse, cow, sheep—whatever you can get that’s been sitting around for at least a year. Never use fresh stuff unless you want to fry your plants!
Leaf mold: Oh my gosh, this stuff is incredible! I pile up leaves every fall, and by the following fall, they’ve turned into this fantastic, crumbly black gold.
Coconut coir: Great for holding moisture without getting all soggy and gross.
How Much Organic Matter?
I shoot for about a quarter to a third organic matter in my sweet potato beds. Sounds like a lot, but these plants are basically eating machines that love rich, fluffy soil.
I’ll work in 3-4 inches of compost for brand new beds. For my established beds, 2 inches every year keeps everybody happy.
Common Soil Mistakes (I’ve Made Them All!)
Let me save you some heartache by sharing my most significant hits of garden failures:
Mistake #1: Going crazy with nitrogen fertilizer
What happened: Jungle vines, baby tubers. Lesson learned: Keep it balanced, people!
Mistake #2: Planting in swampy soil
What happened: Mushy, gross sweet potatoes that went straight to the compost. Lesson learned: Drainage isn’t optional.
Mistake #3: Completely ignoring pH
What happened: Yellow, stunted plants that looked miserable. Lesson learned: Test your soil every few years!
Mistake #4: Being lazy about soil prep
What happened: Sweet potatoes that grew sideways instead of nice and deep. Lesson learned: Work that soil deeper than you think you need to
Seasonal Soil Care
Taking care of your sweet potato soil doesn’t stop when you plant. Here’s how I keep things happy all season long:
Spring Preparation
- Test pH and fix it if needed
- Dump on fresh compost
- Make sure the drainage is still good
- Warm up the soil with black mulch
Growing Season Care
- Keep the soil moist but not soggy
- Add more compost halfway through
- Stay on top of weeds (they’re such bullies!)
Post-Harvest Soil Care
- Plant cover crops for winter
- Add organic matter for next year
- Test pH and plan any changes
Testing Your Soil’s Sweet Potato Readiness
Wanna know if your soil’s ready for sweet potato action? Here’s my super simple test:
- Drainage check: Dig a hole, fill with water, and time how fast it disappears
- pH test: Should be between 5.8 and 6.2
- Squeeze test: Grab some damp soil—it should crumble, not make a mud ball
- Smell test: Good soil smells earthy and rich, not sour or weird
If your soil passes these tests, you’re golden!
Key Takeaways for Sweet Potato Soil Success
After a whole decade of growing sweet potatoes (and making every mistake in the book), here’s what really matters:
- Drainage is everything: Soggy sweet potatoes are sad sweet potatoes
- pH matters: Keep it slightly acidic for happy plants
- Organic matter is magic: The more, the better, seriously
- Don’t over-fertilize: Less is more with nitrogen
- Prep deep: Work that soil at least a foot down
- Raised rows rock: Even good soil benefits from extra height
Your Sweet Potato Soil Journey Starts Now
Look, I understand if soil prep feels overwhelming—I was intimidated staring at my concrete-hard clay soil all those years ago. But here’s what I’ve learned: every little thing you do to improve your soil pays off big time, not just this year but for years and years.
Start wherever you are with whatever you’ve got. Test your pH this weekend. Throw some compost on next week. Build those raised rows come spring. Before you know it, you’ll be pulling up gorgeous sweet potatoes that you’ll be taking pictures of to show off to everyone!
Want the full scoop on growing sweet potatoes from start to finish? Check out our complete sweet potato growing guide—it’s got everything you need to know. And if you wanna start your own sweet potato plants, don’t miss our guide on making sweet potato slips. Once your soil is dialled in, ensure your sweet potatoes get enough sunshine with our sweet potato sunlight requirements guide.
Remember, gardening’s supposed to be fun! Every season teaches you something new; every so-called “failure” is just intel for next time. Your sweet potato success story starts with that first handful of compost, that first pH test, that first step toward creating the perfect underground paradise.
What’s your biggest soil headache right now? Drop me a comment and let’s figure it out together—I love helping fellow gardeners turn their soil struggles into sweet potato victories!
Sweet Potato Soil Requirements FAQ
What are the best sweet potato soil requirements?
Sweet potatoes need well-draining sandy loam soil with a pH between 5.8-6.2. The soil should be rich in organic matter but not over-fertilized with nitrogen, which causes excessive vine growth at the expense of tuber development. Good drainage is essential to prevent root rot.
What is the best soil pH for sweet potatoes?
The best soil pH for sweet potatoes is between 5.8 and 6.2, which is slightly acidic. This pH range allows optimal nutrient uptake, especially iron and manganese. When soil pH is too high (above 7.0), these nutrients become less available to the plants.
How do I prepare soil for sweet potatoes?
Start soil preparation in fall by adding 2-3 inches of compost and working it into the top 8-10 inches of soil. Test and adjust pH if needed. In spring, add final amendments and create raised rows 8-10 inches high. Cover with black mulch to warm soil and prevent weeds.